Behind #ArtsventCalendar door eleven...

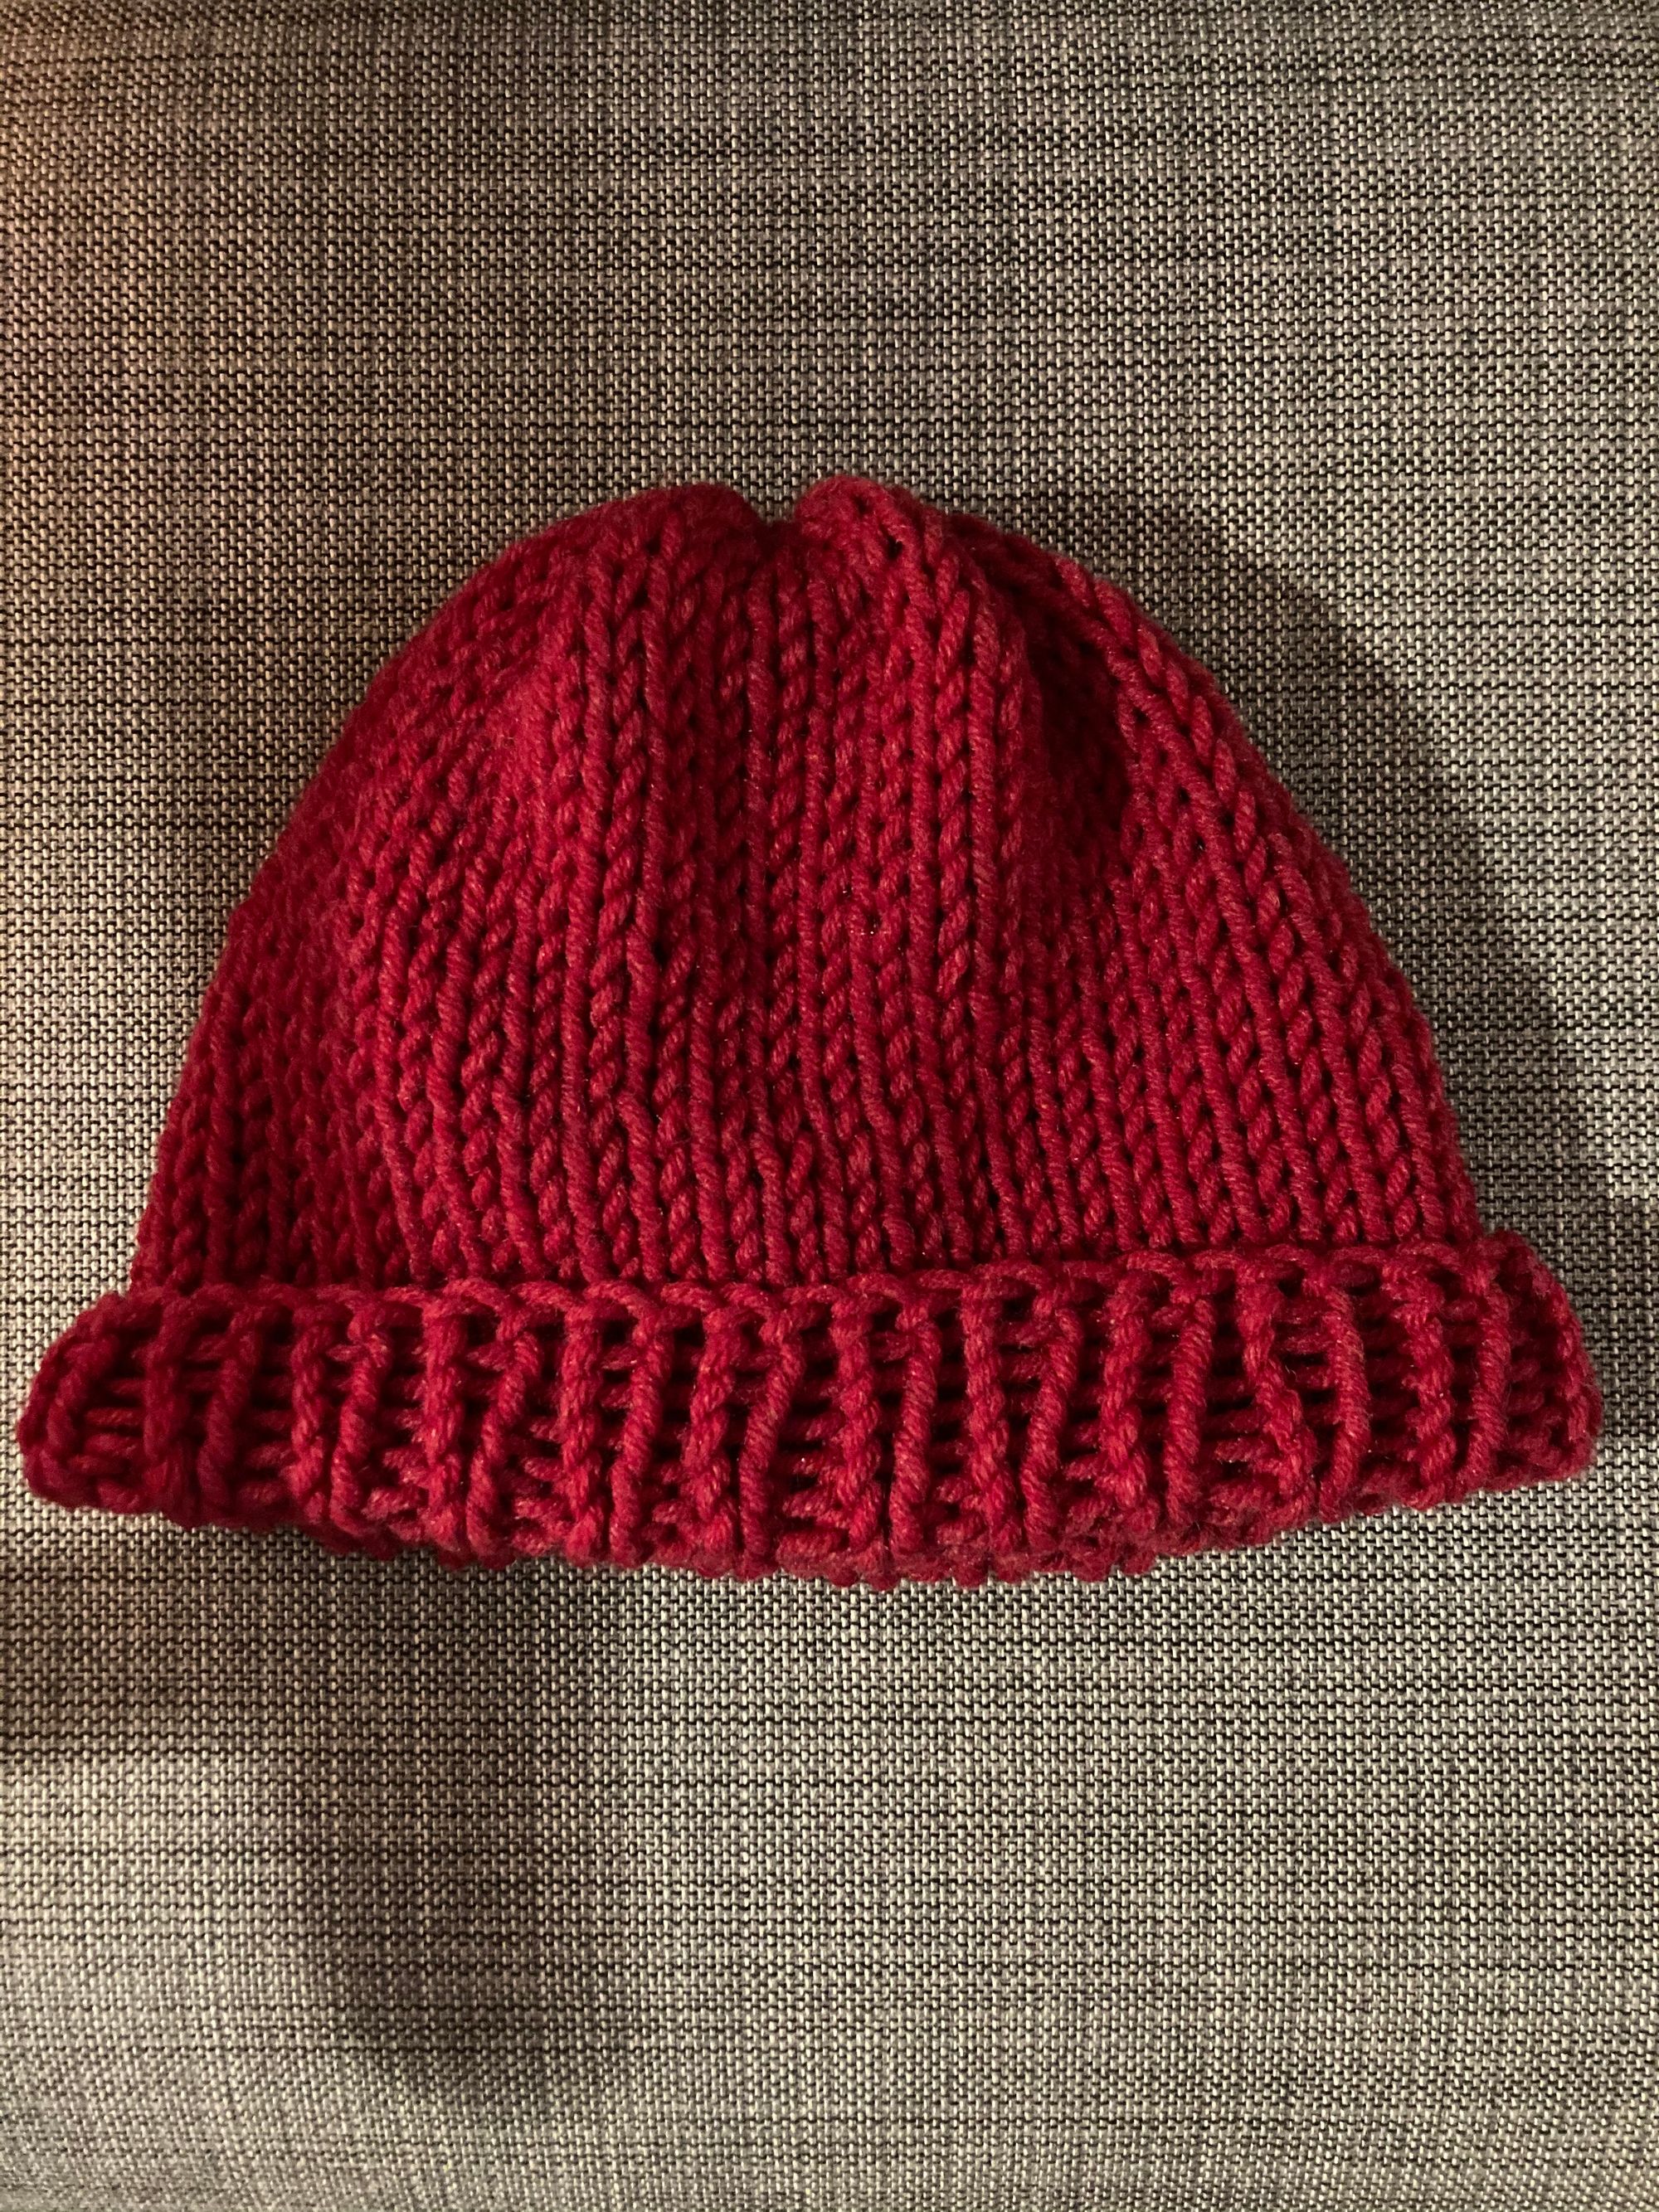
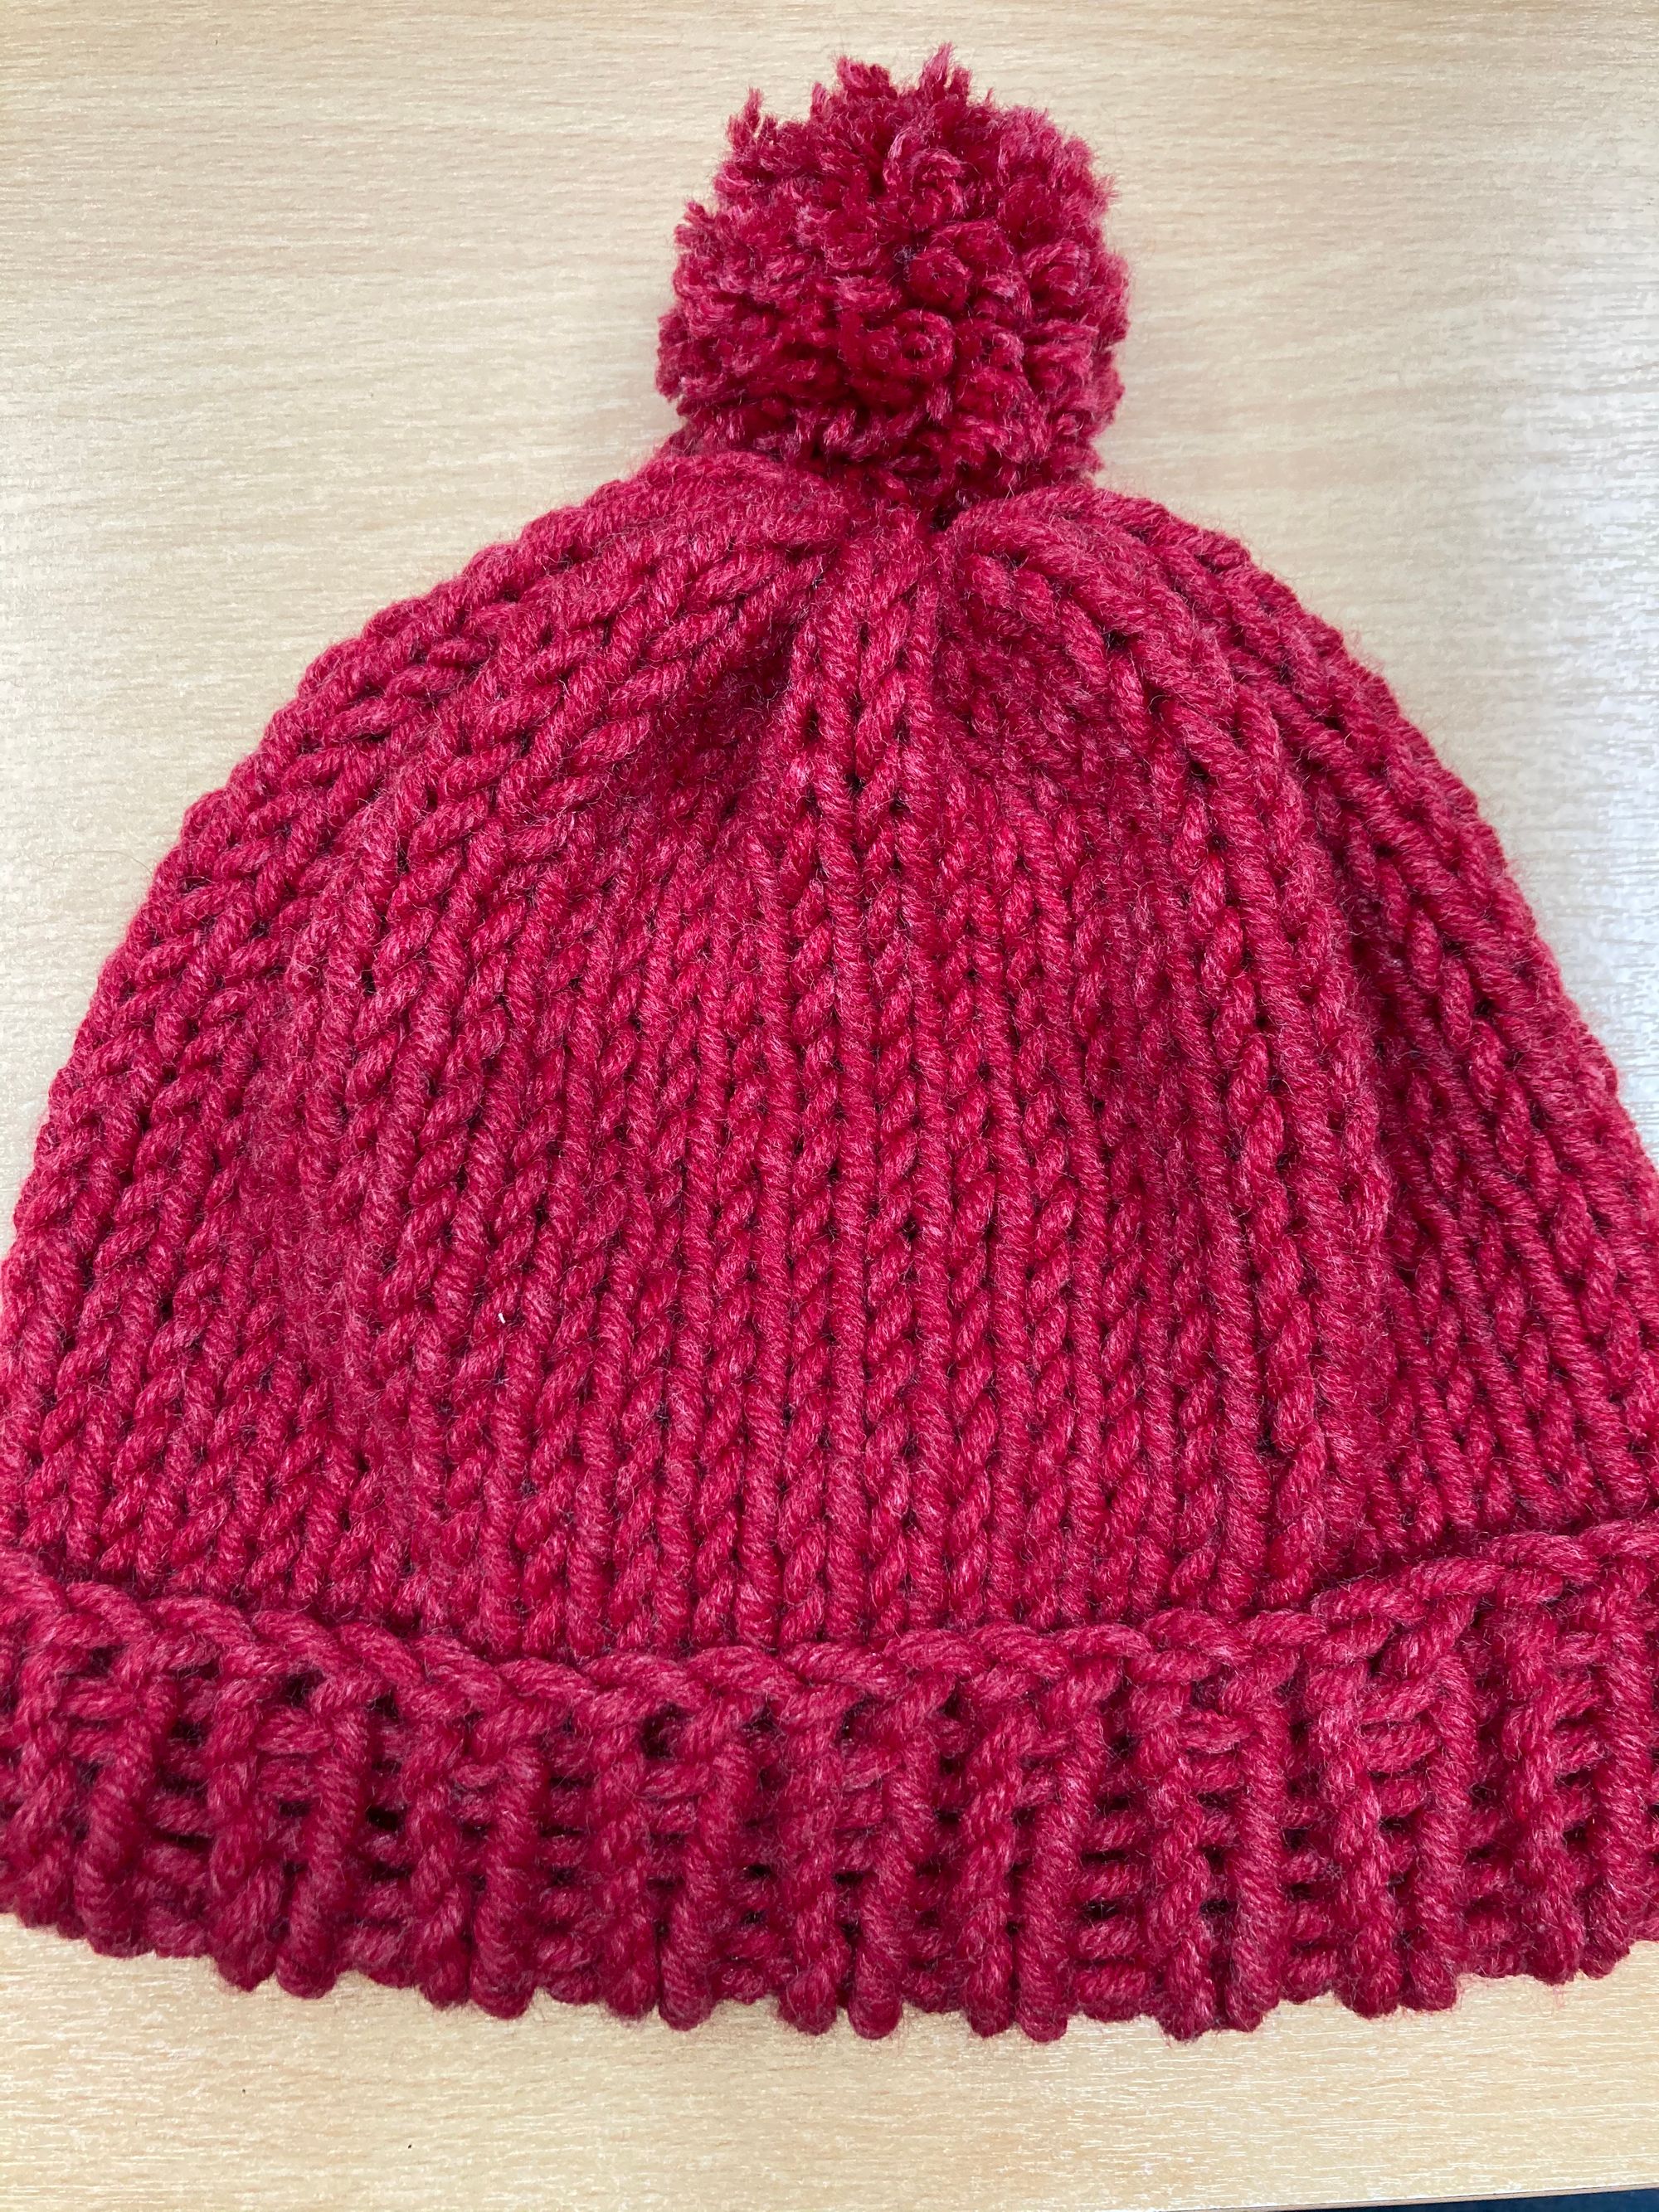
Today is officially Christmas Jumper Day! Why not take the warm woolie theme one step further and knit yourself a bobble hat to keep you warm through winter, just like this one...

Knit a bobble hat: step-by-step
These instructions are based on right handed knitting, but all instructions can be reversed if you knit the other way. To make your hat you will need to know how to cast on, knit a knit stitch, knit a purl stitch and weave in your ends...
What you need...
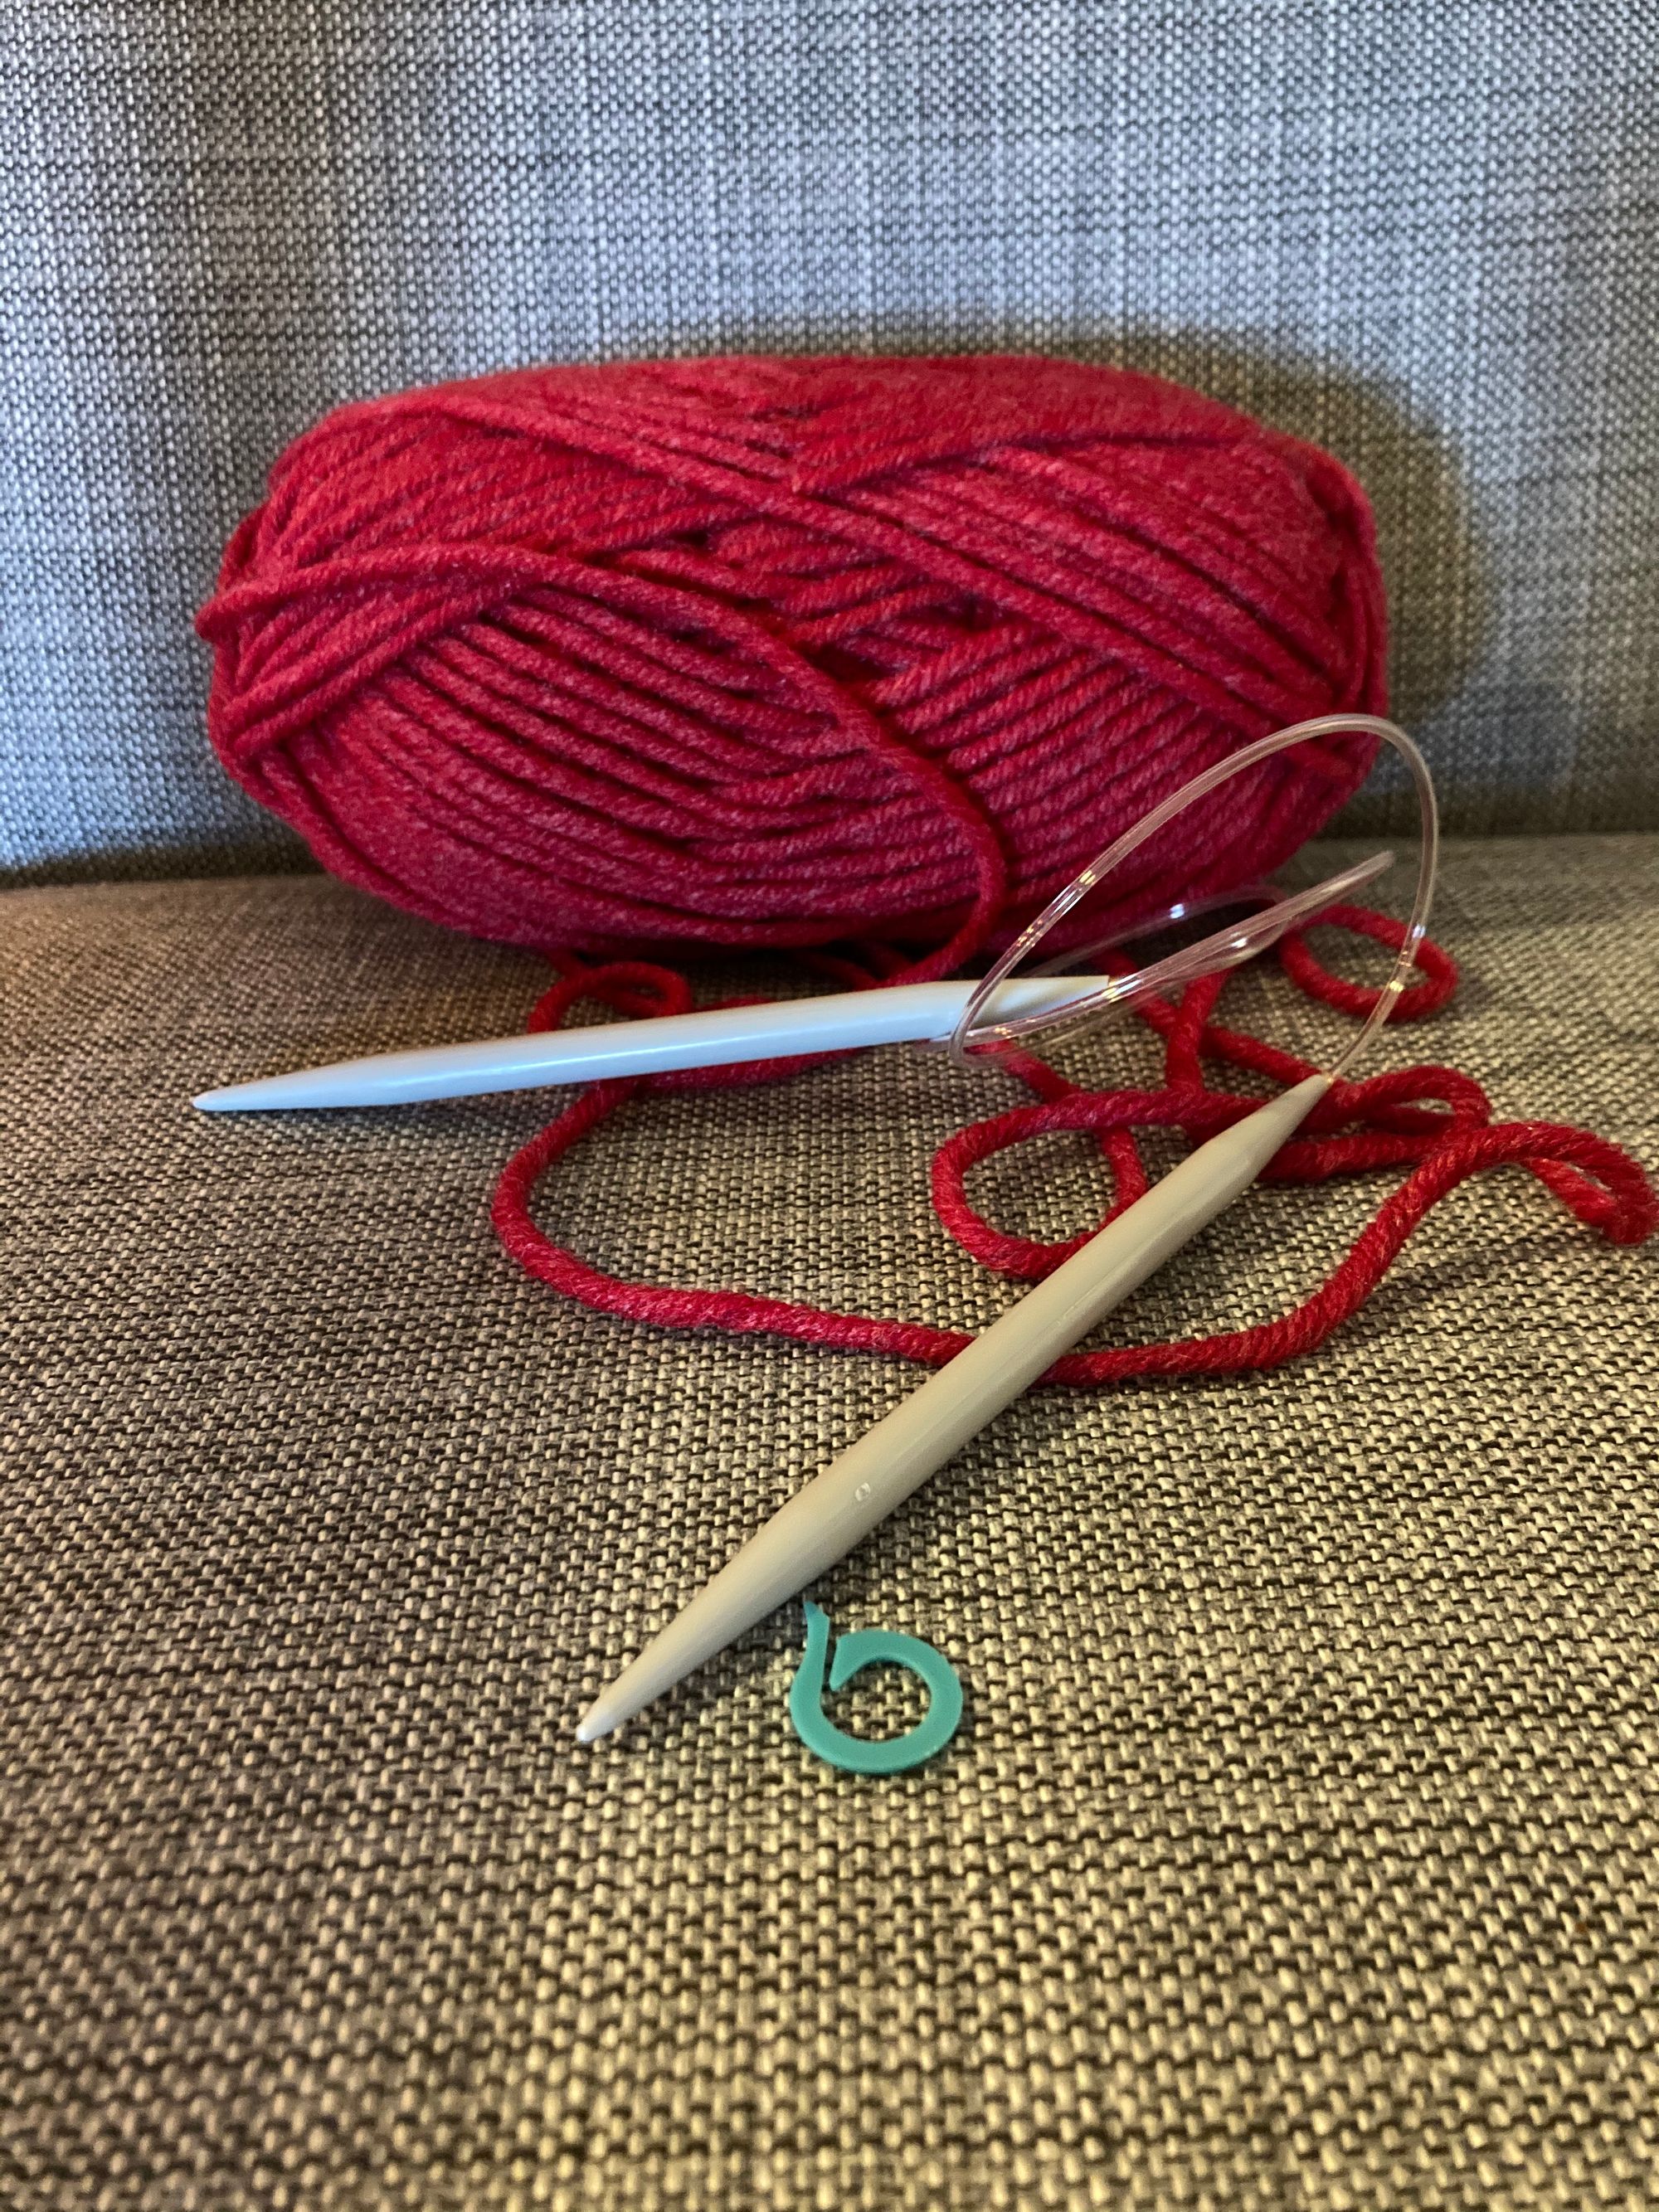
For the hat: You will need a ball of chunky yarn and a pair of circular needles, use whatever your yarn packet recommends (we're using 8mm circular needles), a stitch marker, a pair of scissors, measuring tape, and a darning needle.
For the Pom-Pom: You will need some cardboard, scissors and leftover yarn (you can use contrasting yarn if you would like your bobble to be a different colour to your hat.
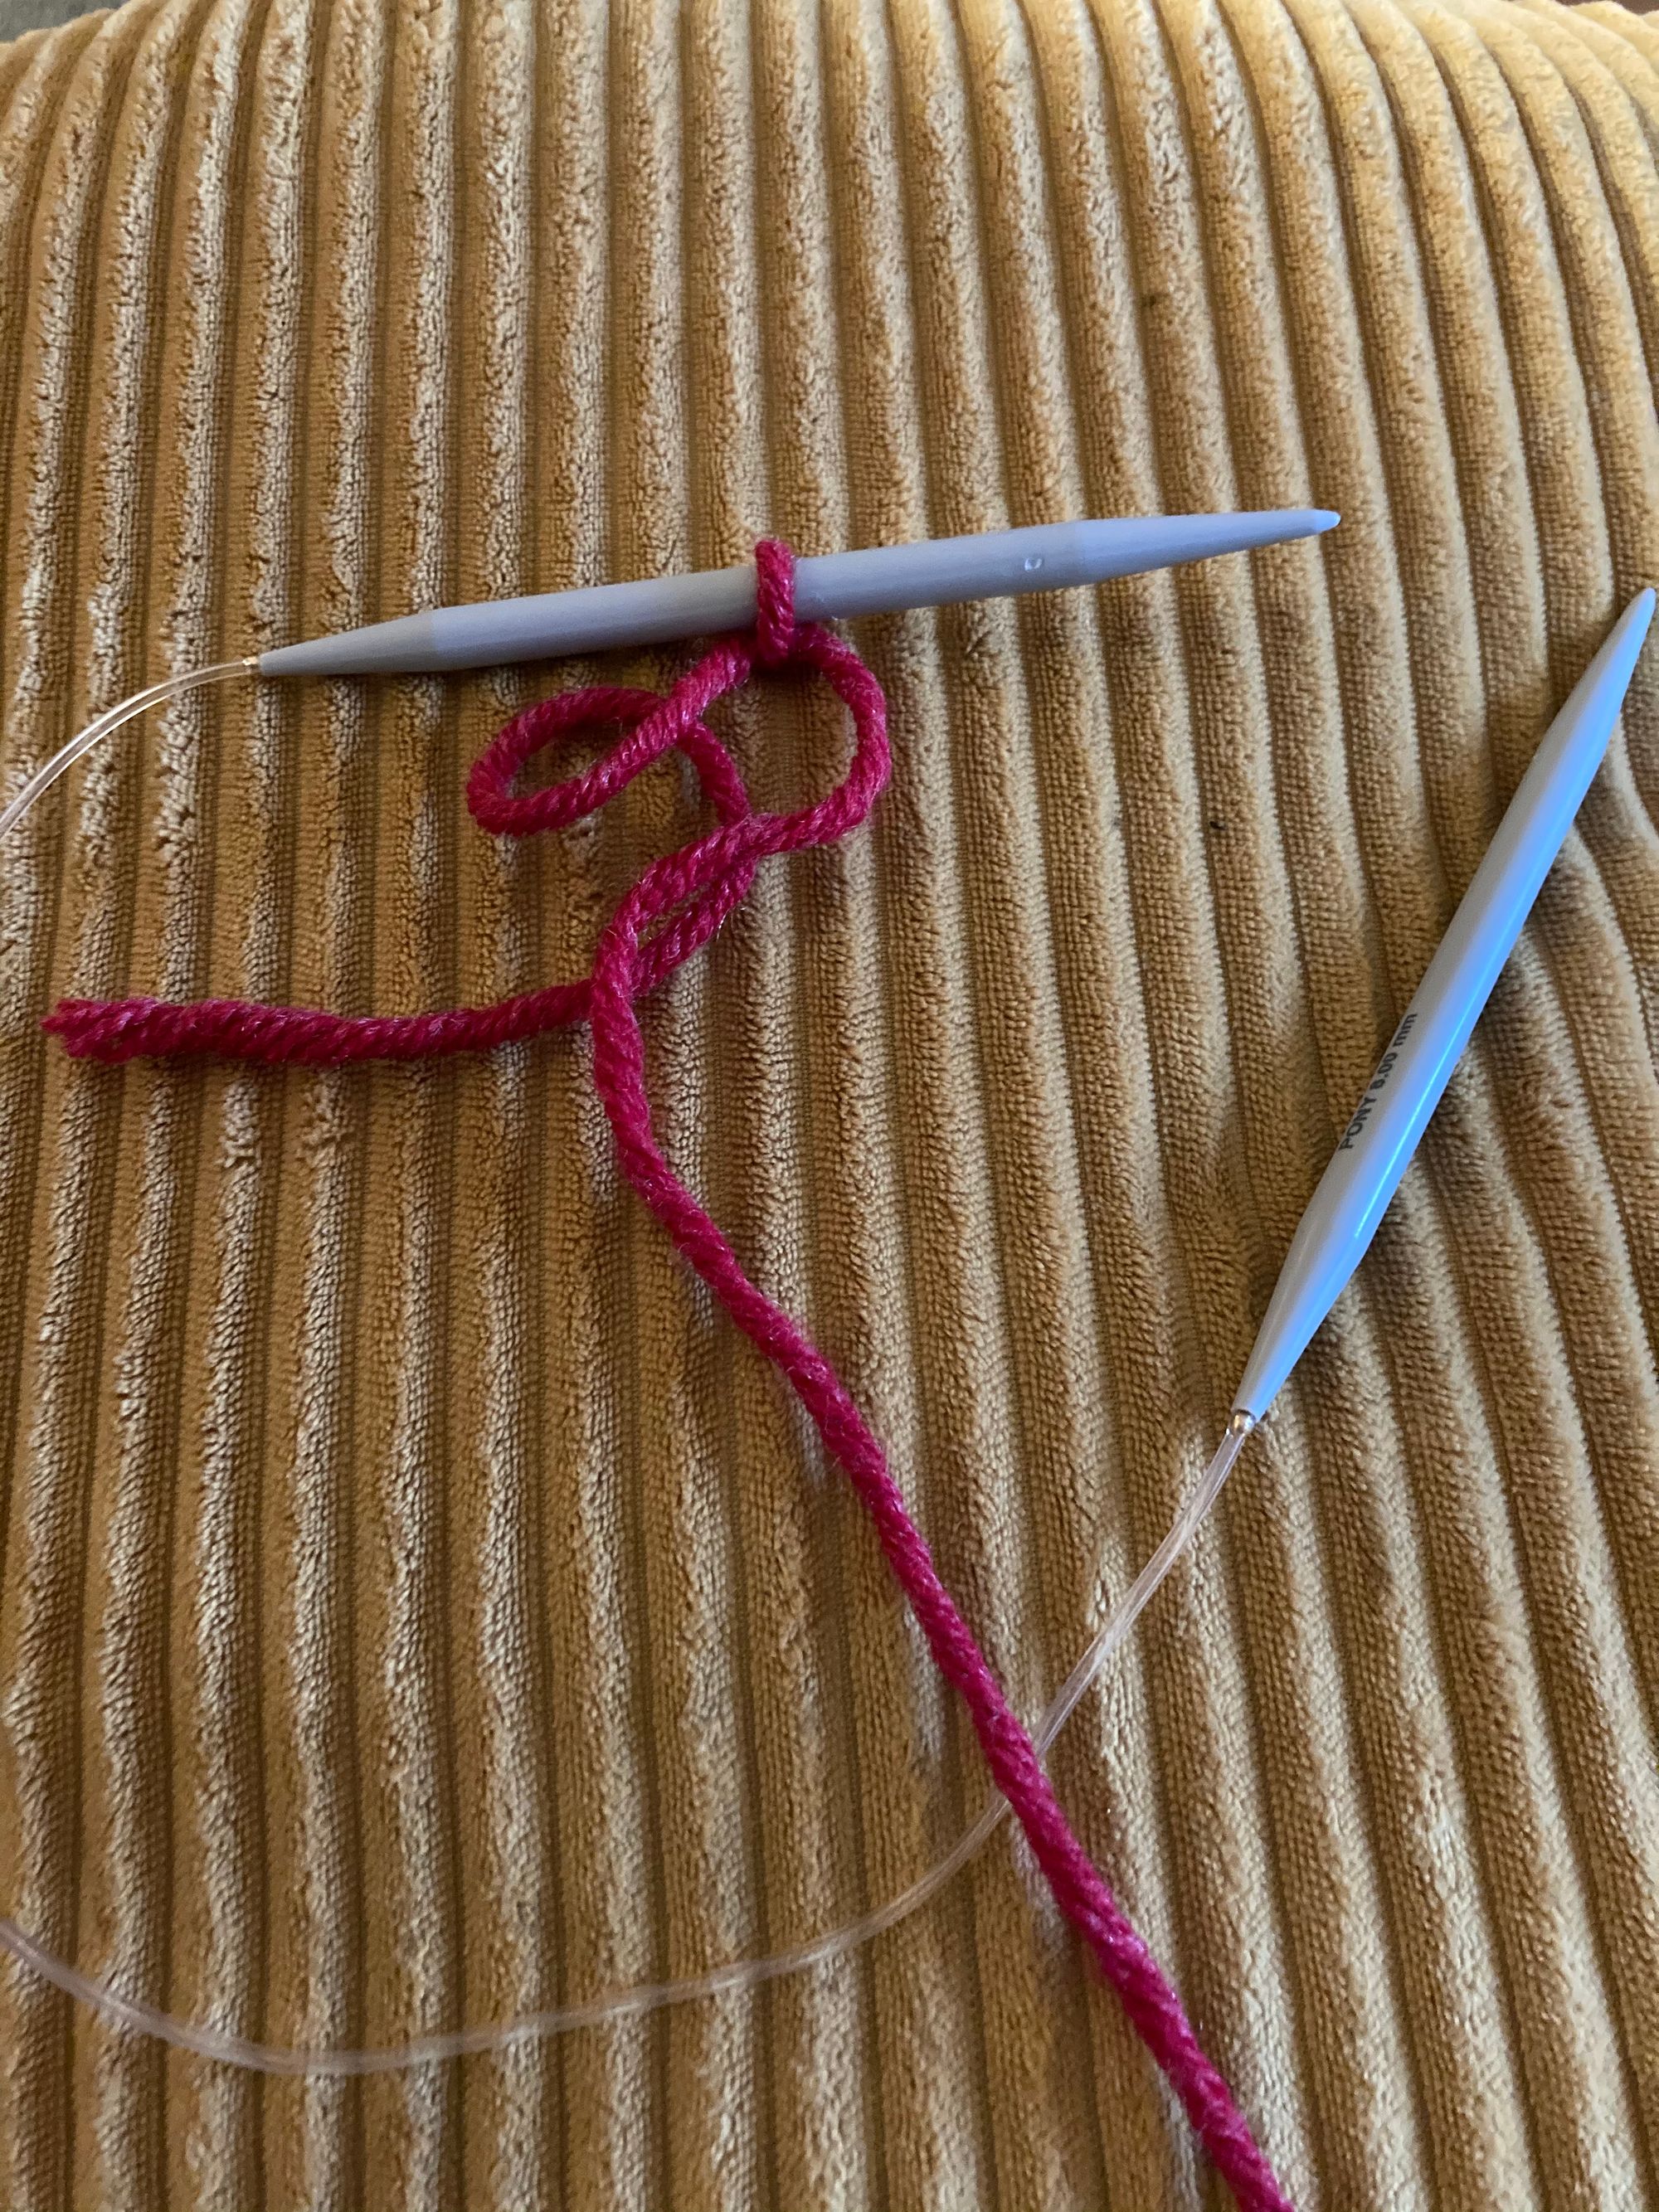
First cast on your stitches, we're using a short tail cast on, but there are lots of different ways to cast on (you can find cast on tutorials online). To work out how many stitches you’ll need, you can measure the circumference of your head and then look on the back of your ball of yarn - it will usually tell you how many stitches will make a 10cm x 10cm knitted square to help work it out. We're casting on 48 stitches.
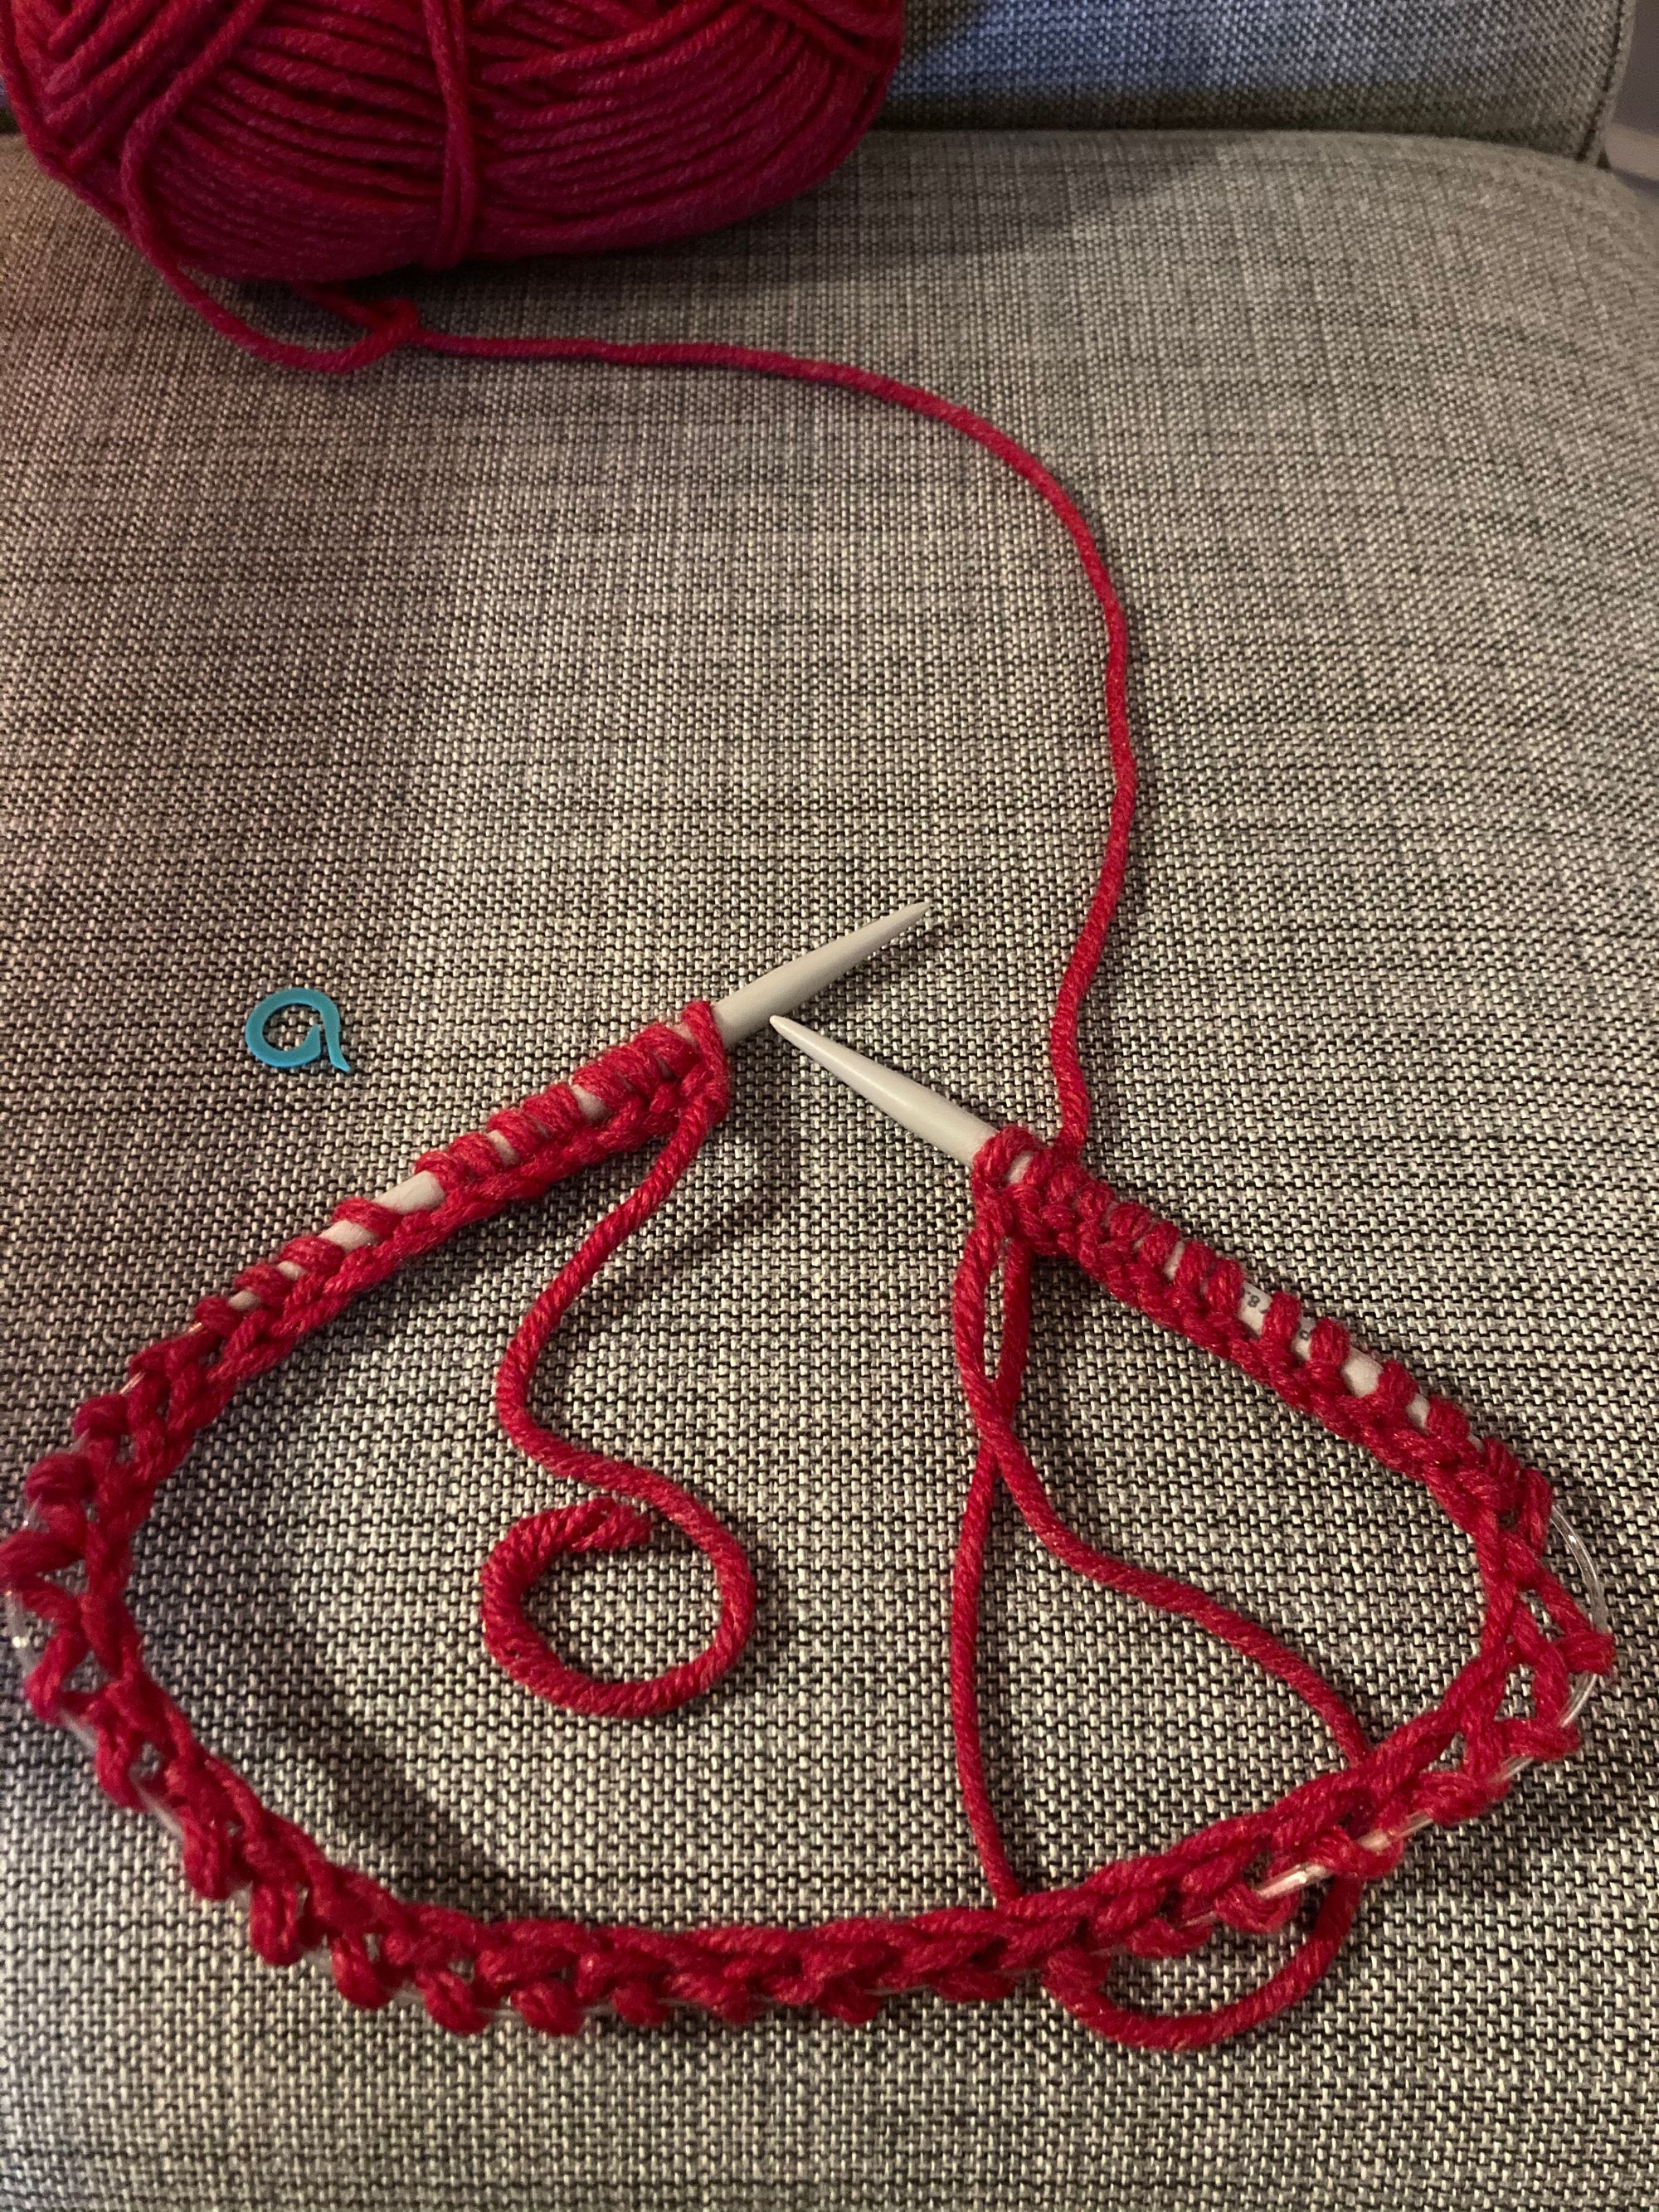
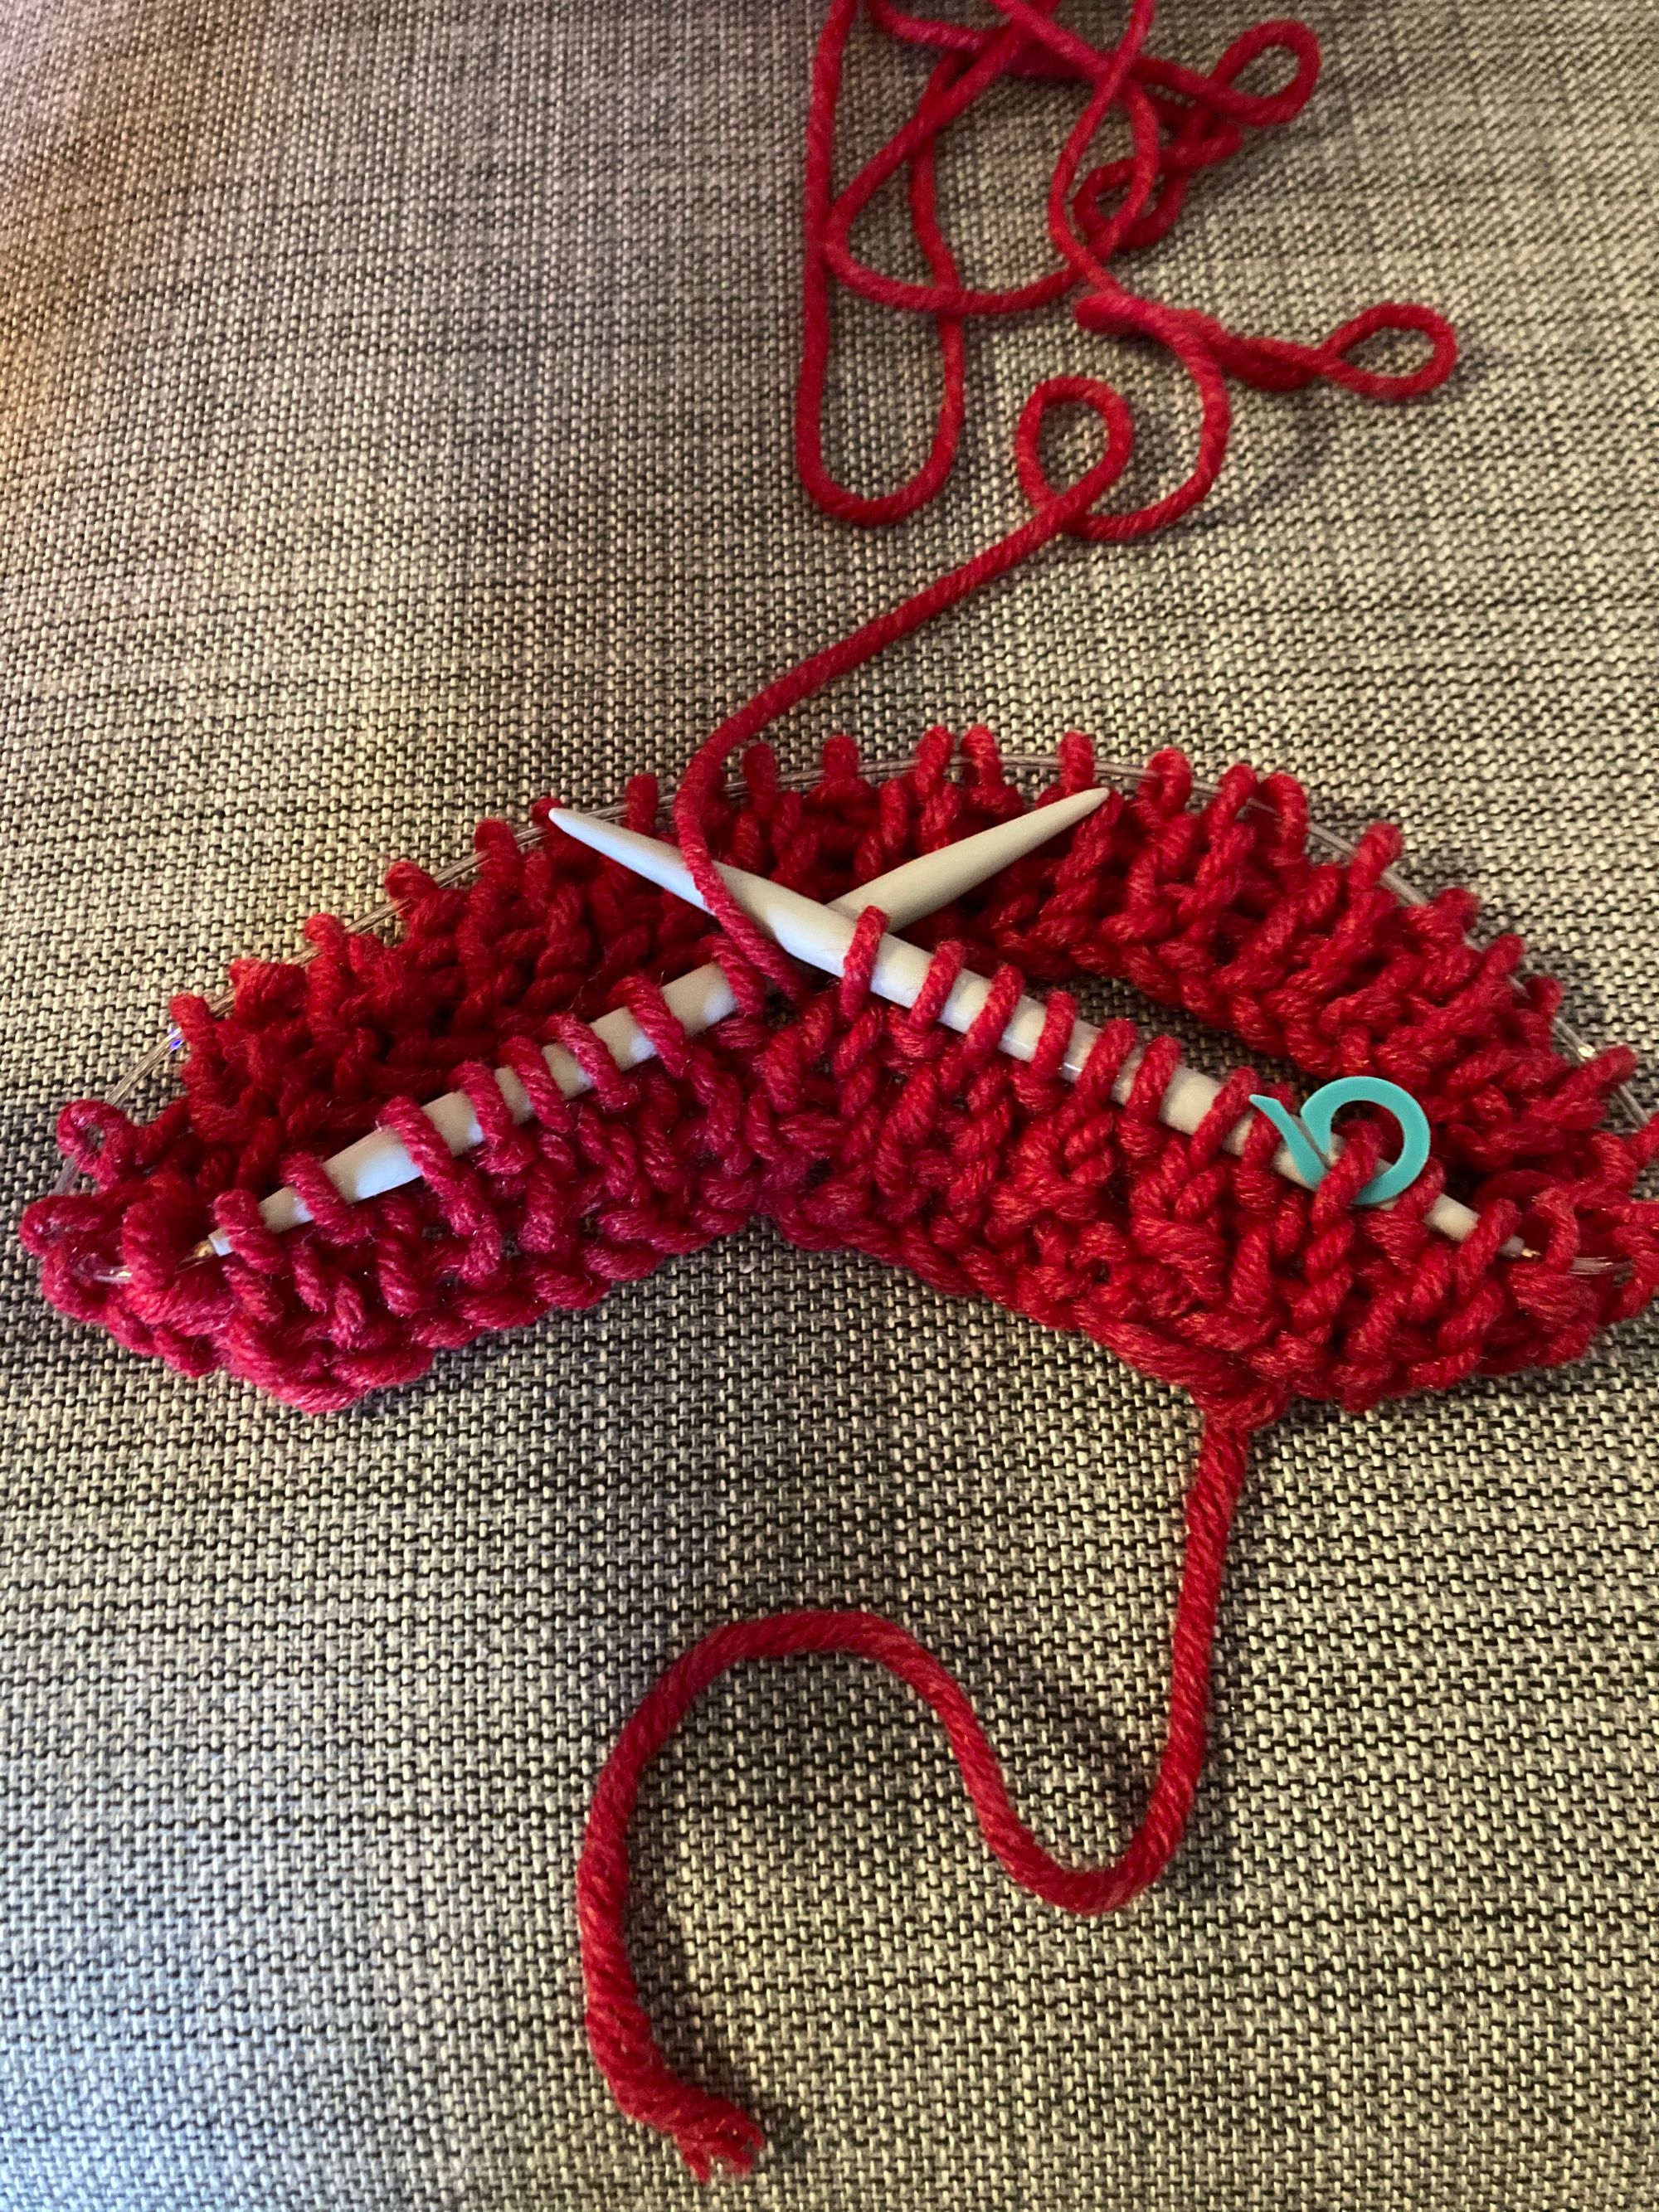
Once you have cast on your stitches, move your stitches around so that you have them on both needles. You’ll need your ball of yarn on your right needle, start by knitting your first stitch, joining the two ends together, making sure you pull your yarn tight. Once you’ve knitted the first stitch and it’s on your right needle, pop your stitch marker on it so you know when you’ve completed a full round. You’ll want to continue for a round in Knit 1 Purl 1, this is going to create a nice ribbed edge to the hat.
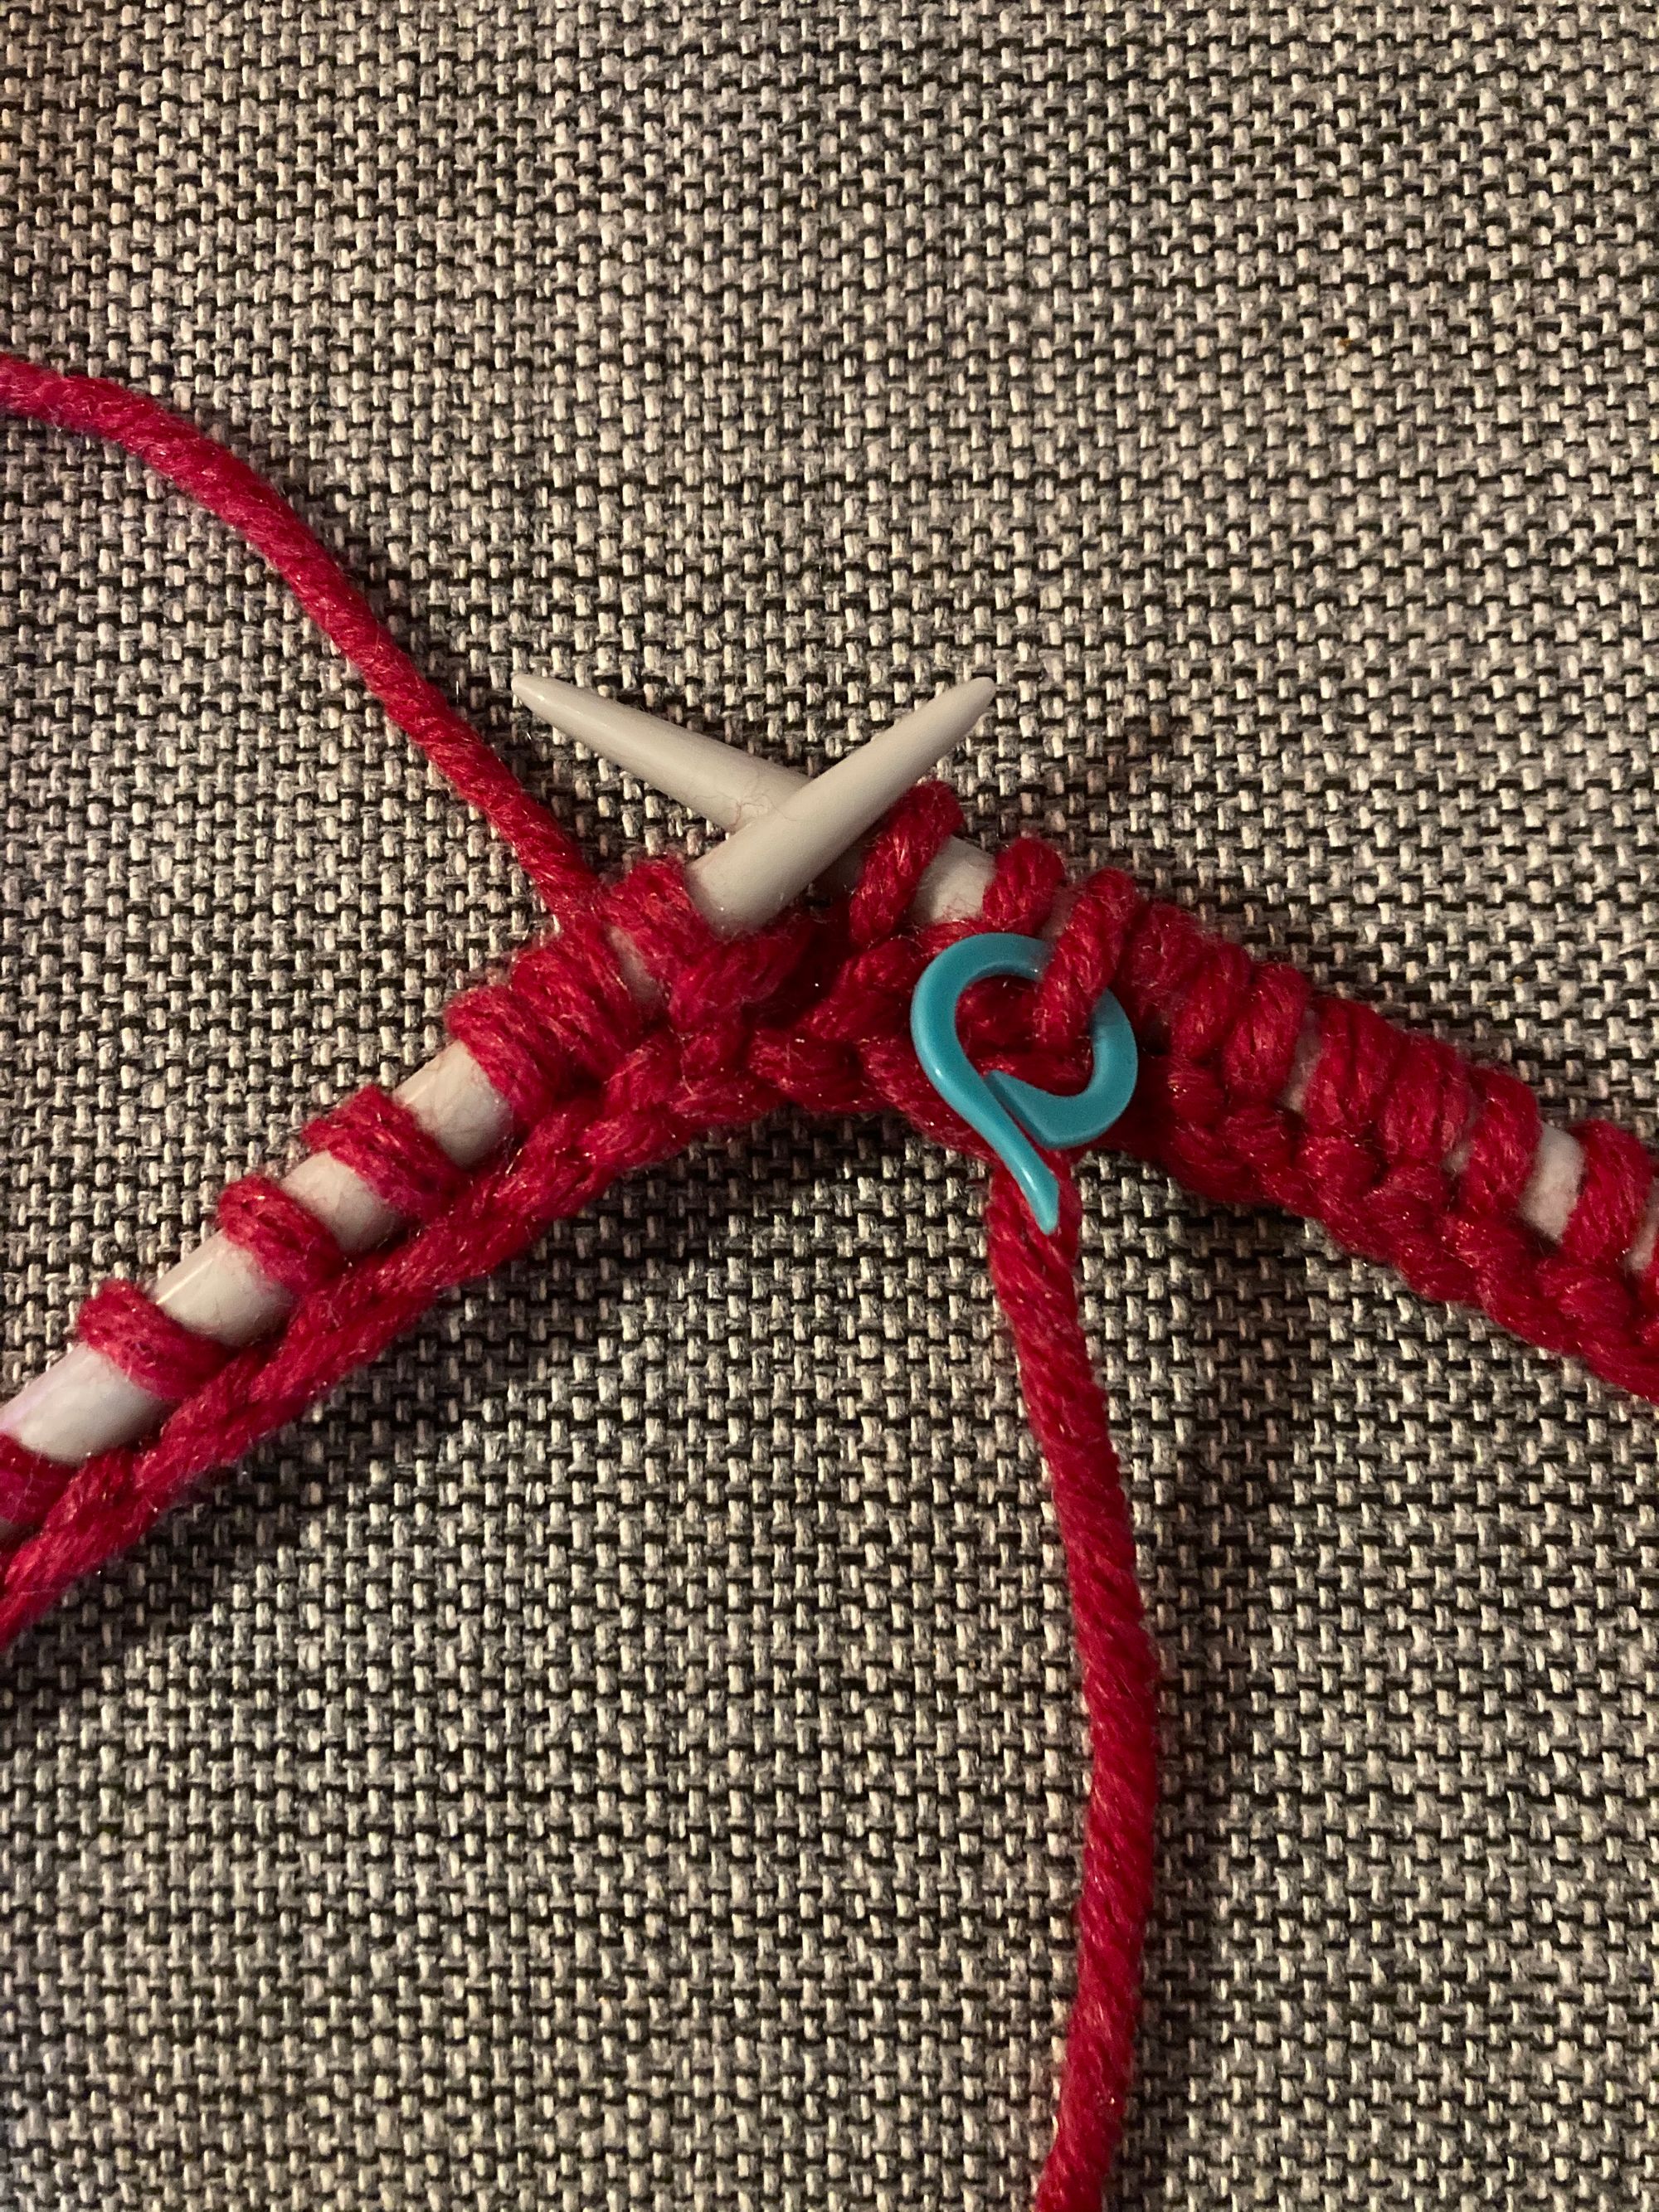
Once you’ve got round to the end of your first row, continue to Knit 1 Purl 1 into the second round, moving your stitch marker. Make sure you’re knitting into your knit stitches and purling your purl stitches so they match up.
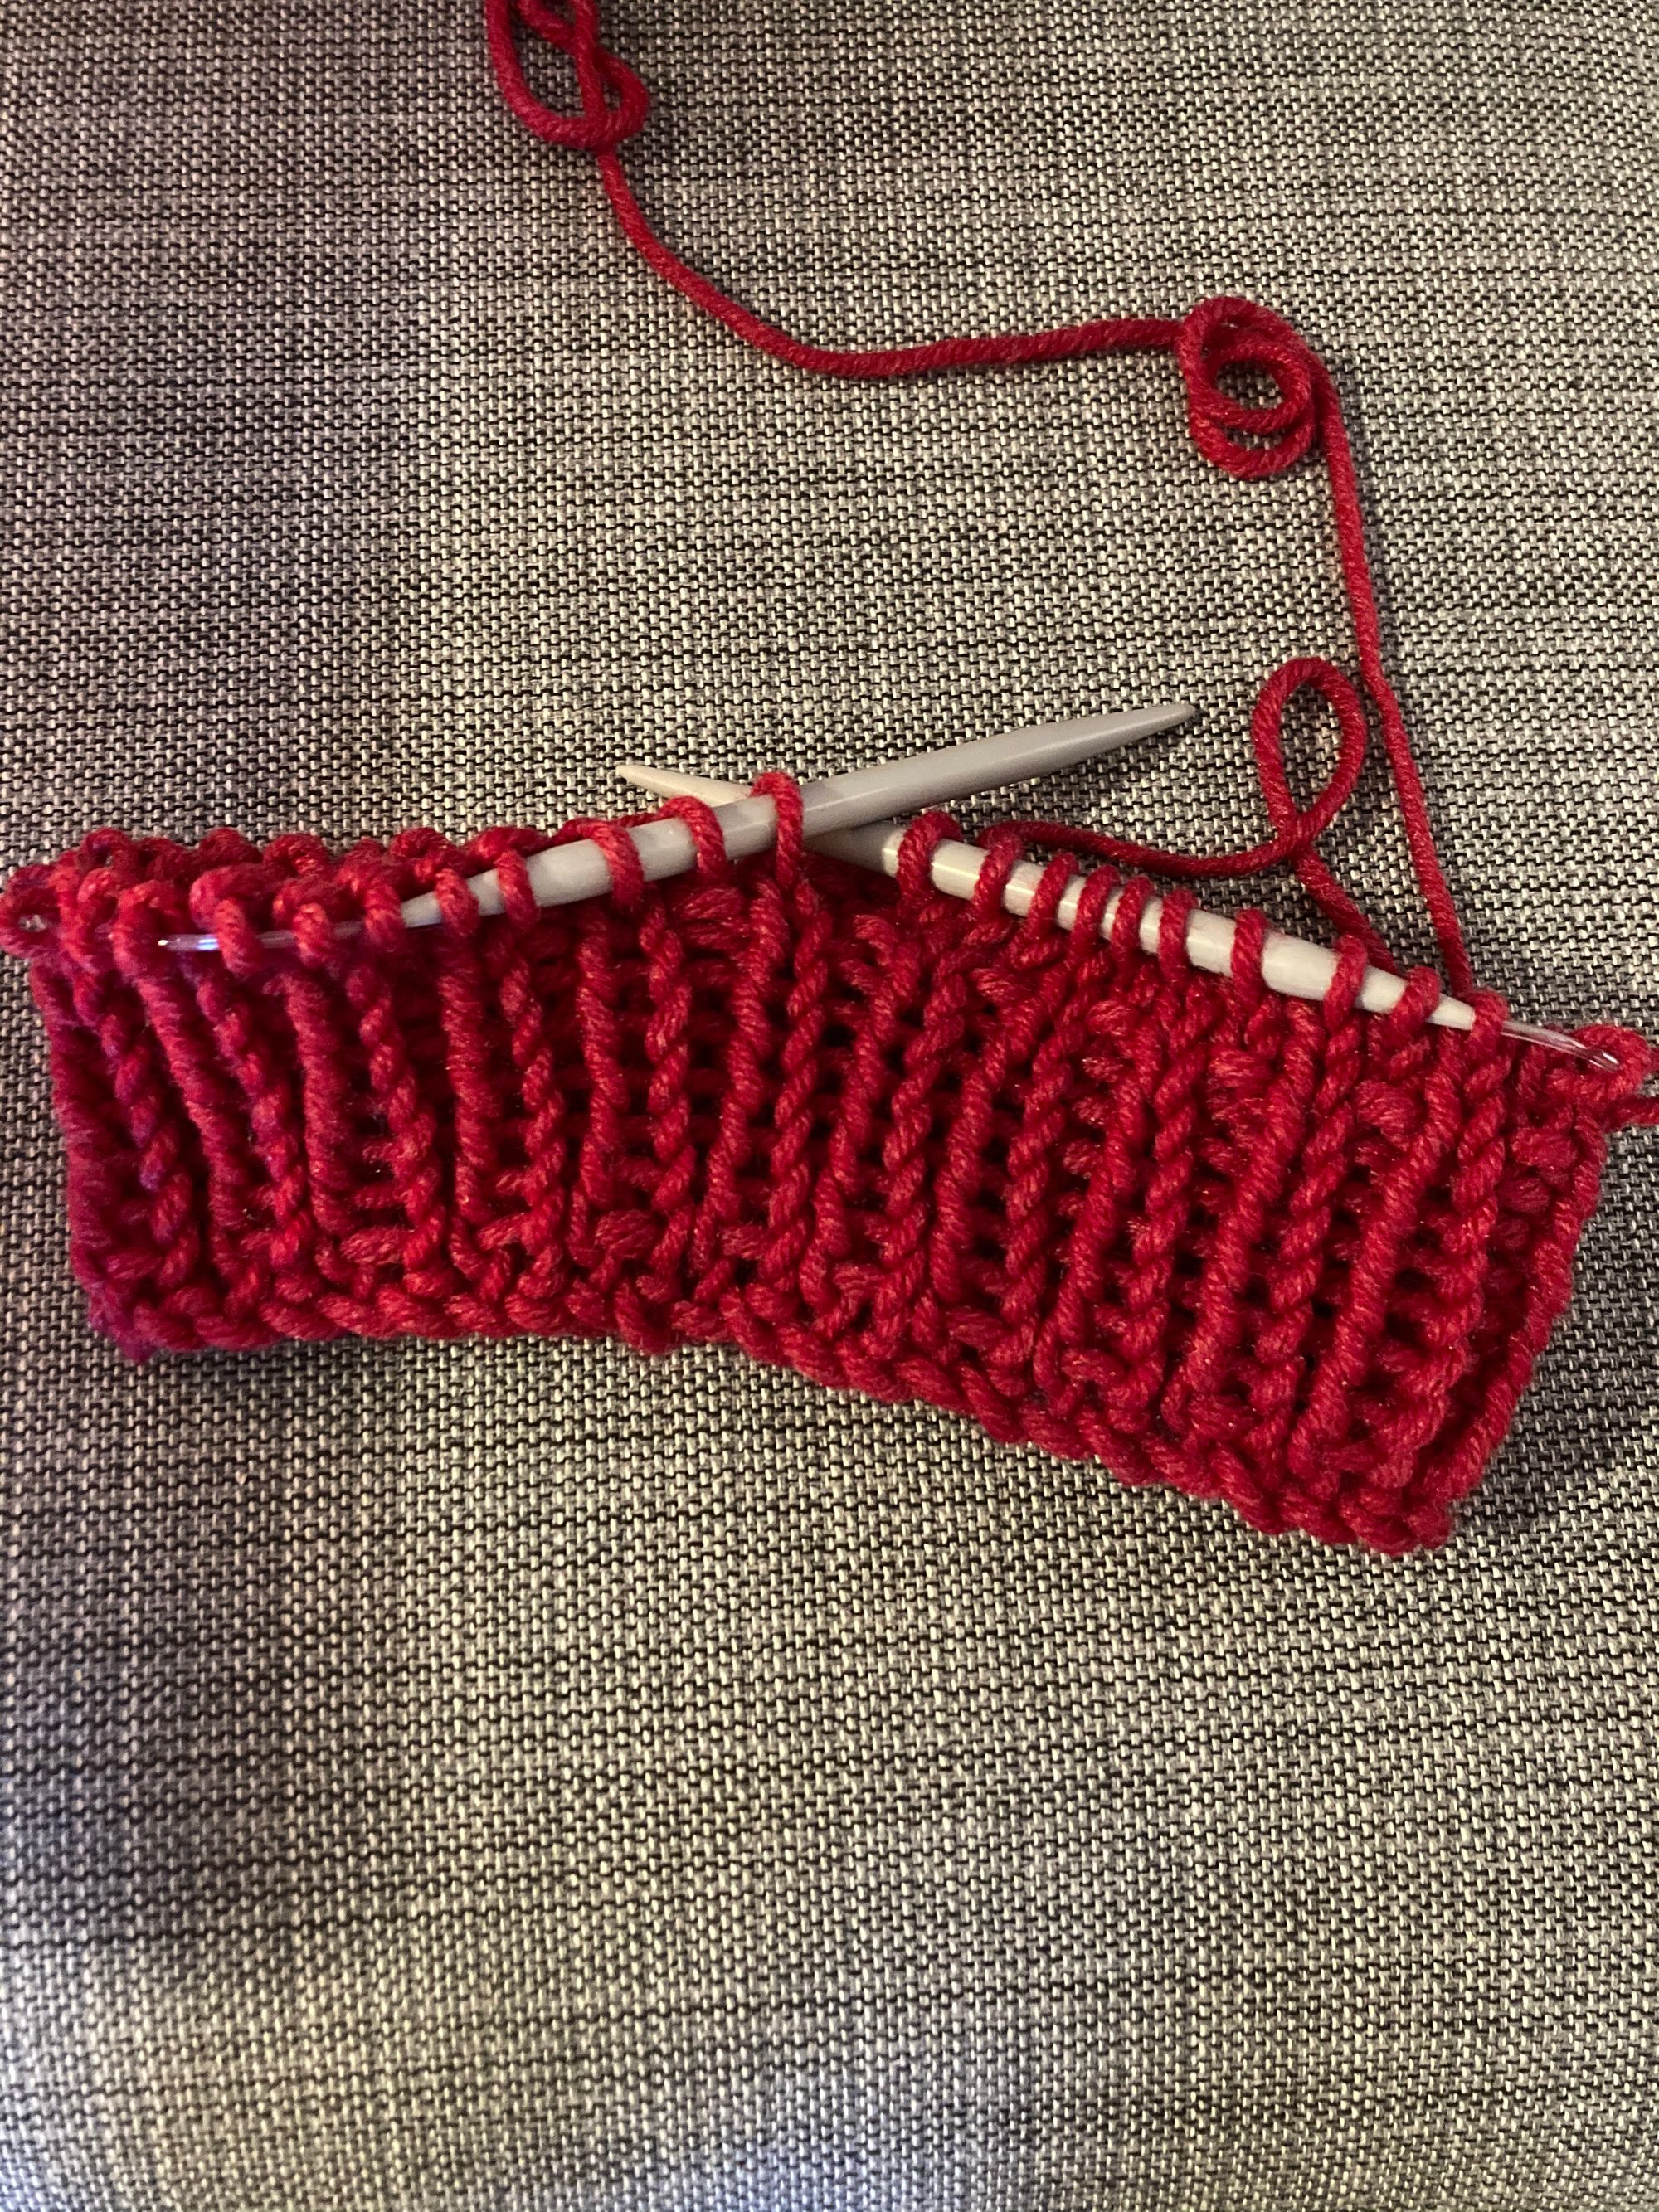
Keep going until you have the desired length for the brim of your hat. We wanted a turn up on our hat so have done eight rows, but you do not have to do this.
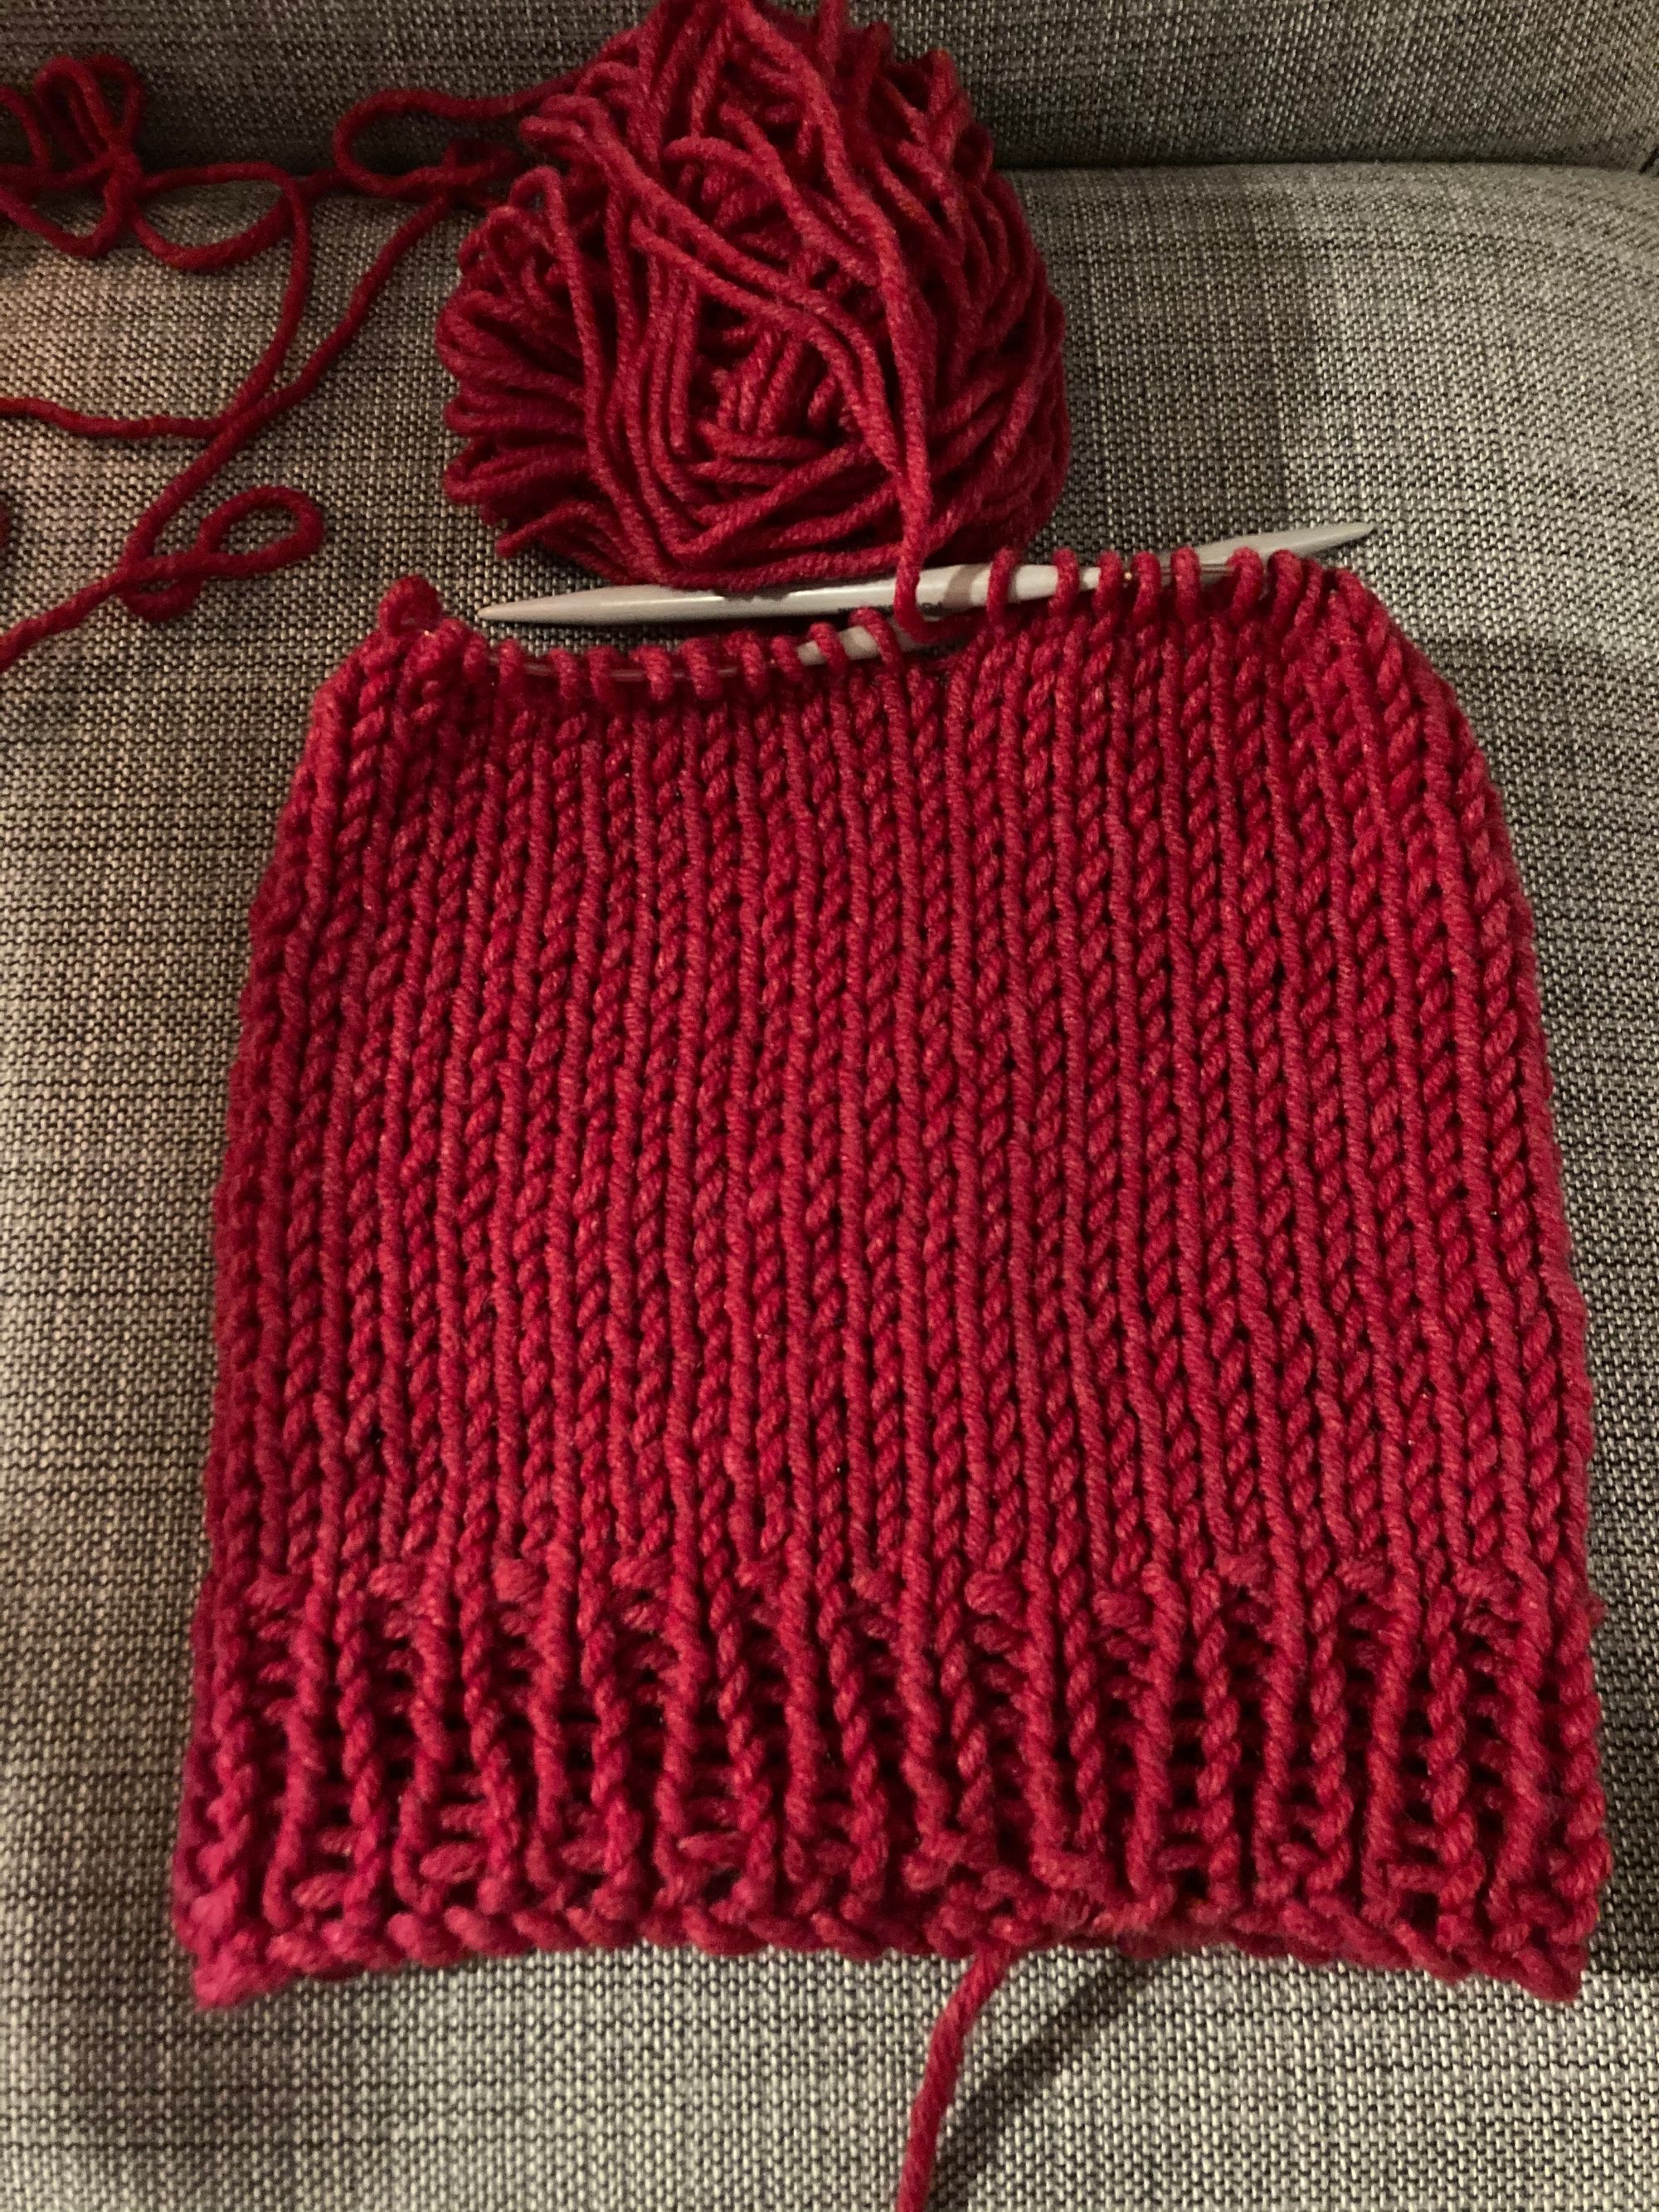
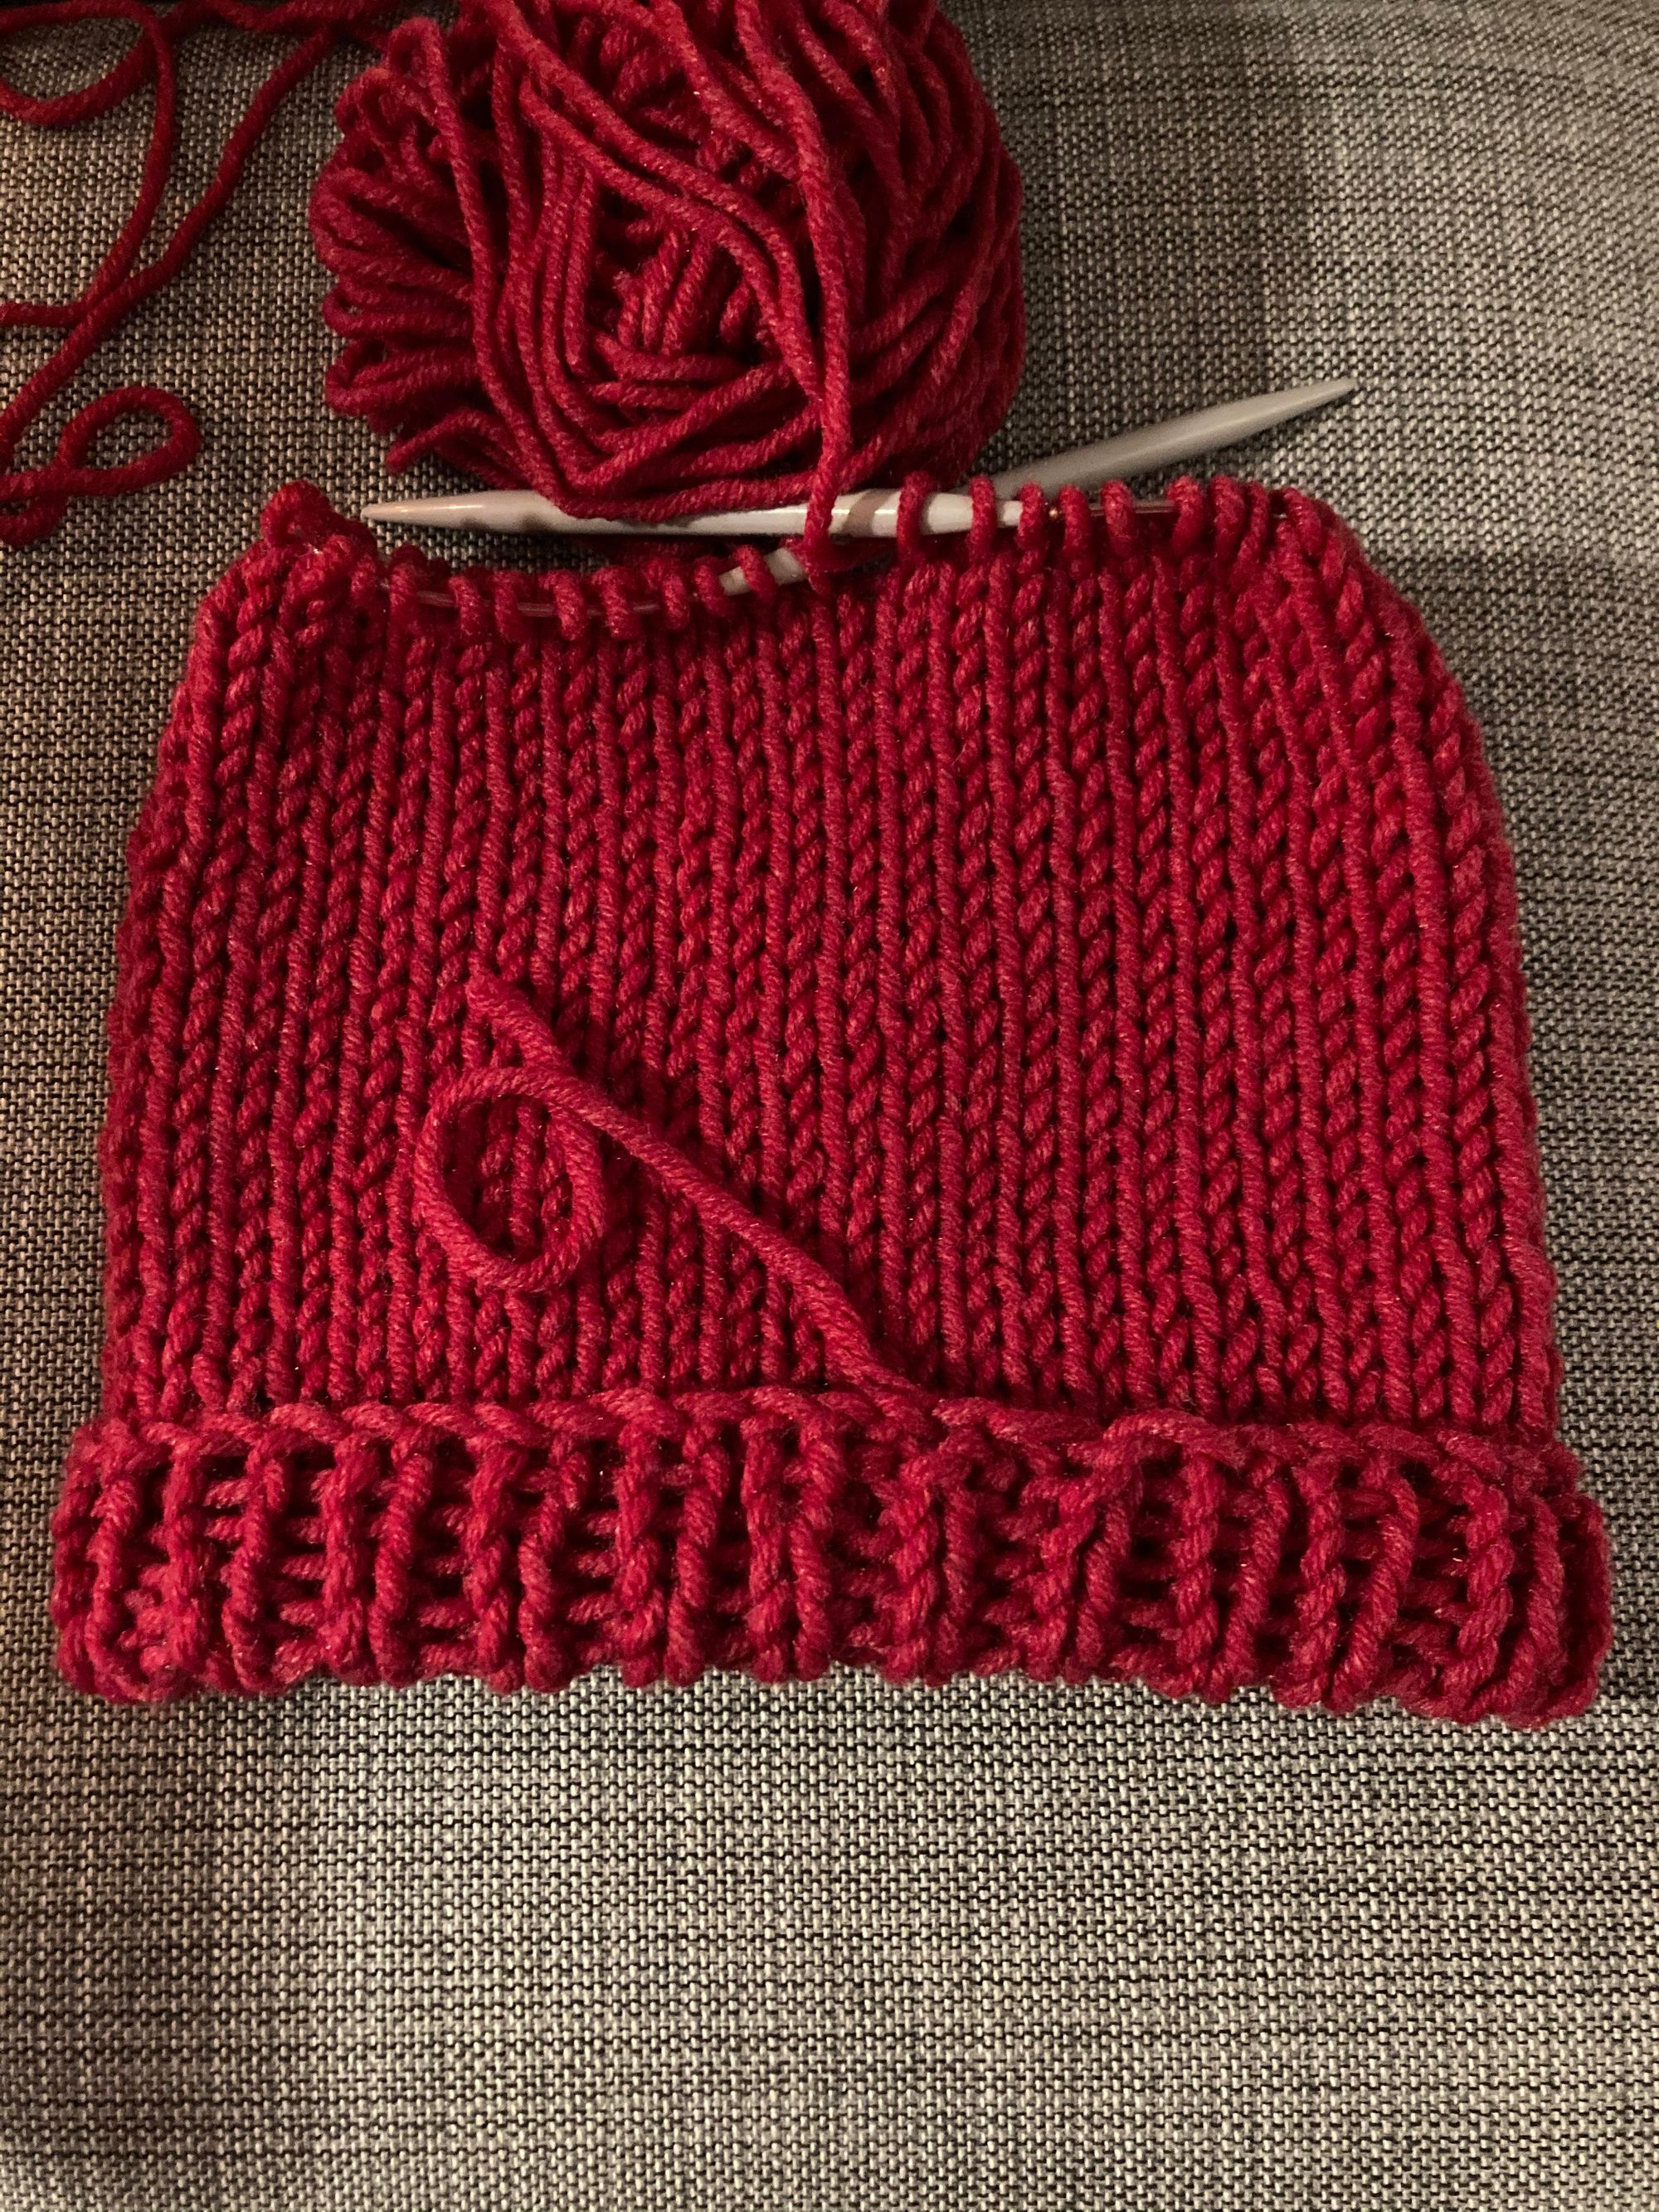
Now you’ll want to take your stitch marker off, as we’ll just measure from here. Continue knitting in plain knit stitch until your hat measures your desired length, you can hold it up to judge or you can take a more precise measurement if you wish.
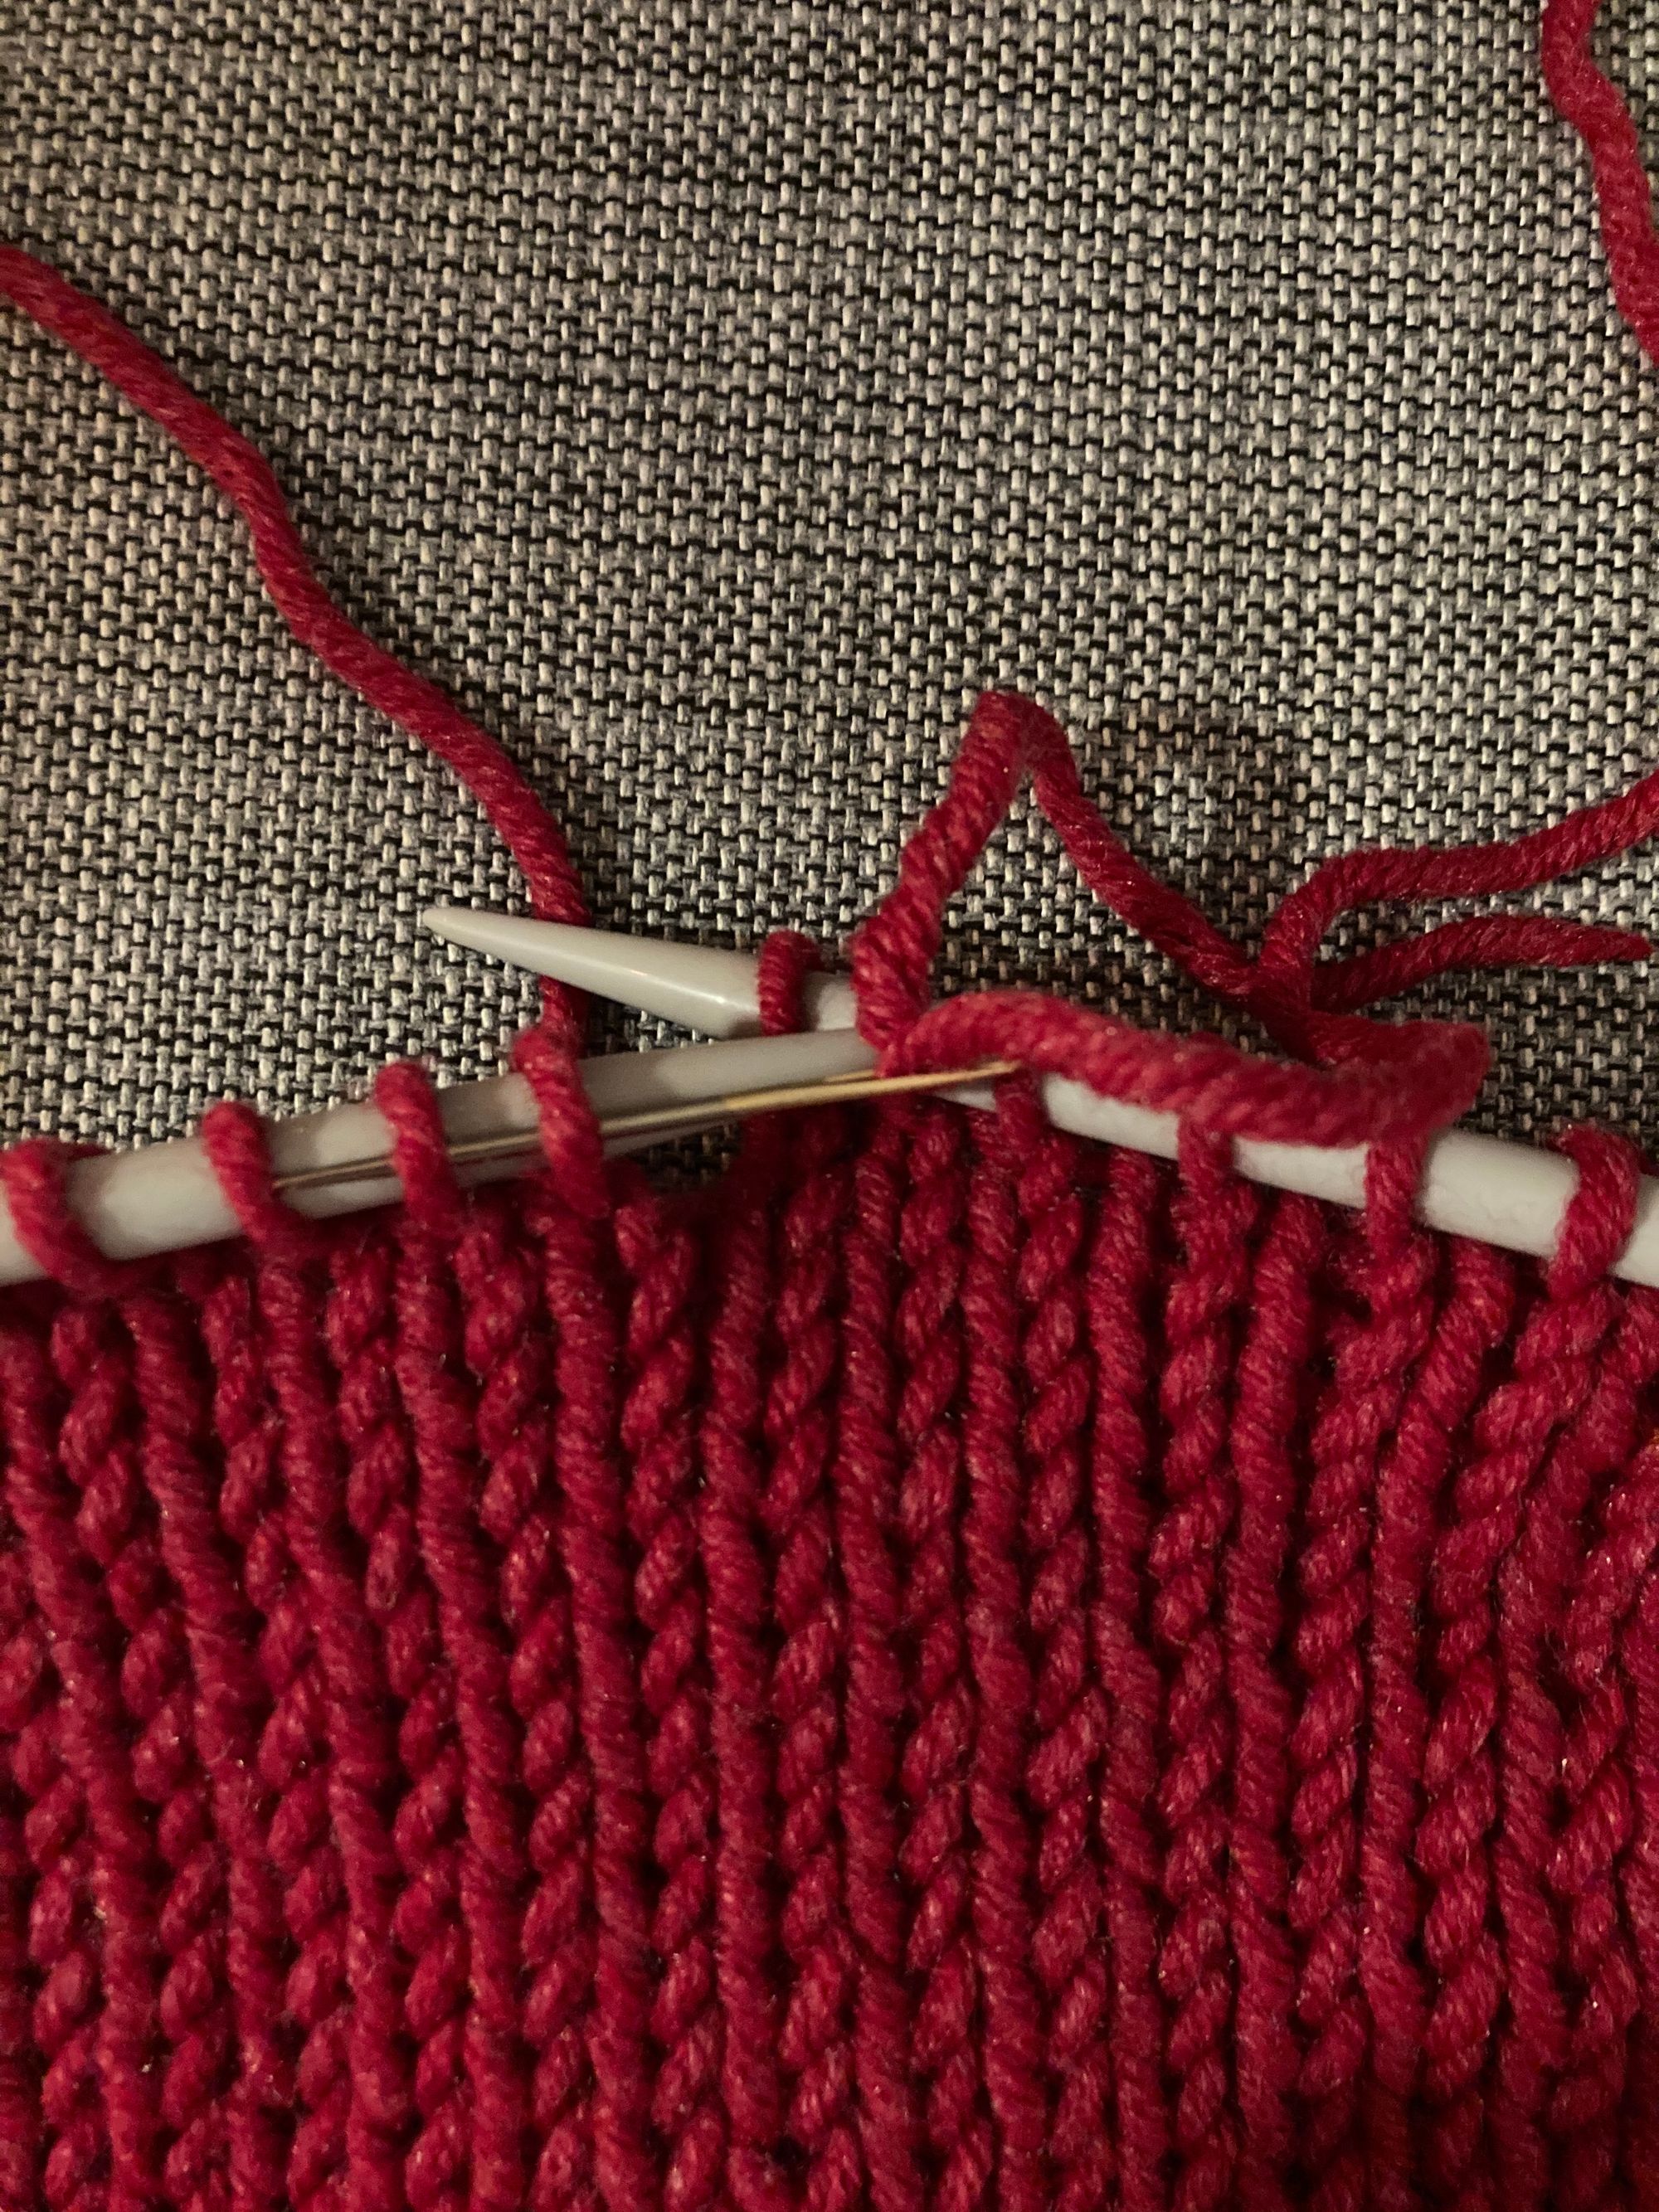
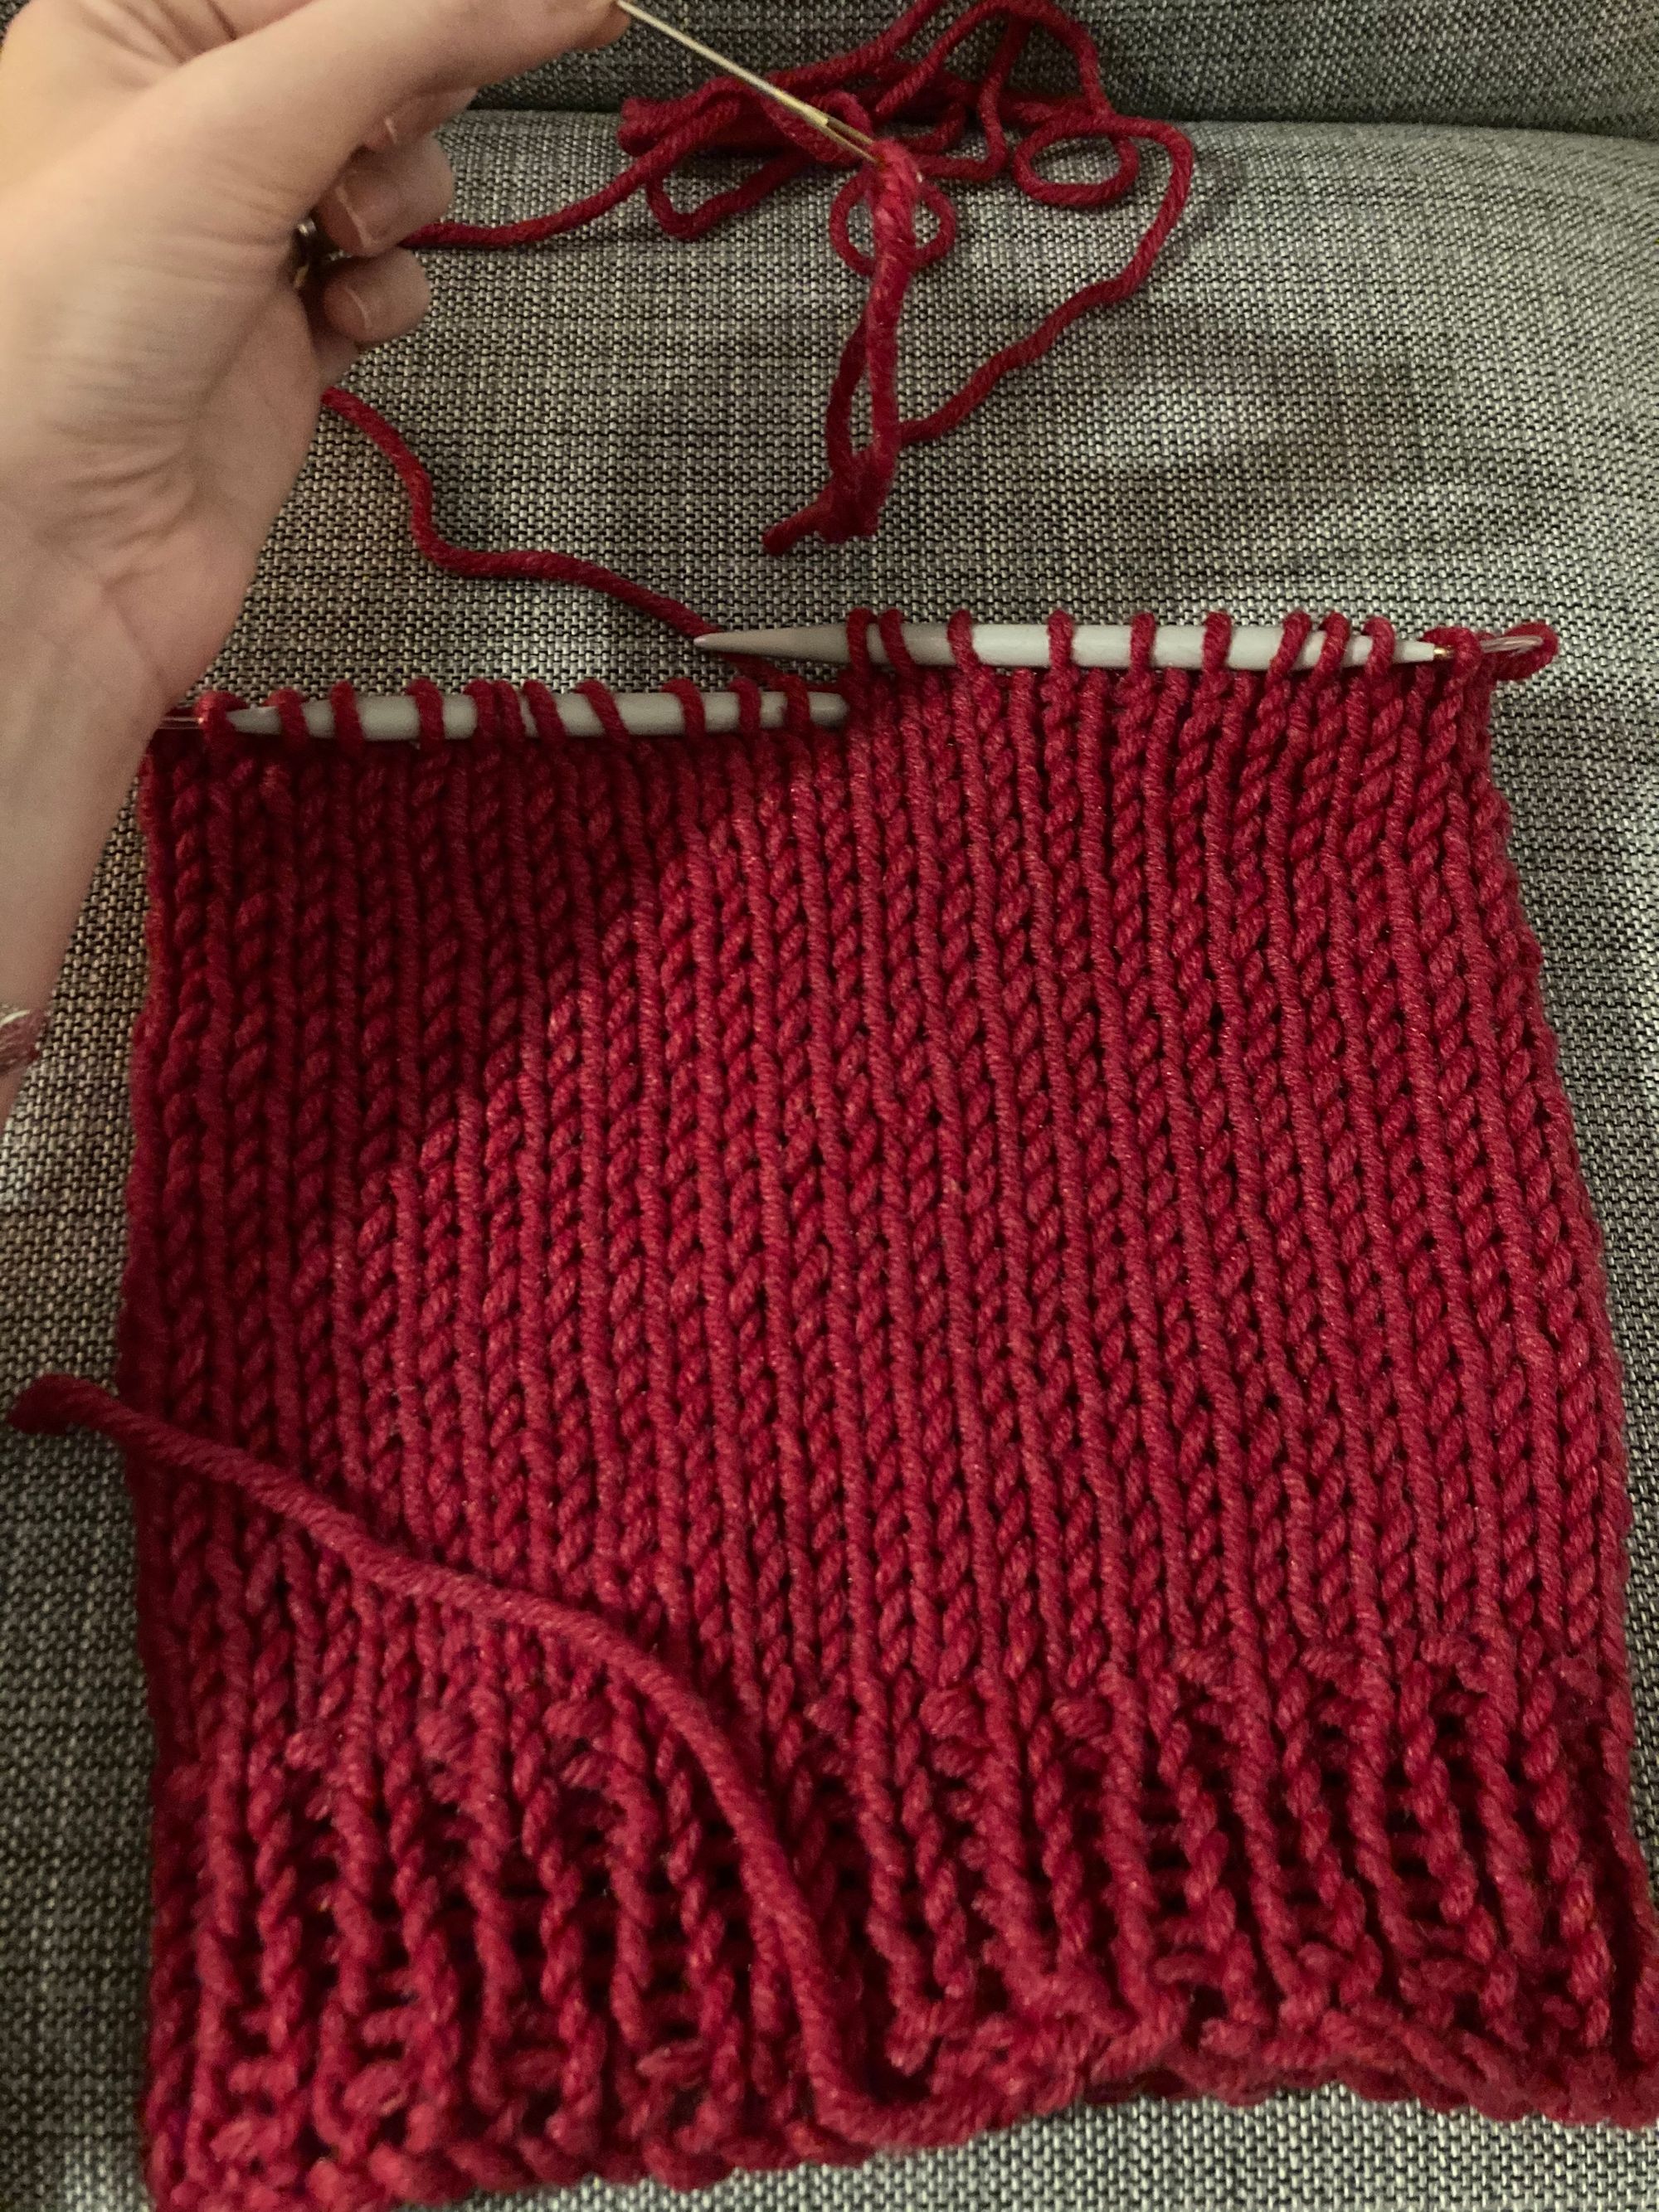
Now you’re able to cut the yarn free of the ball, you’ll want to ensure there’s around 40 cm left. Thread your darning needle and begin to sew your yarn through the stitches, working in the same direction you’ve been knitting (in our case, to the left).
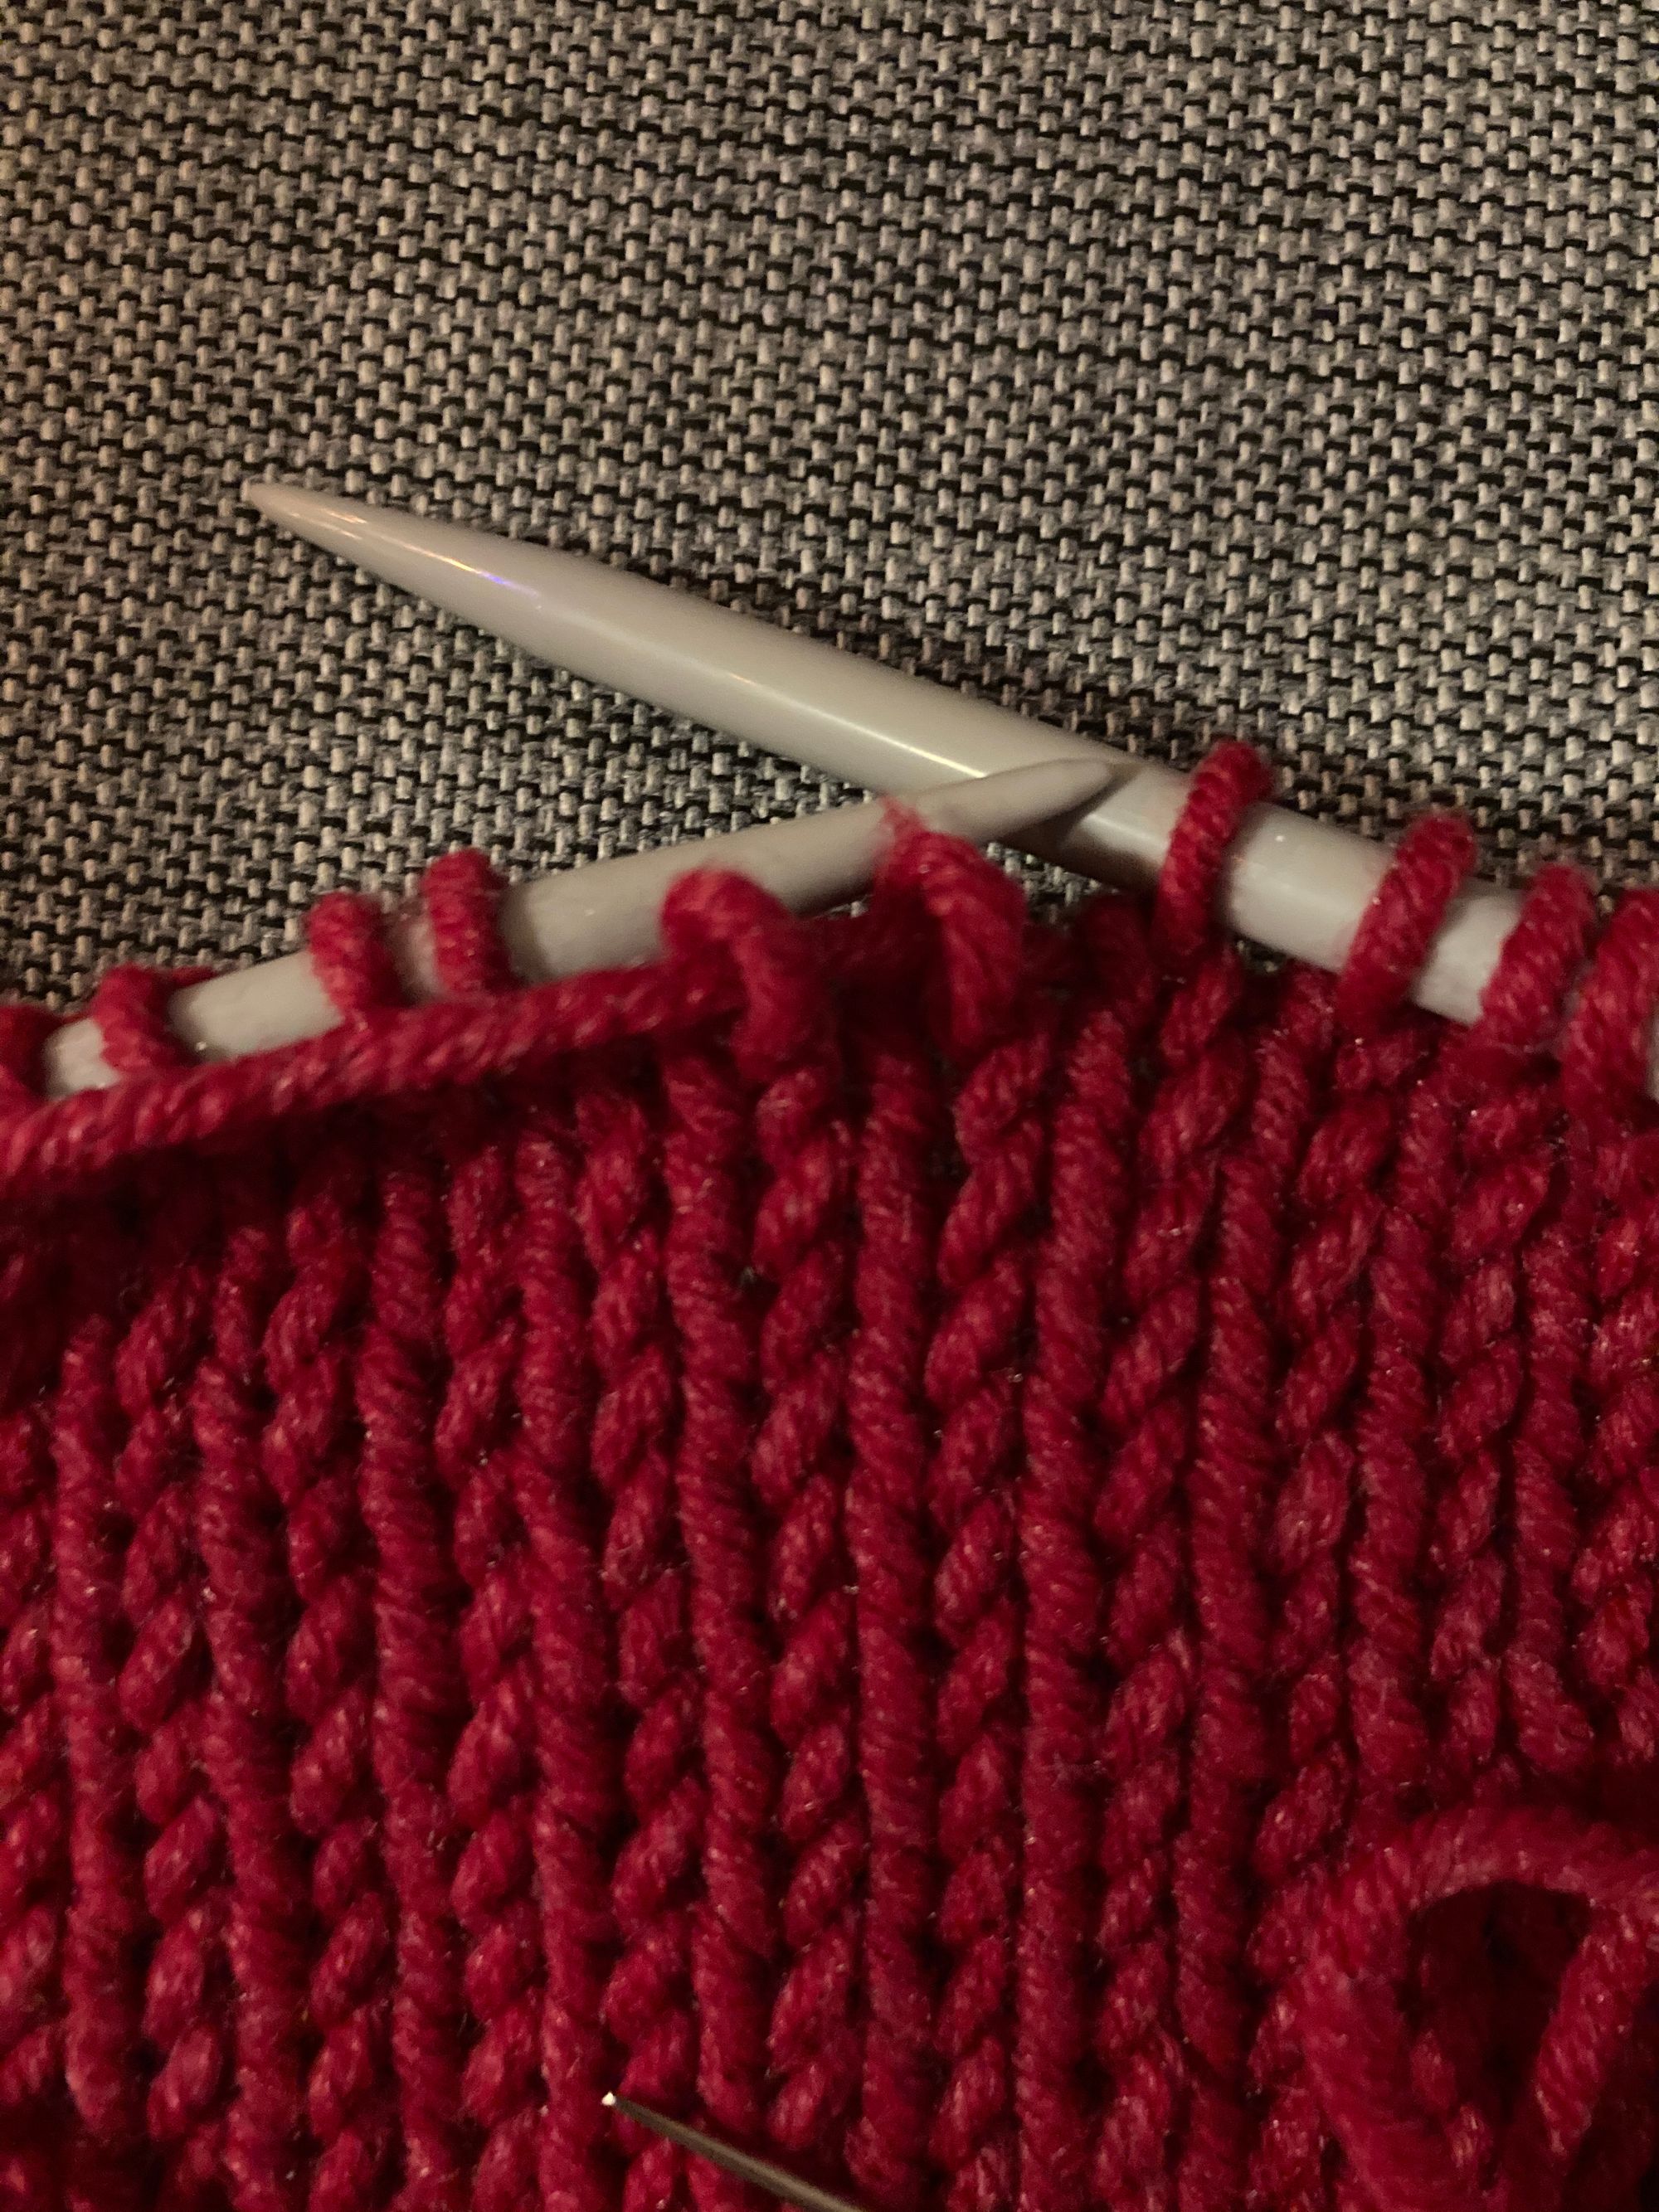
Once you’ve sewn through the stitches you can remove them from the needle. You’ll want to do this until your hat is free from the circular needles completely and all stitches are on the yarn.
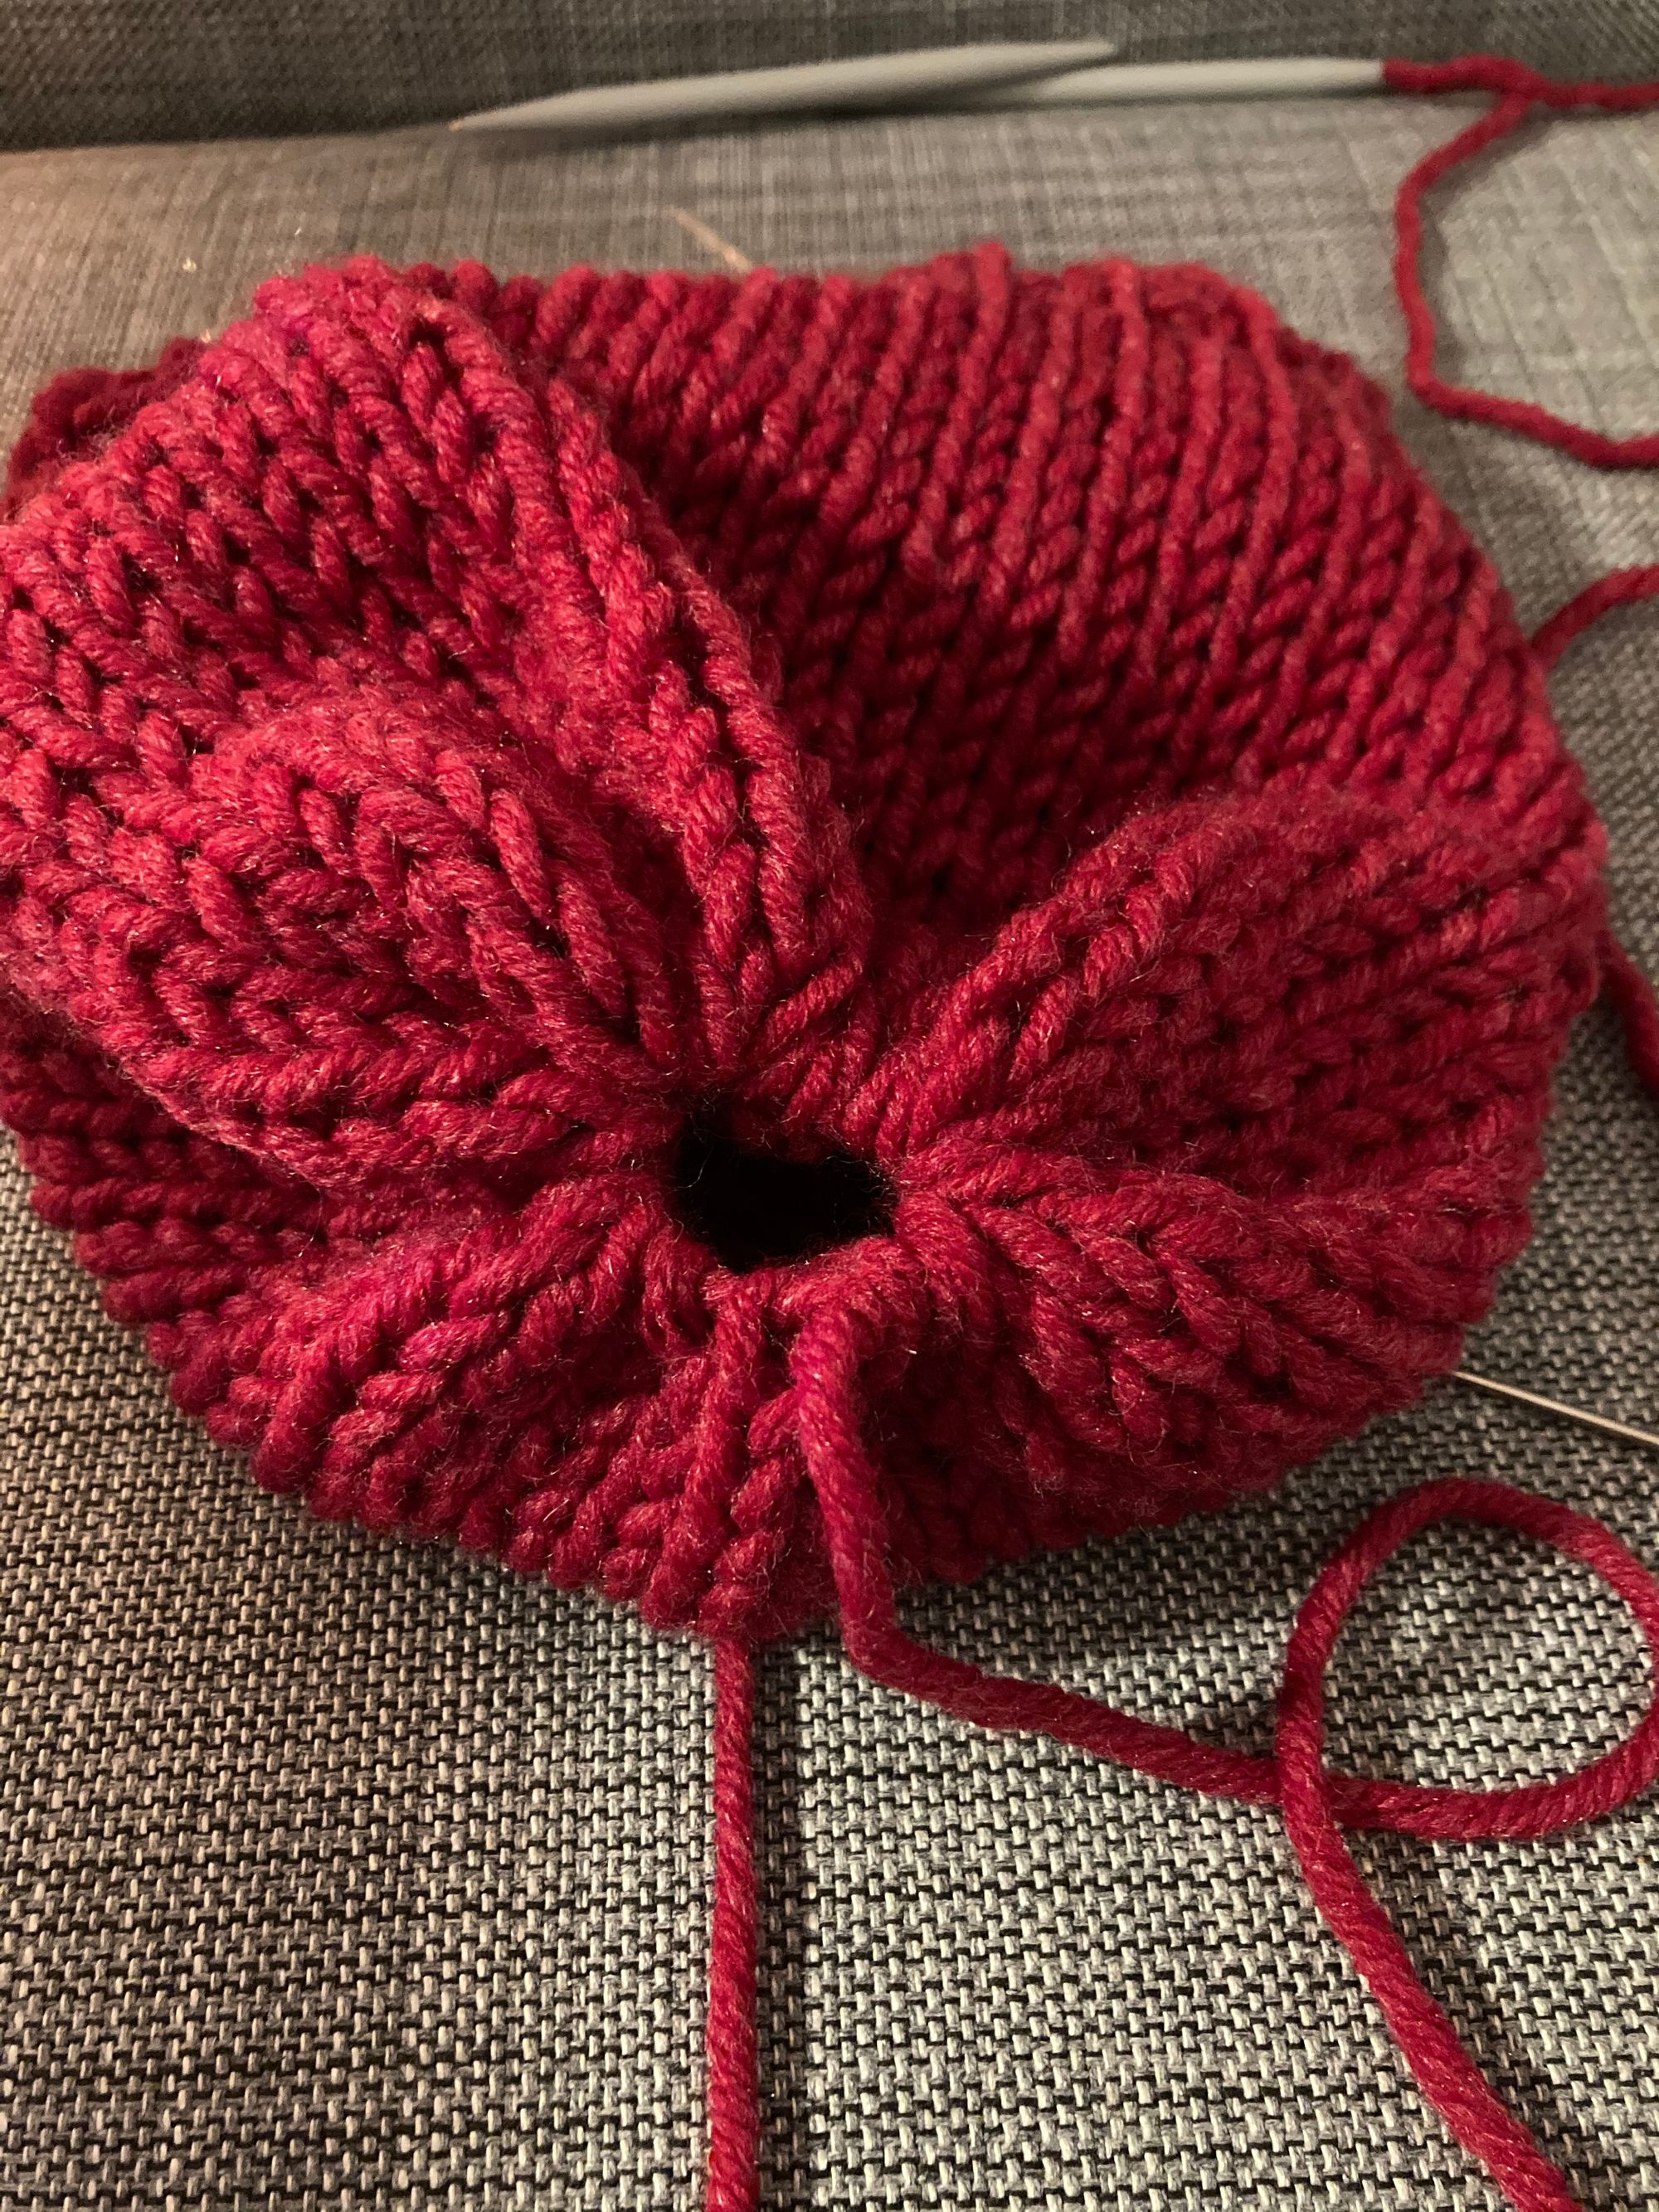
There are lots of ways to finish off a hat, but we think this is by far the simplest - pull tight on your yarn until the hat begins to gather, like a drawstring. Be careful not to pull too tight and snap your yarn.
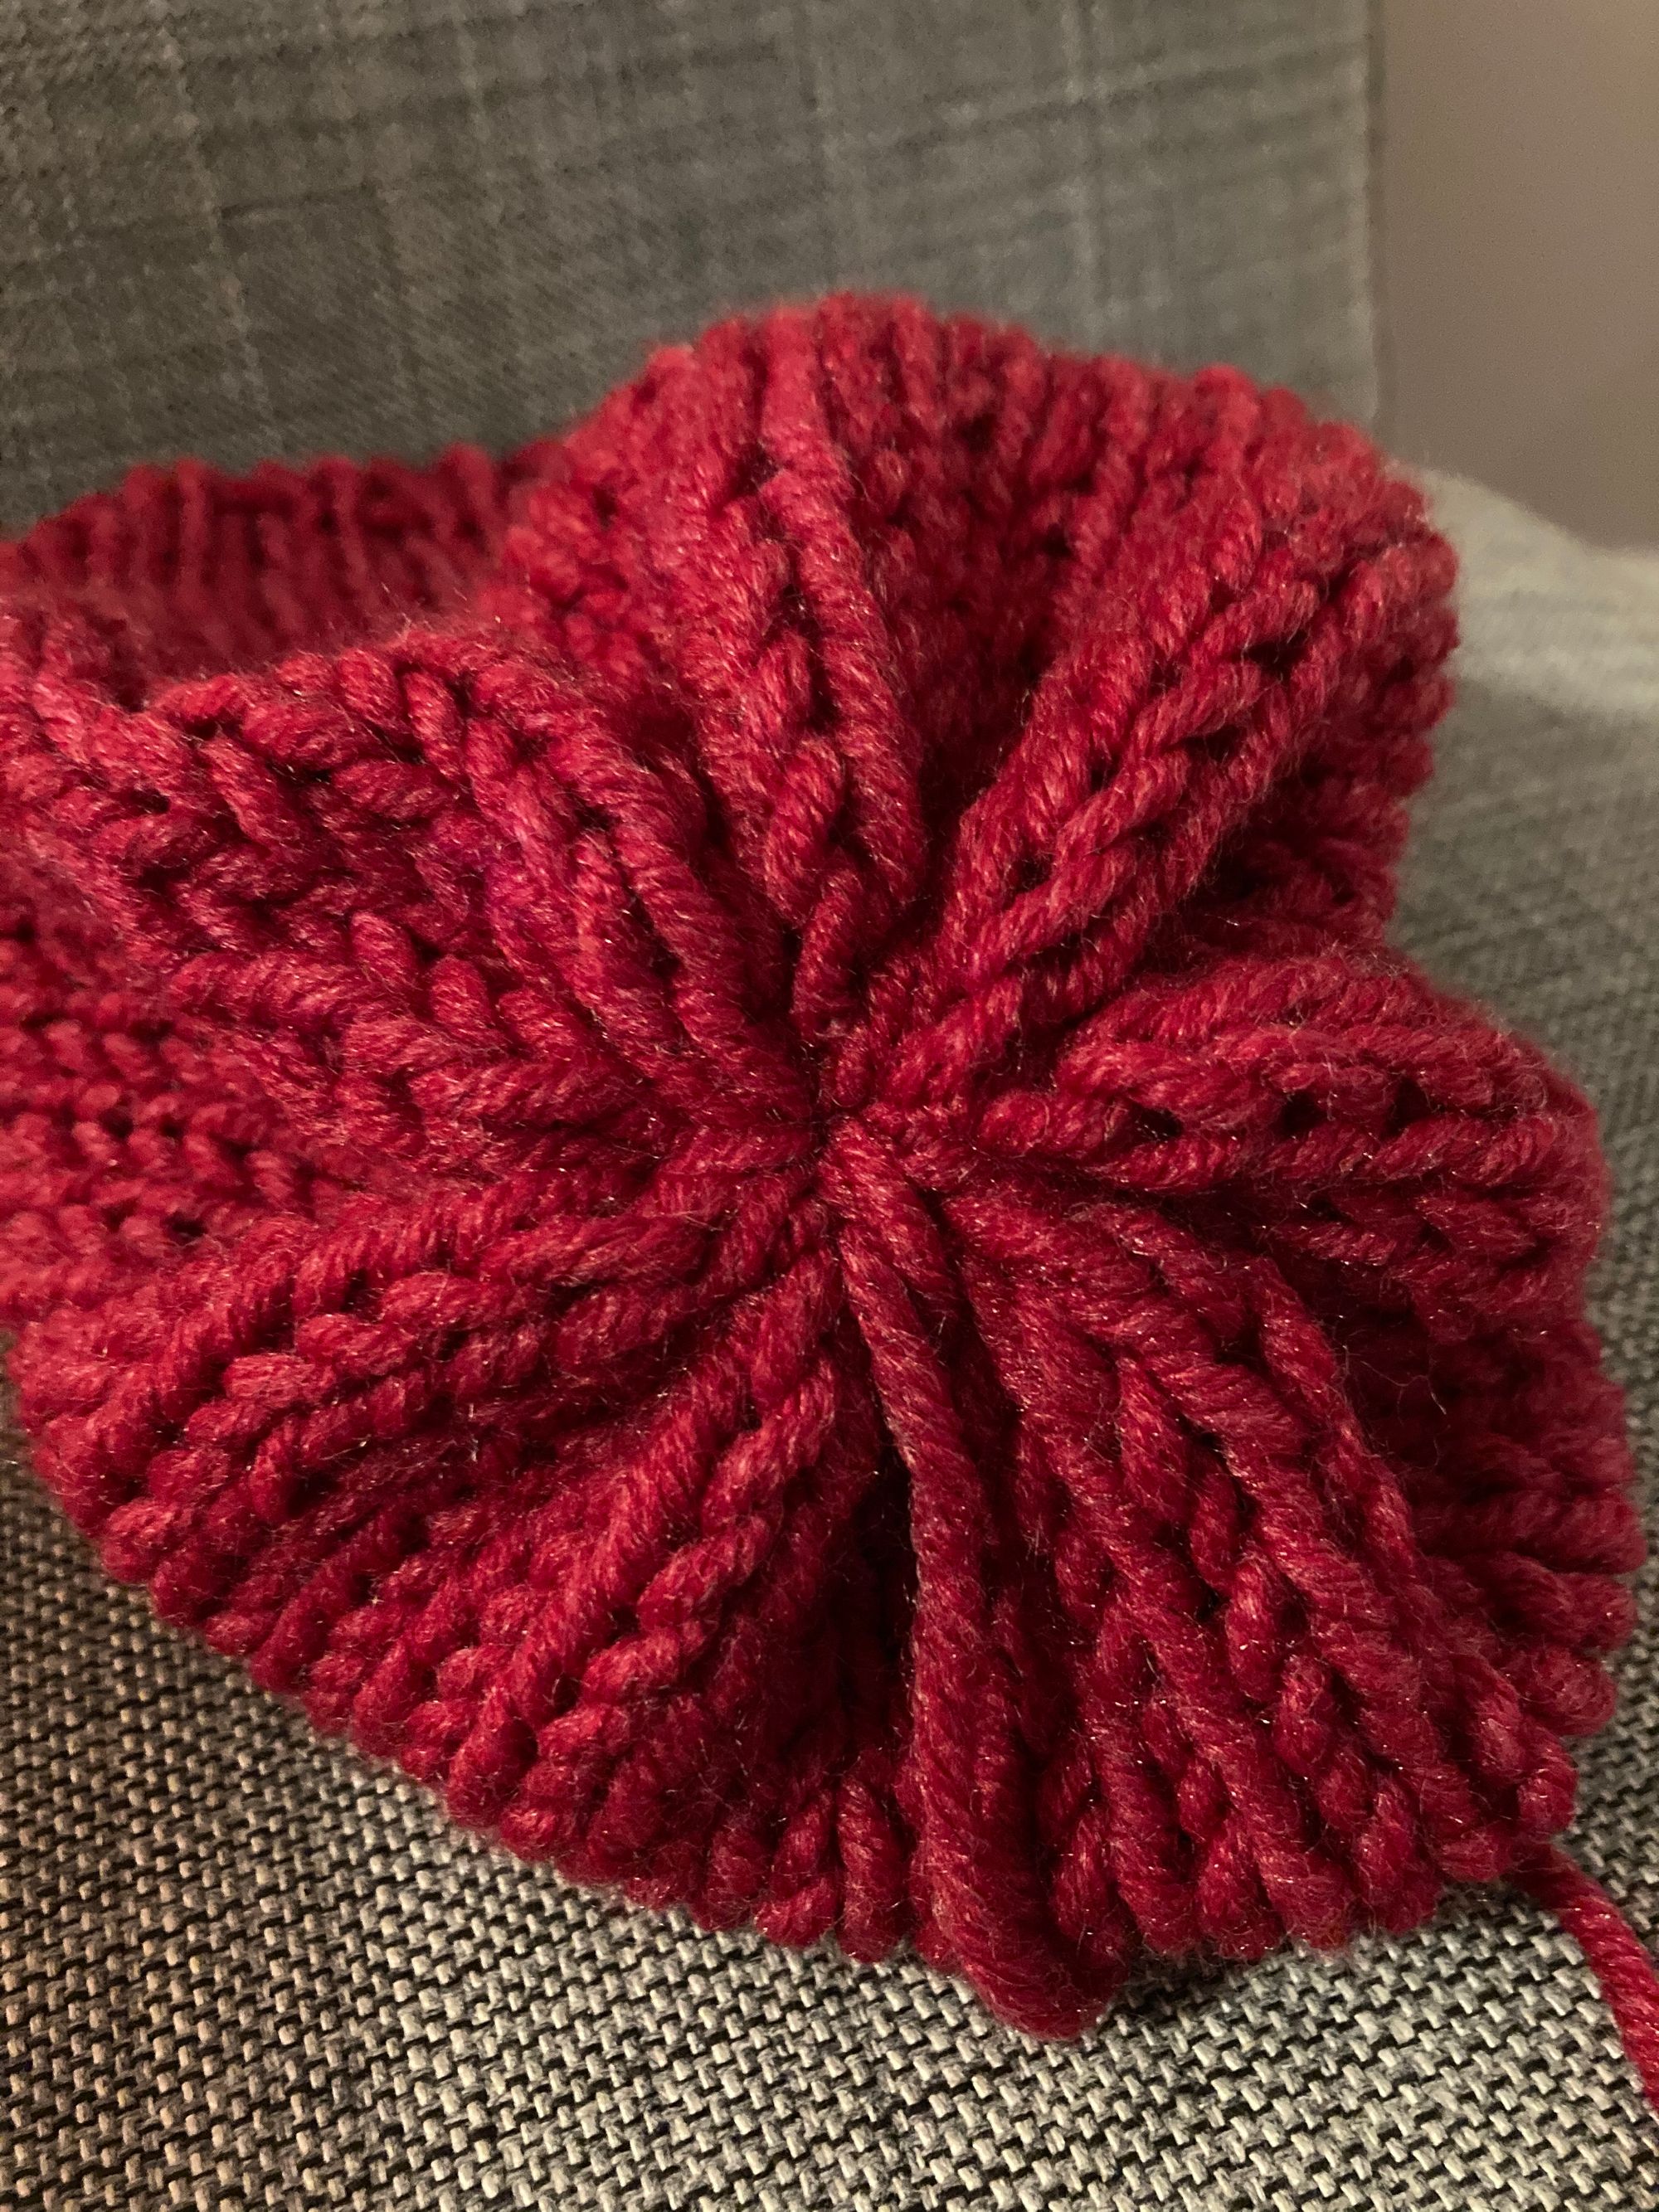
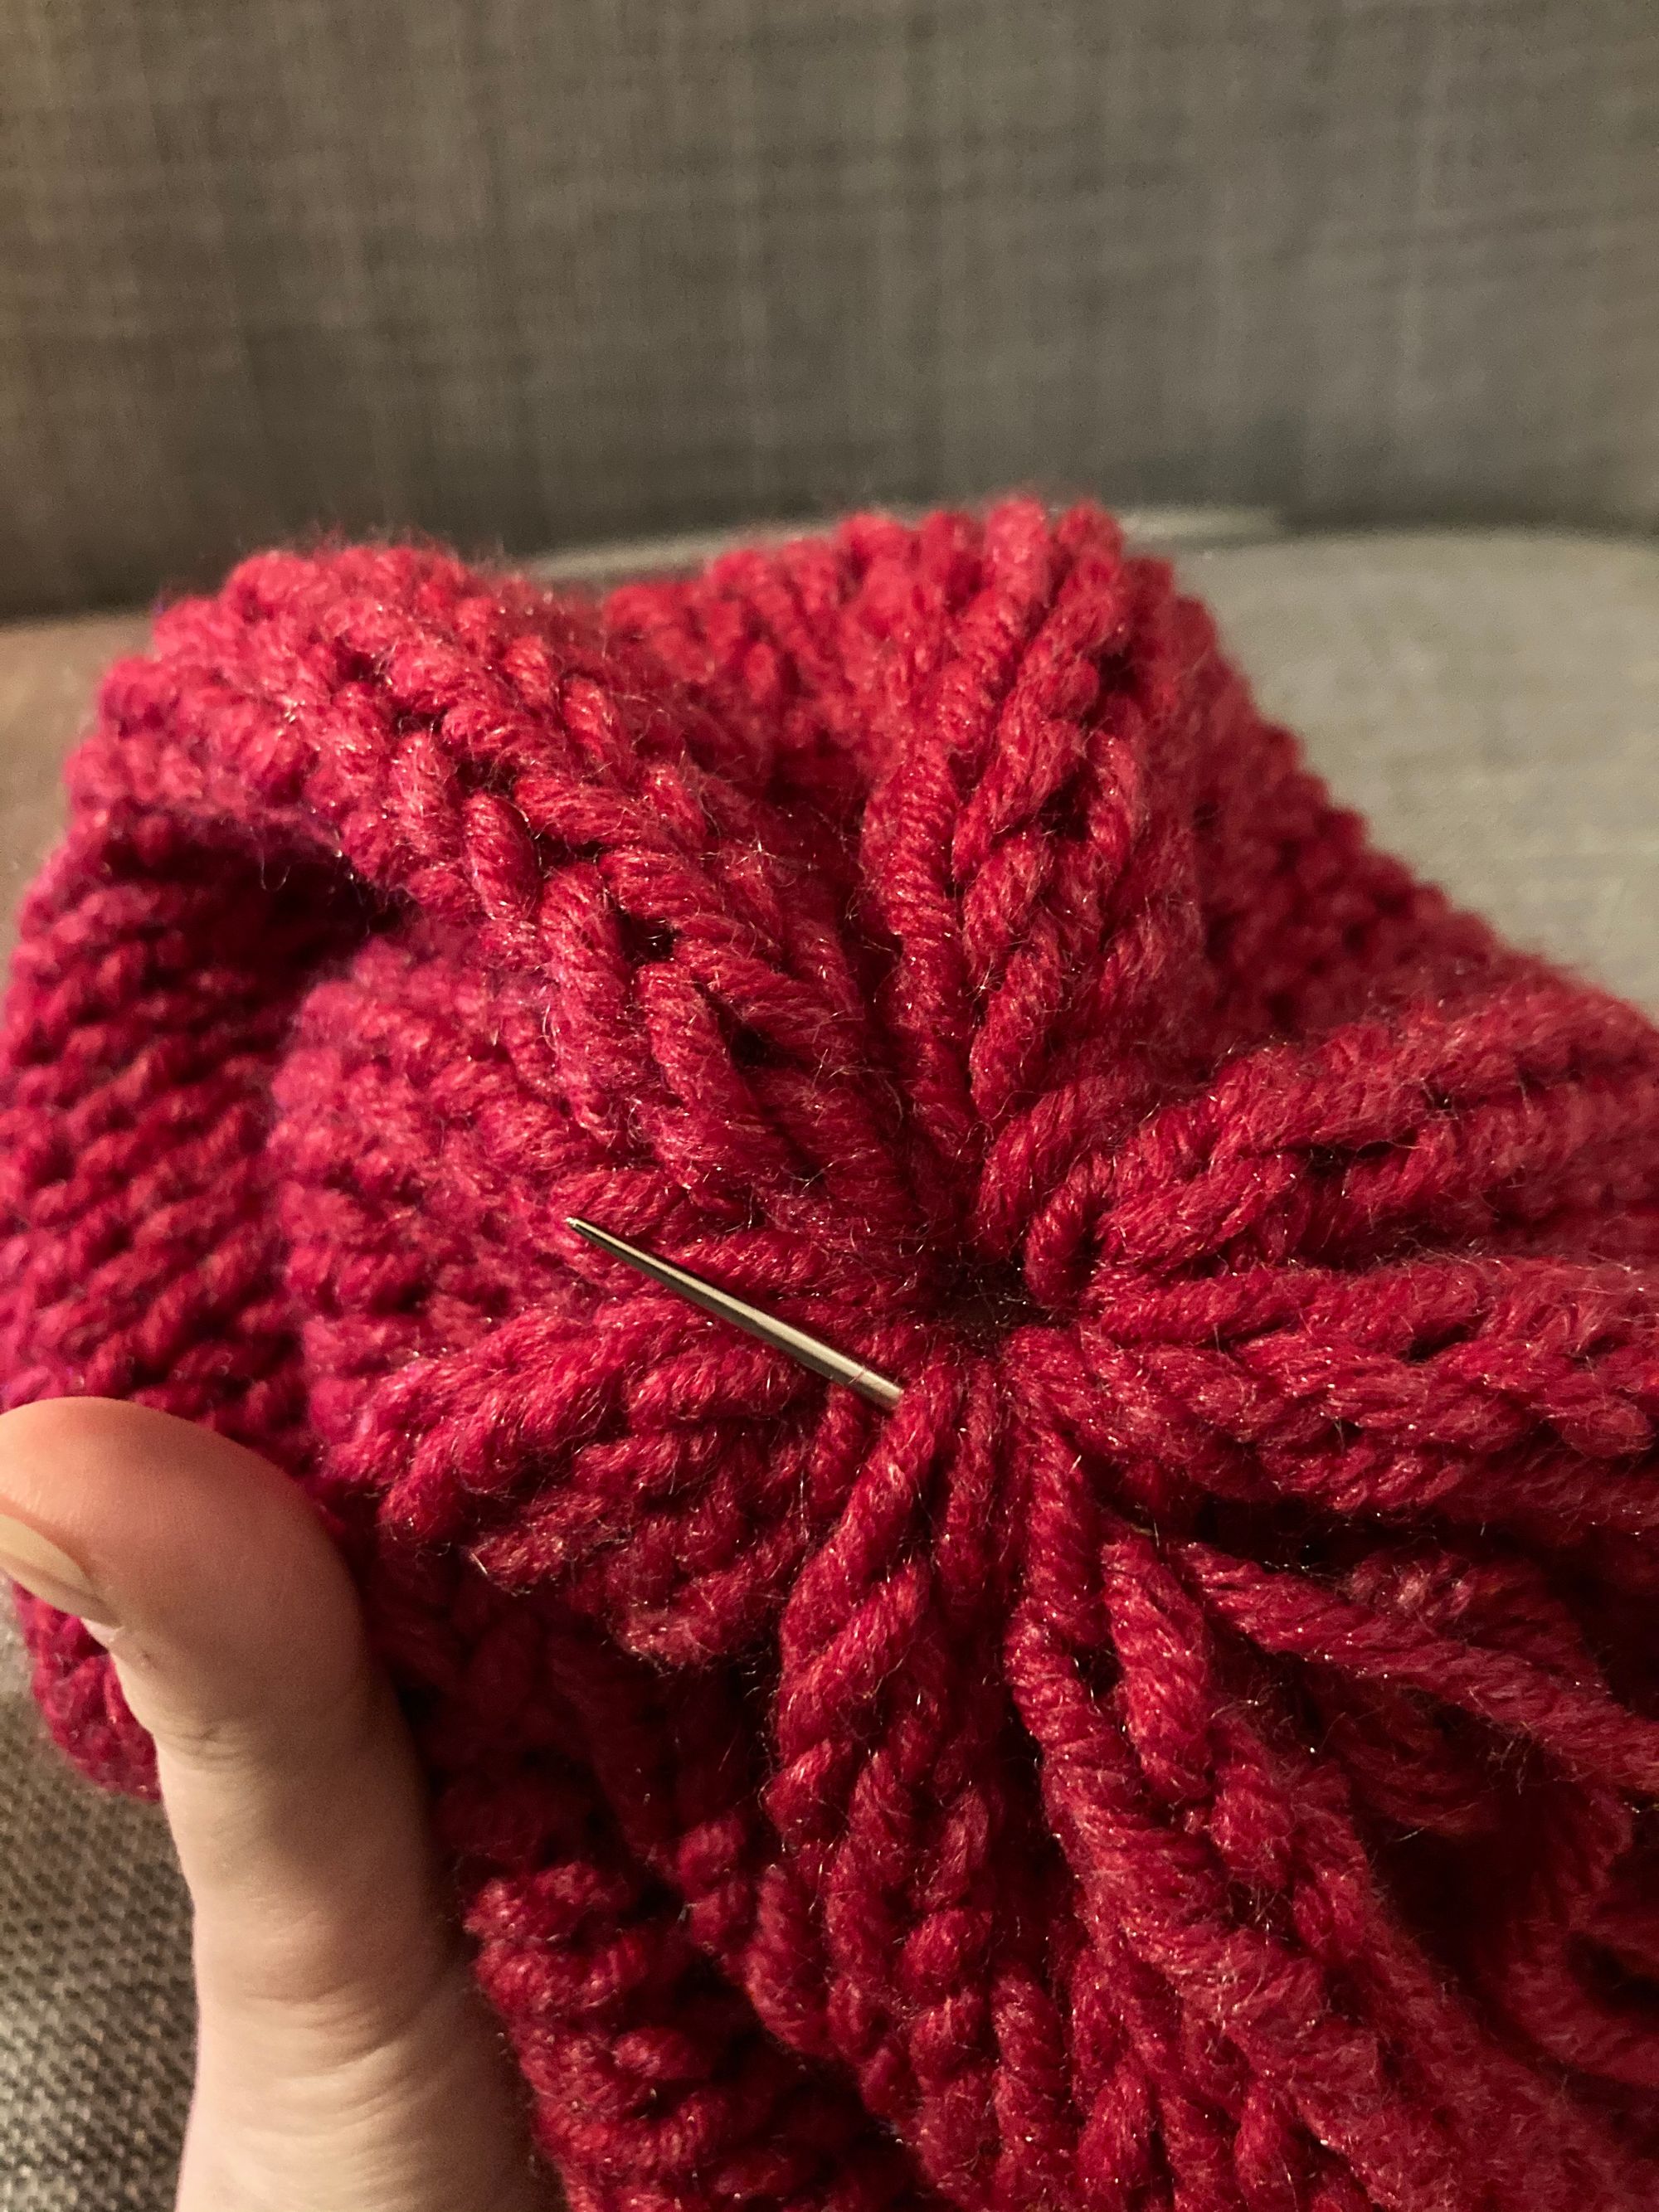
The next step to sew the top up. Sew around the edge of the top of the hat (it doesn’t matter if this is a little messy) - keep going until it feels secure. From the outside, thread your needle and yarn through the centre of the top to the inside of the hat and sew in a circle again on the inside to secure.
Tie a couple of knots and then leave a tail approx. 4cm on the inside (just in case!). There will be an end hanging at the bottom of your hat where you started, so using your darning needle, weave this in. The main part of your hat is done - now for the bobble...
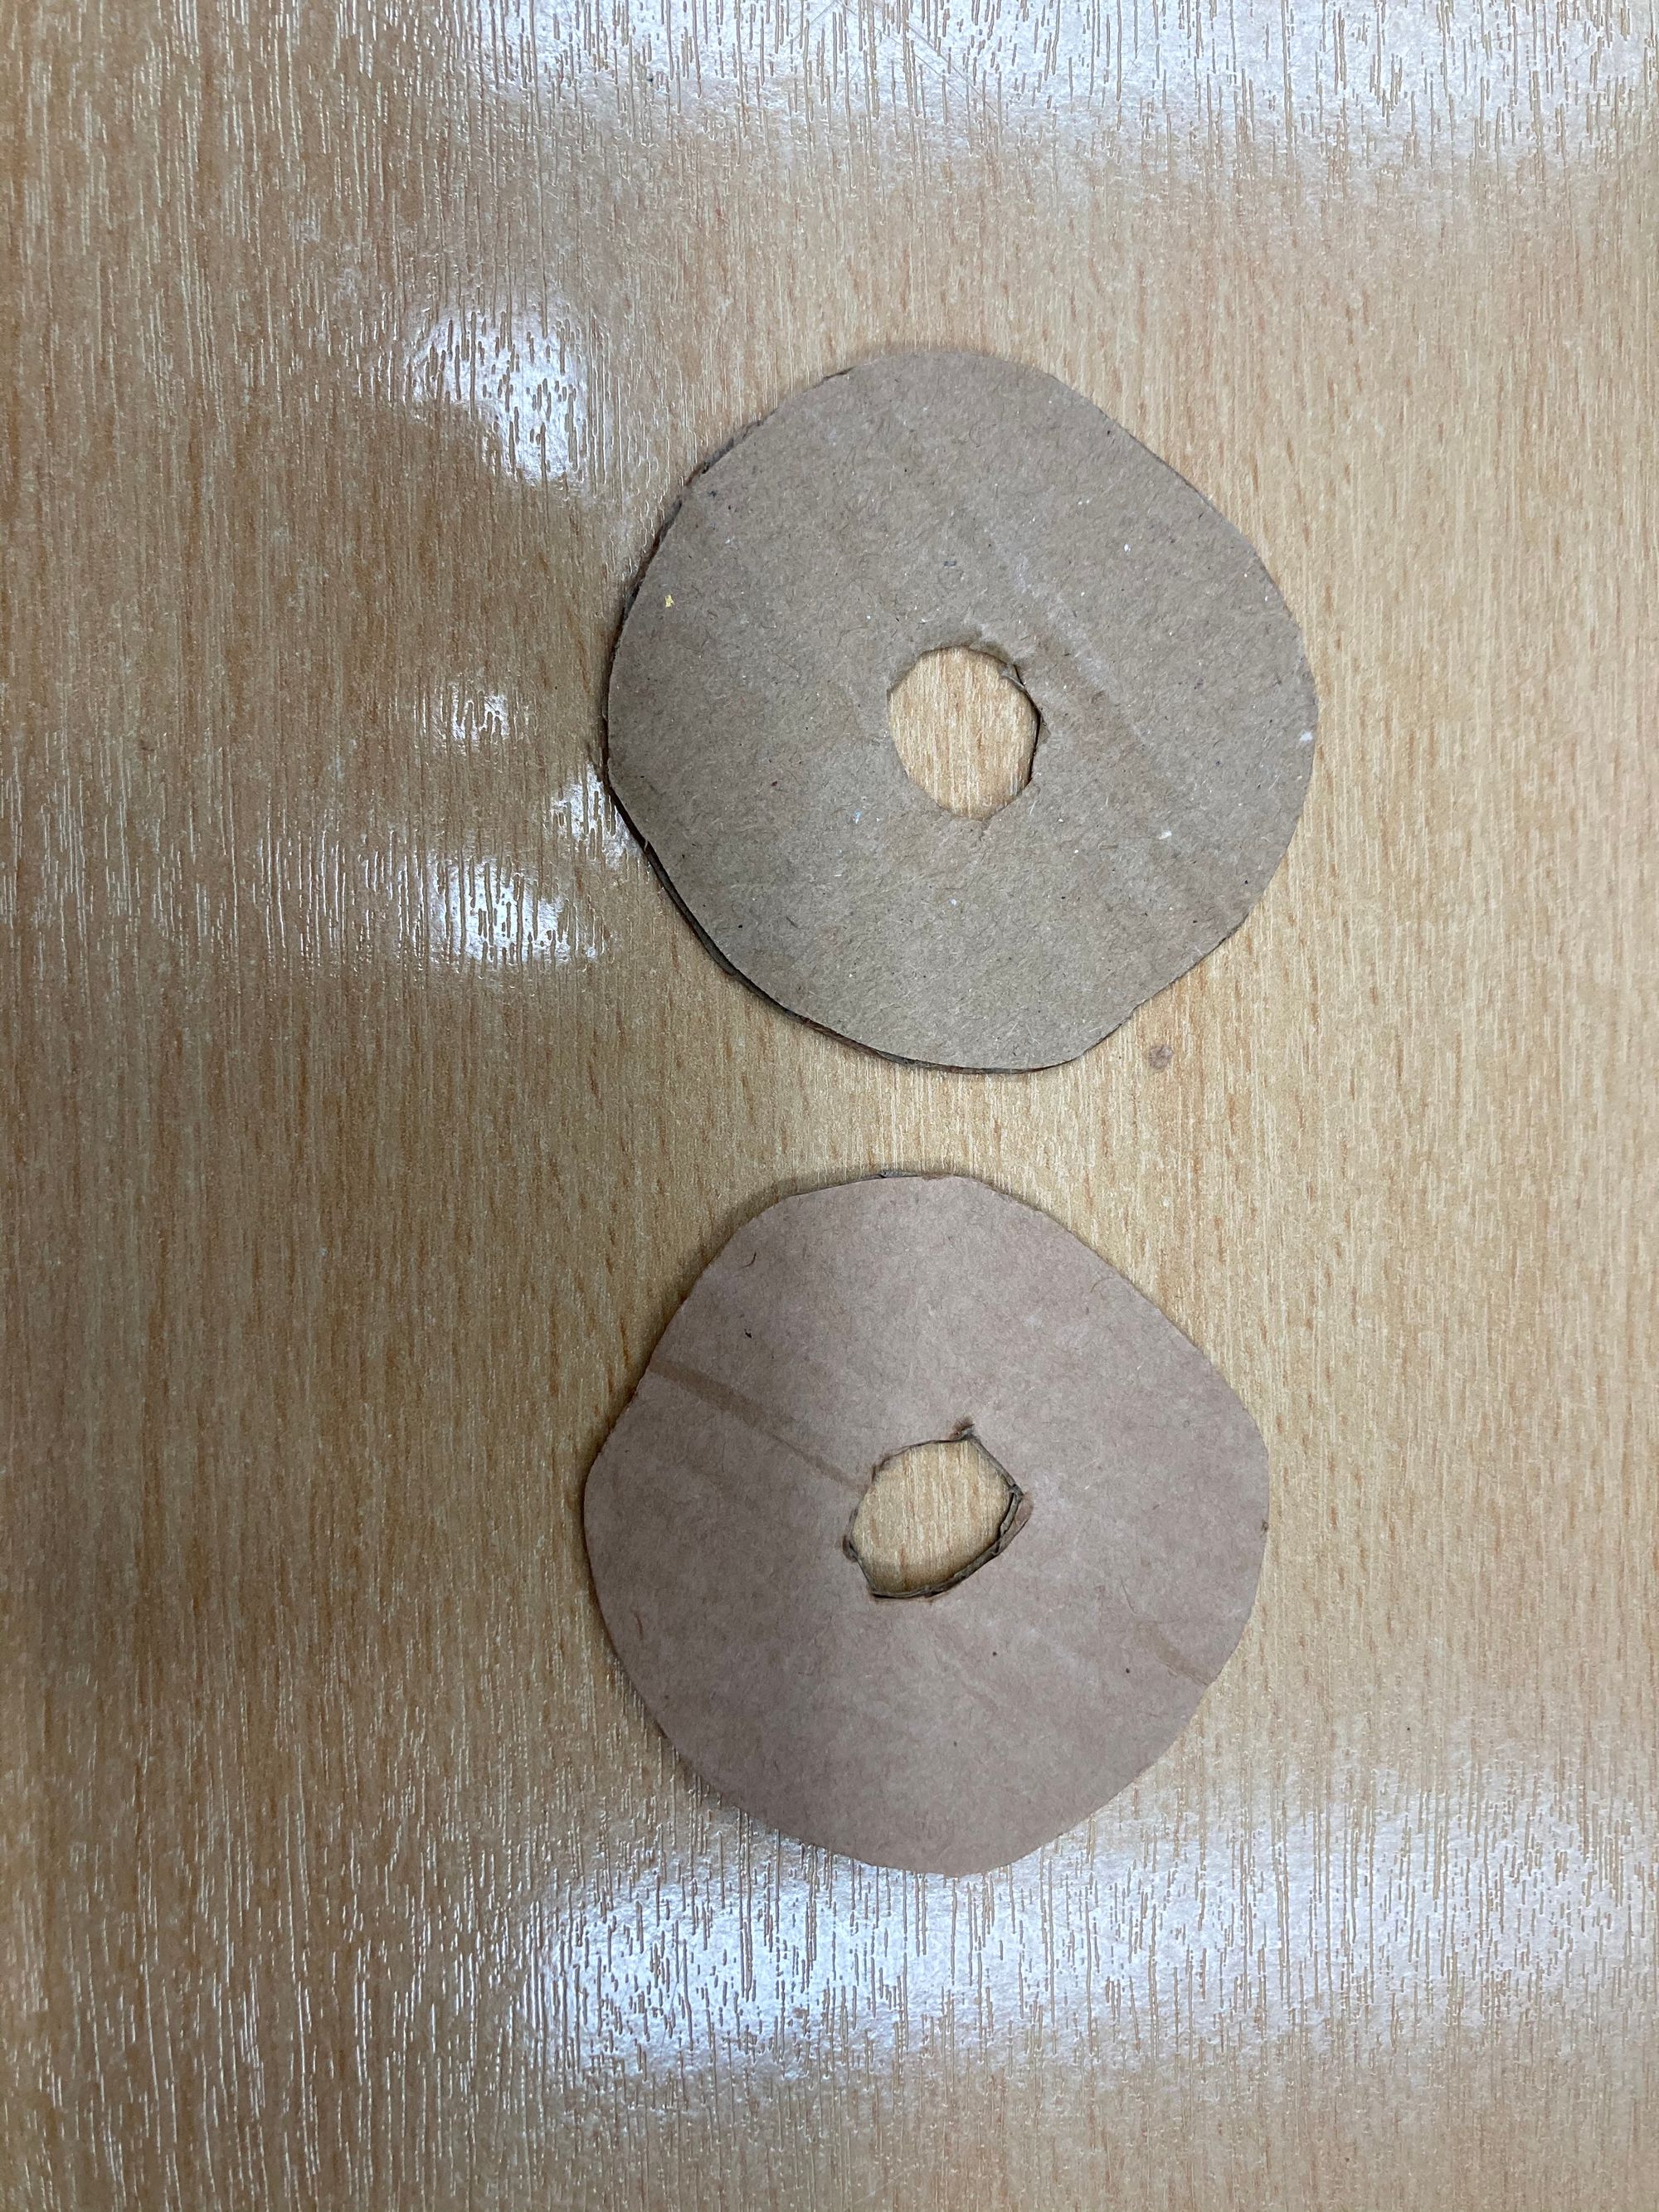
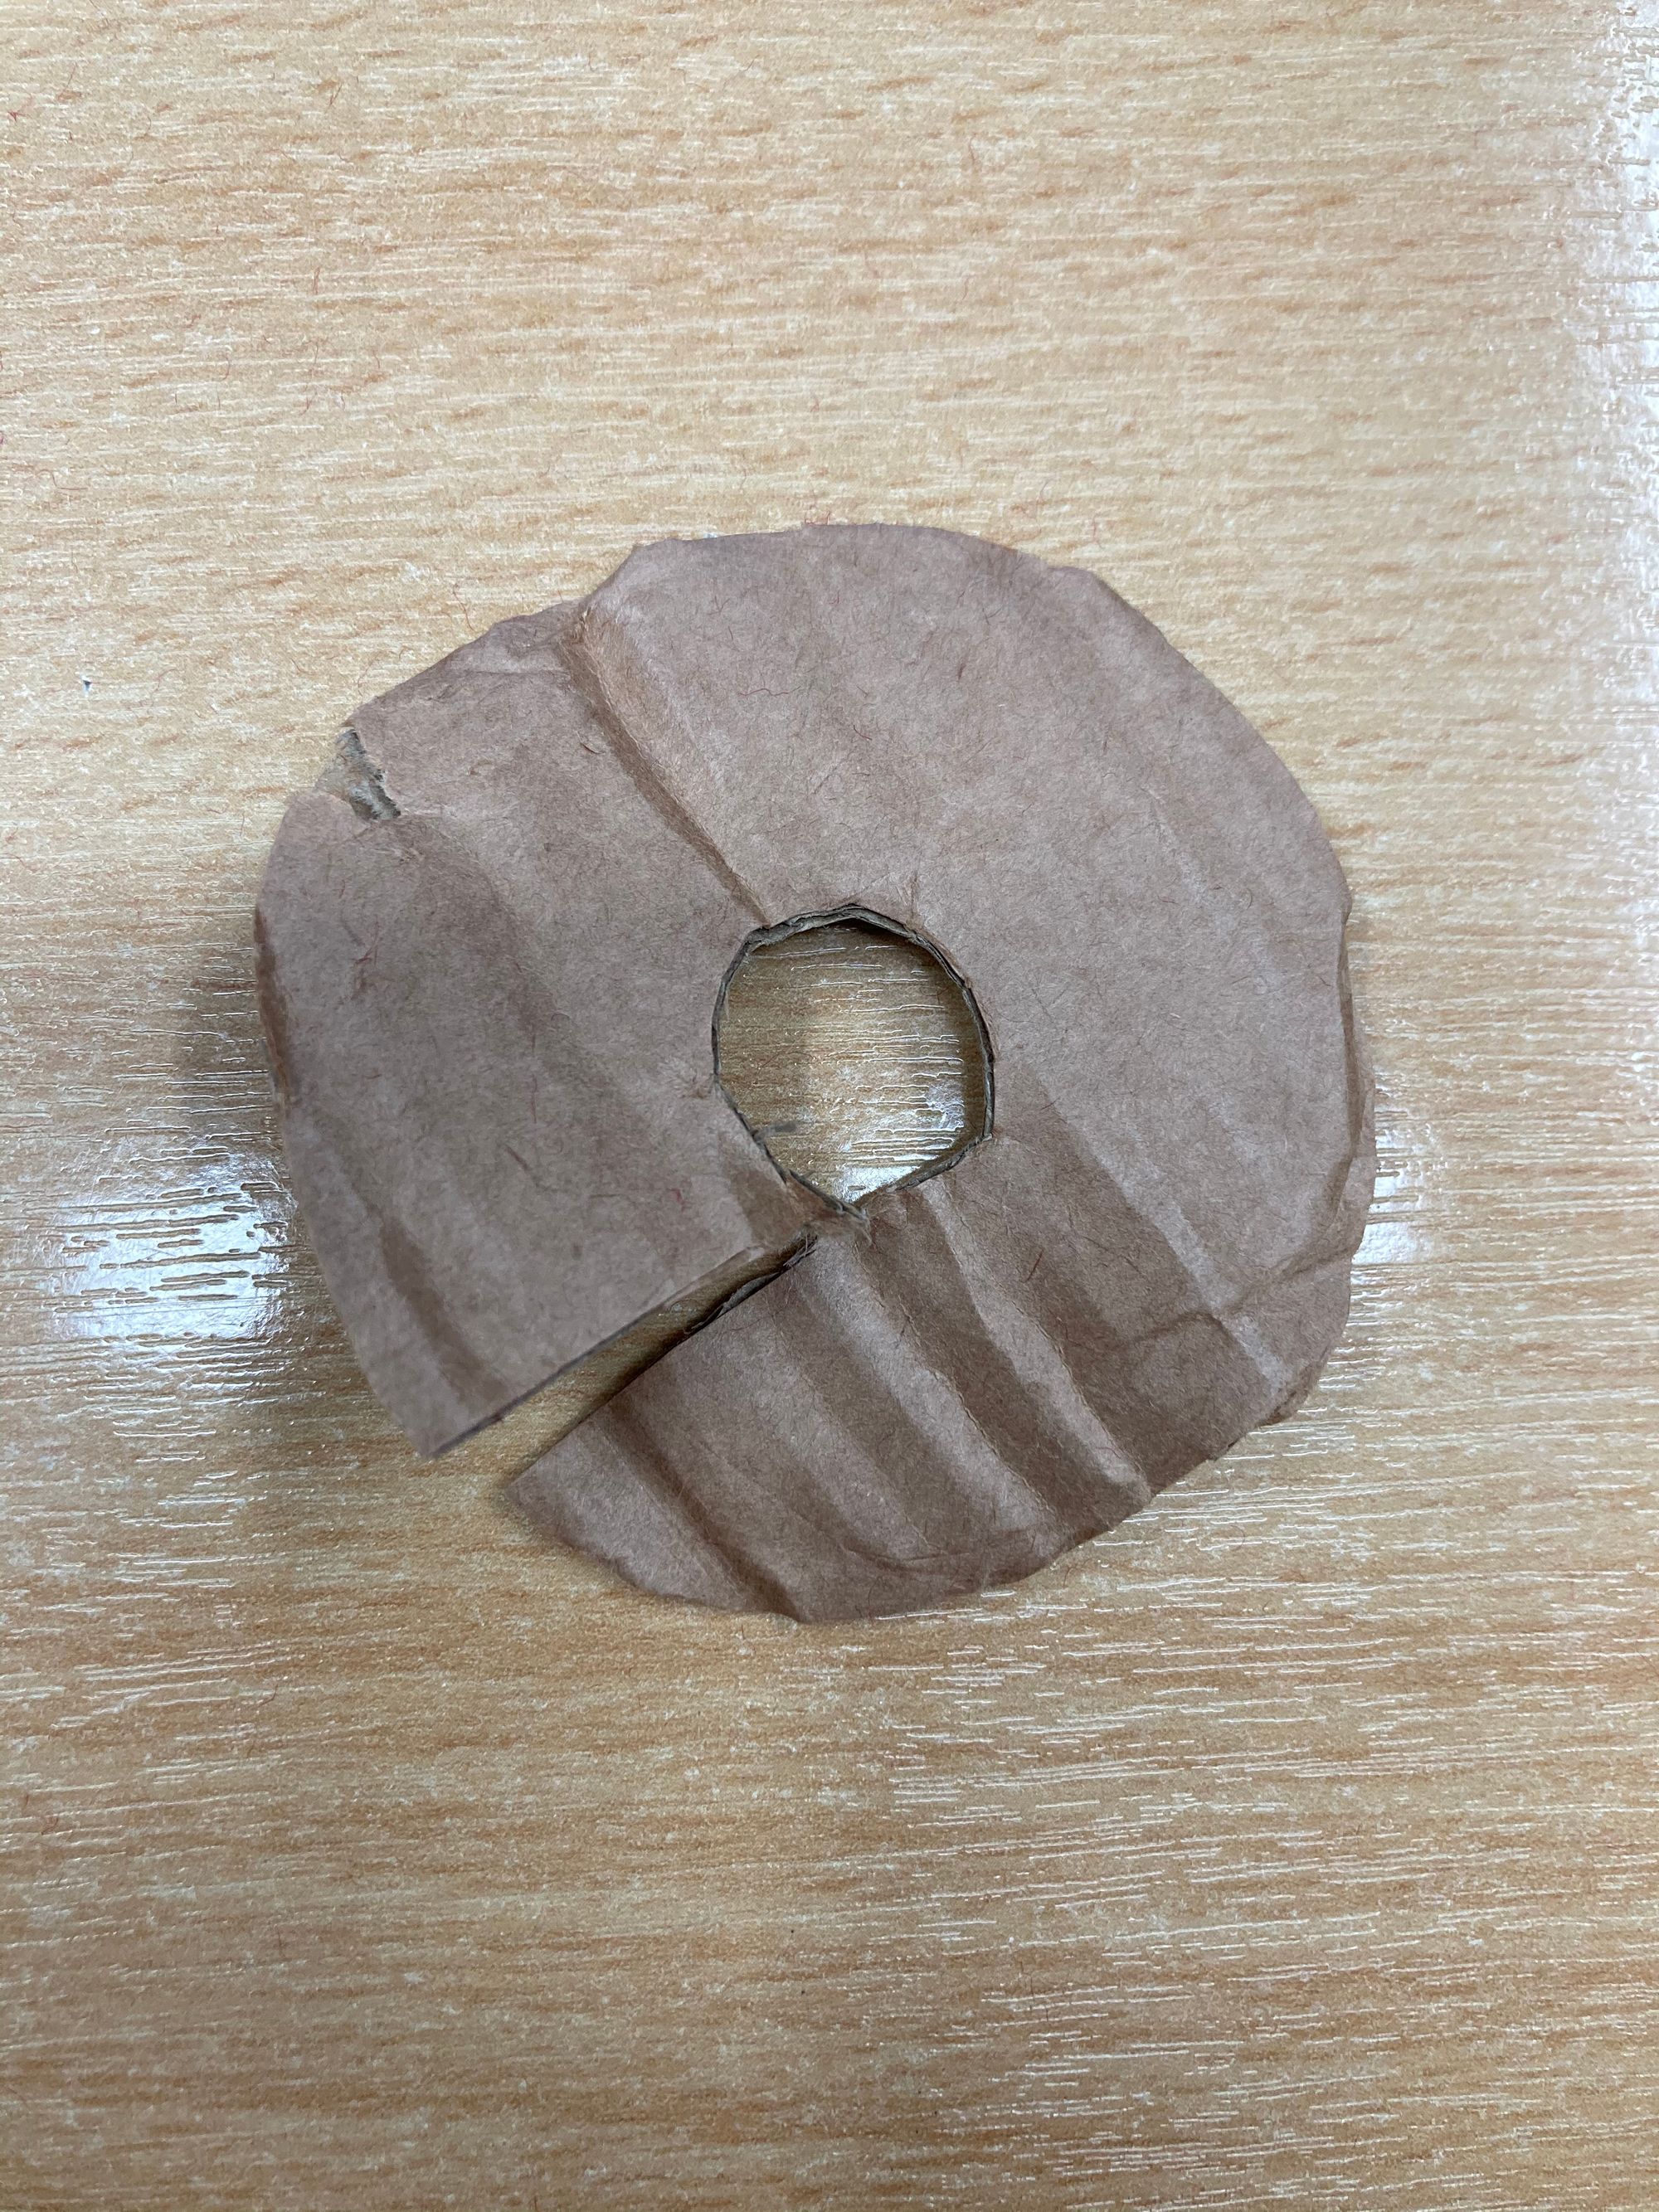
Start by cutting out two cardboard rounds, as big as you’d like your bobble to be. Make sure the centre holes aren’t too big as you’ll need to use more yarn to fill them!
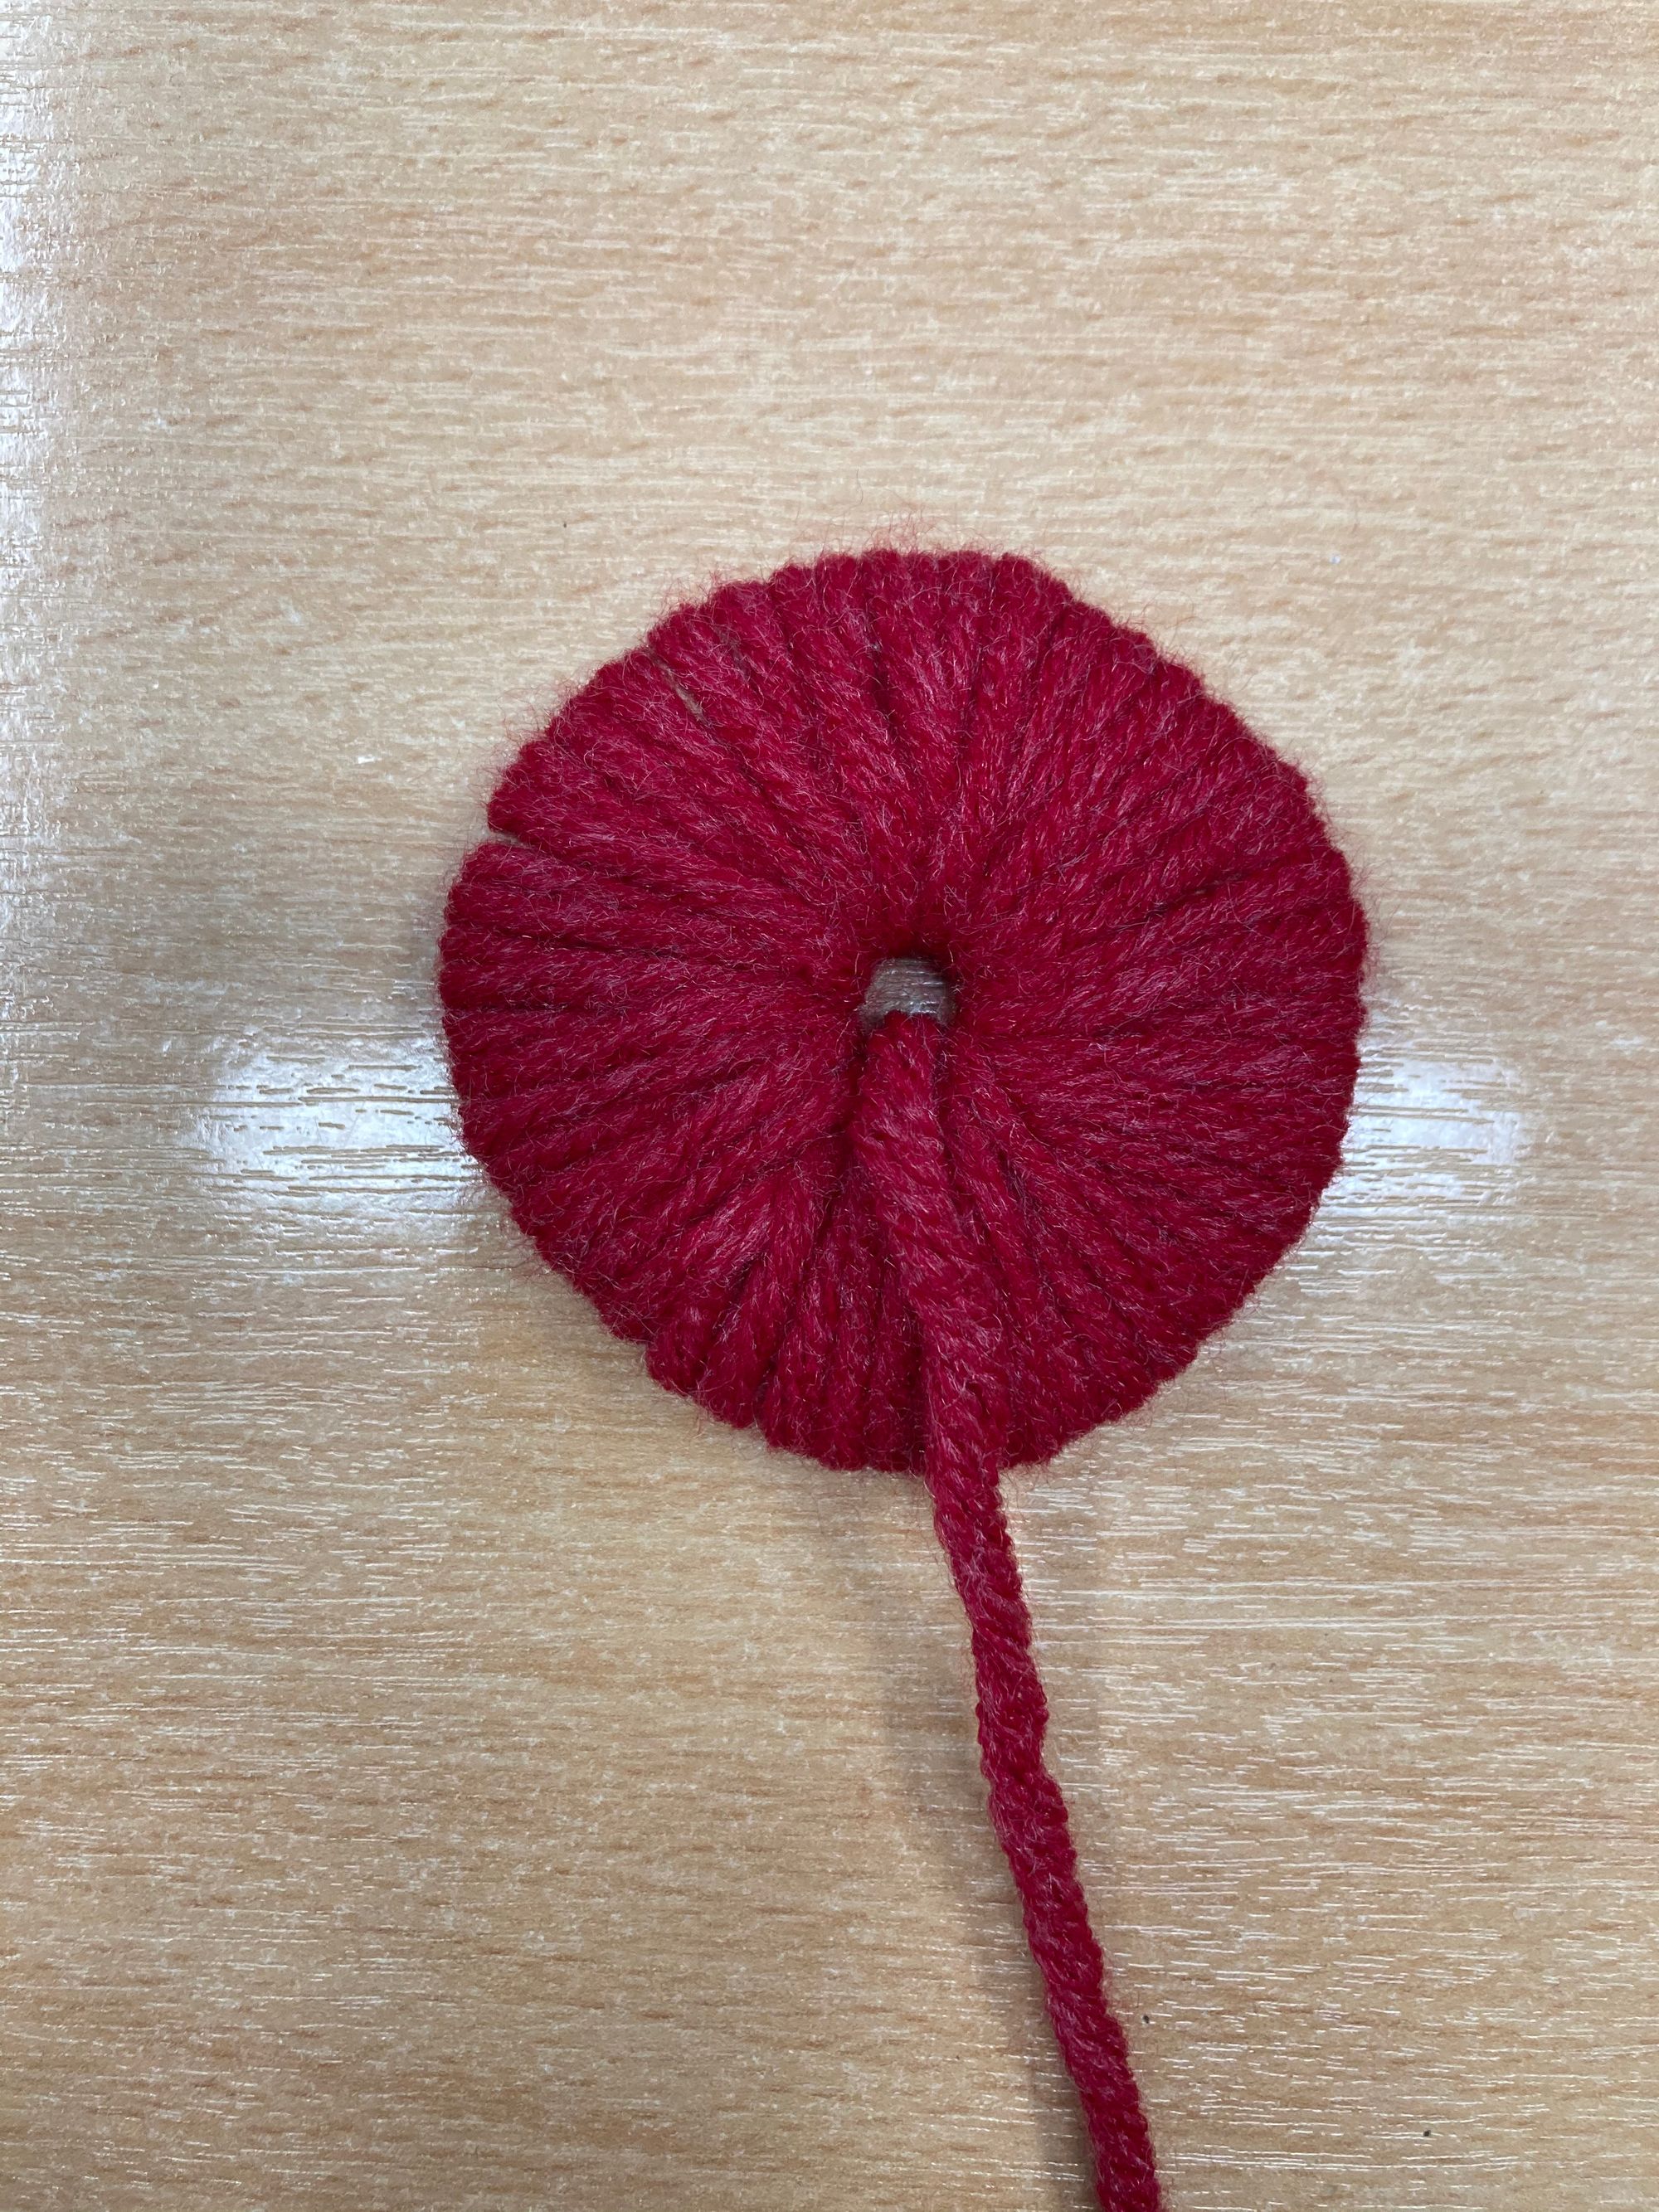
Next, place both cardboard pieces on top of each other and start wrapping your yarn around them until the hole is closed.
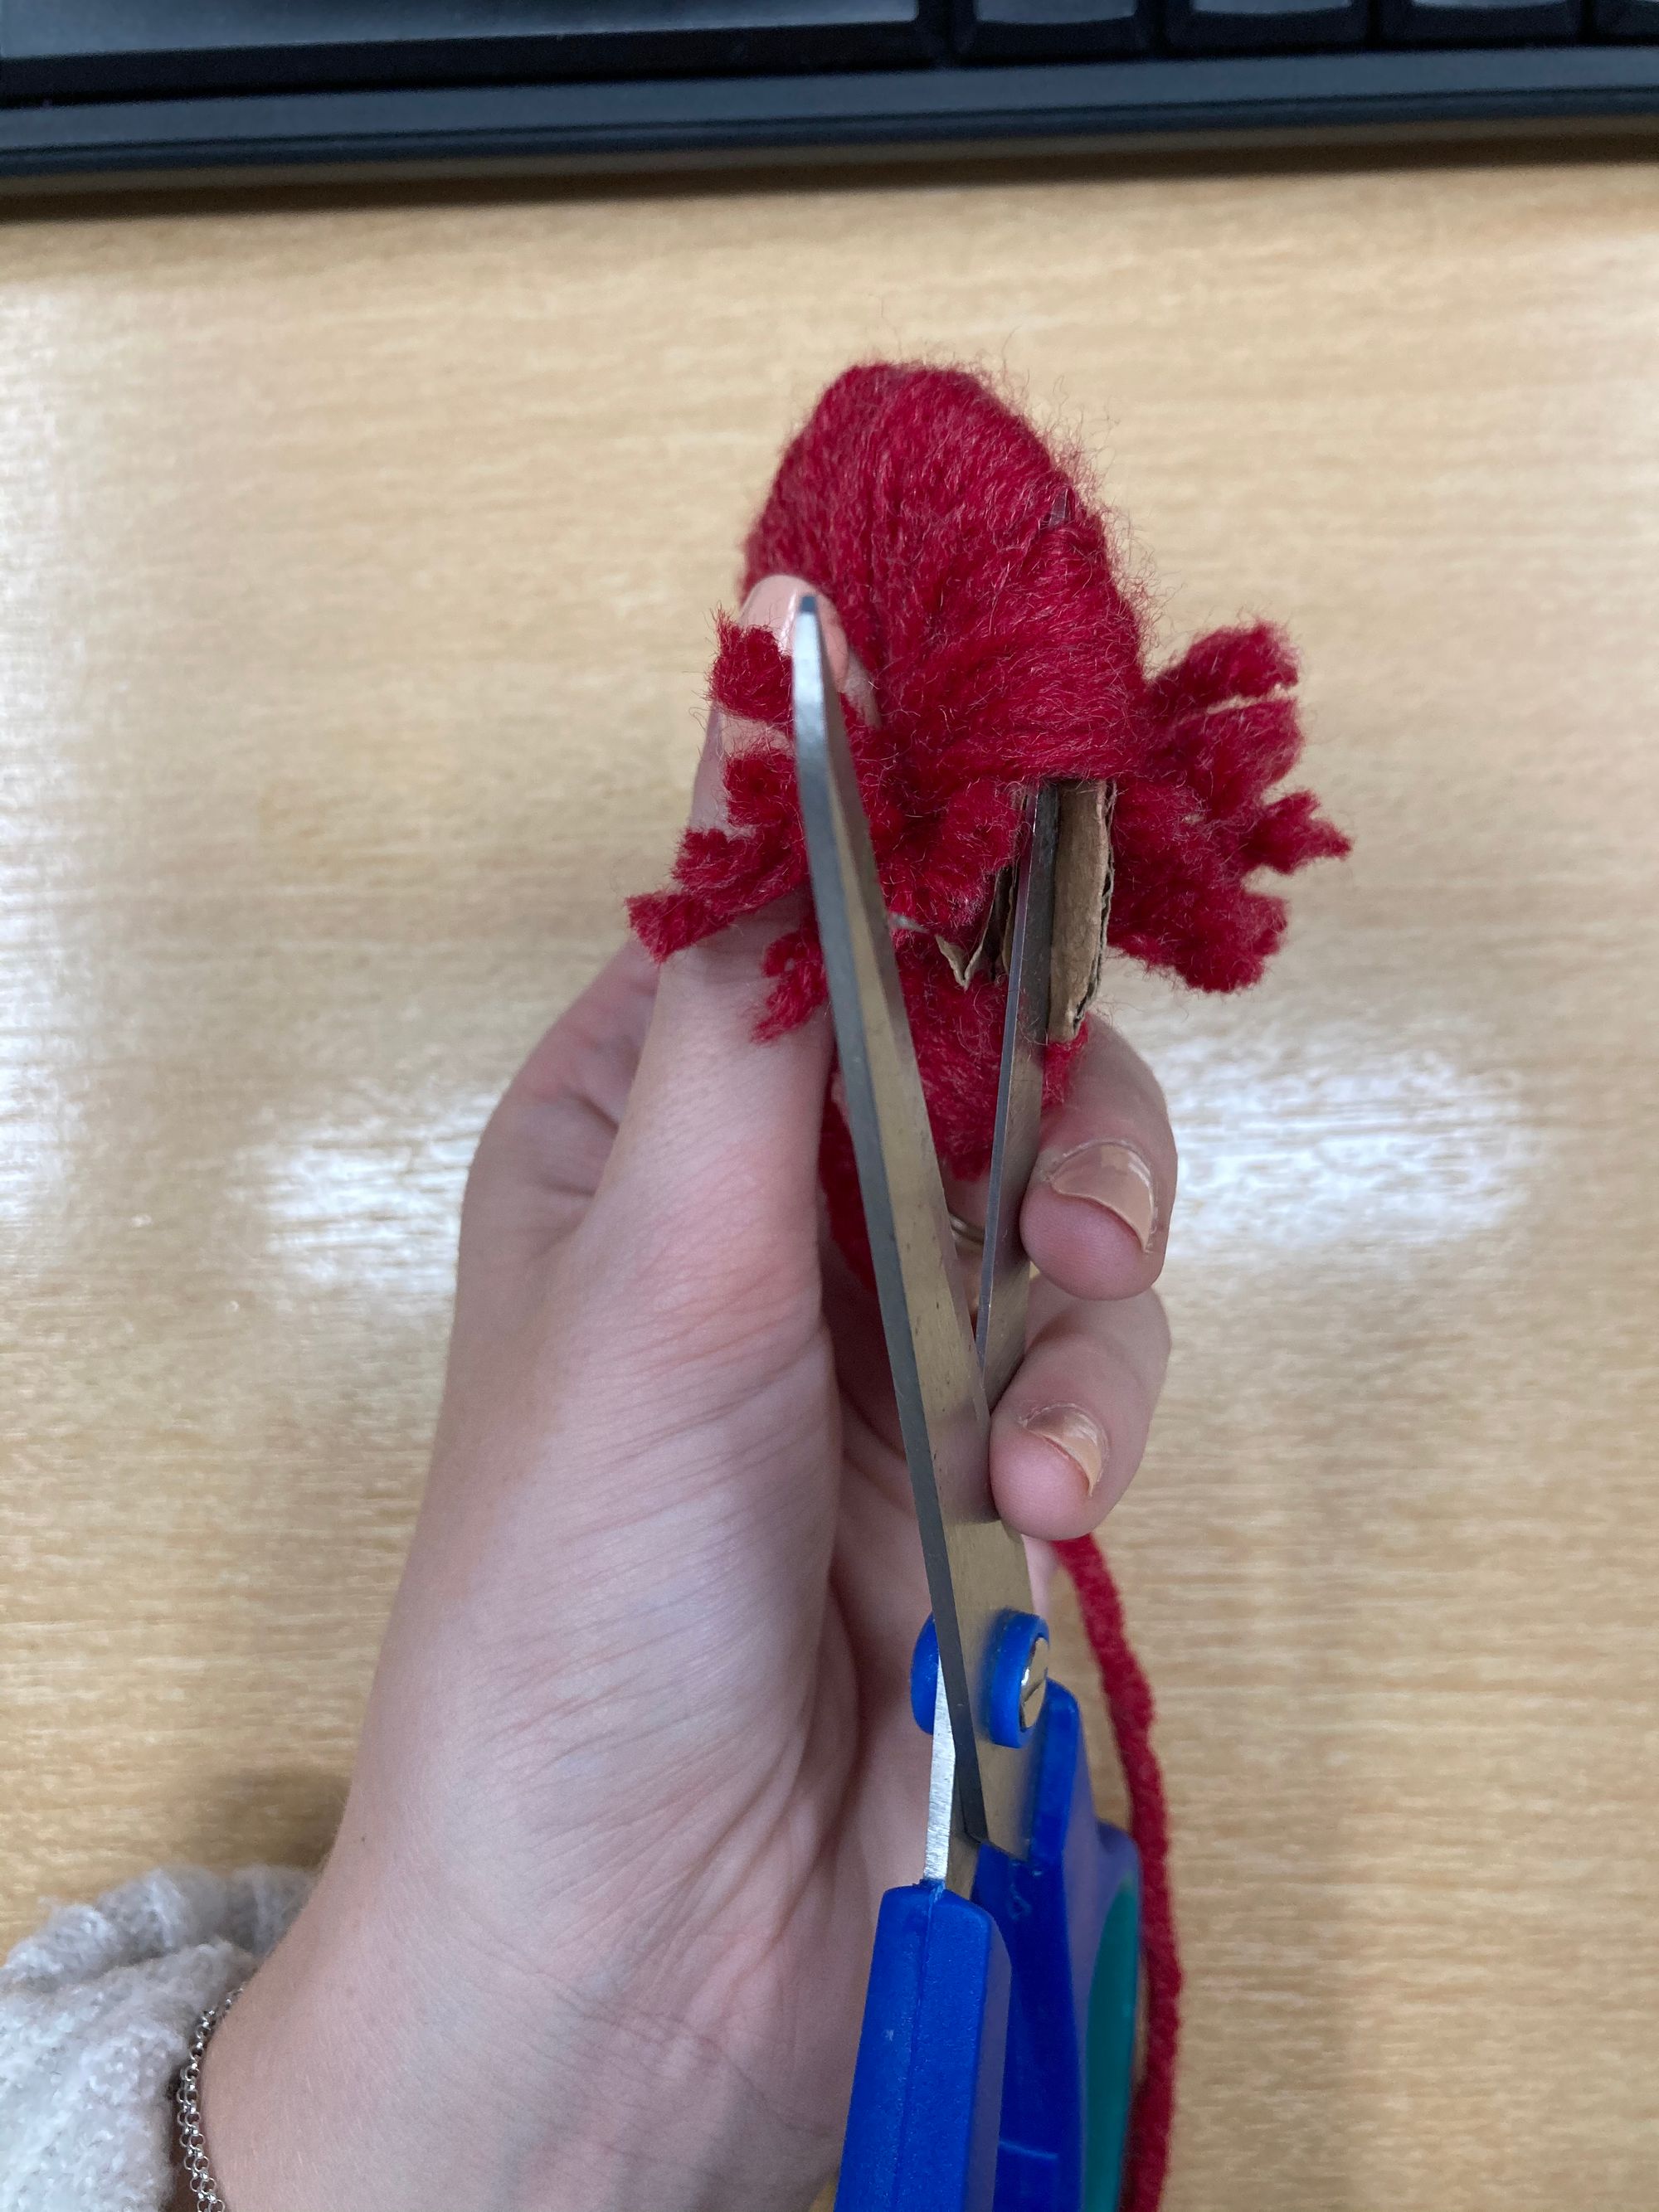
Once done, snip your way around the yarn in between the two cardboard pieces.
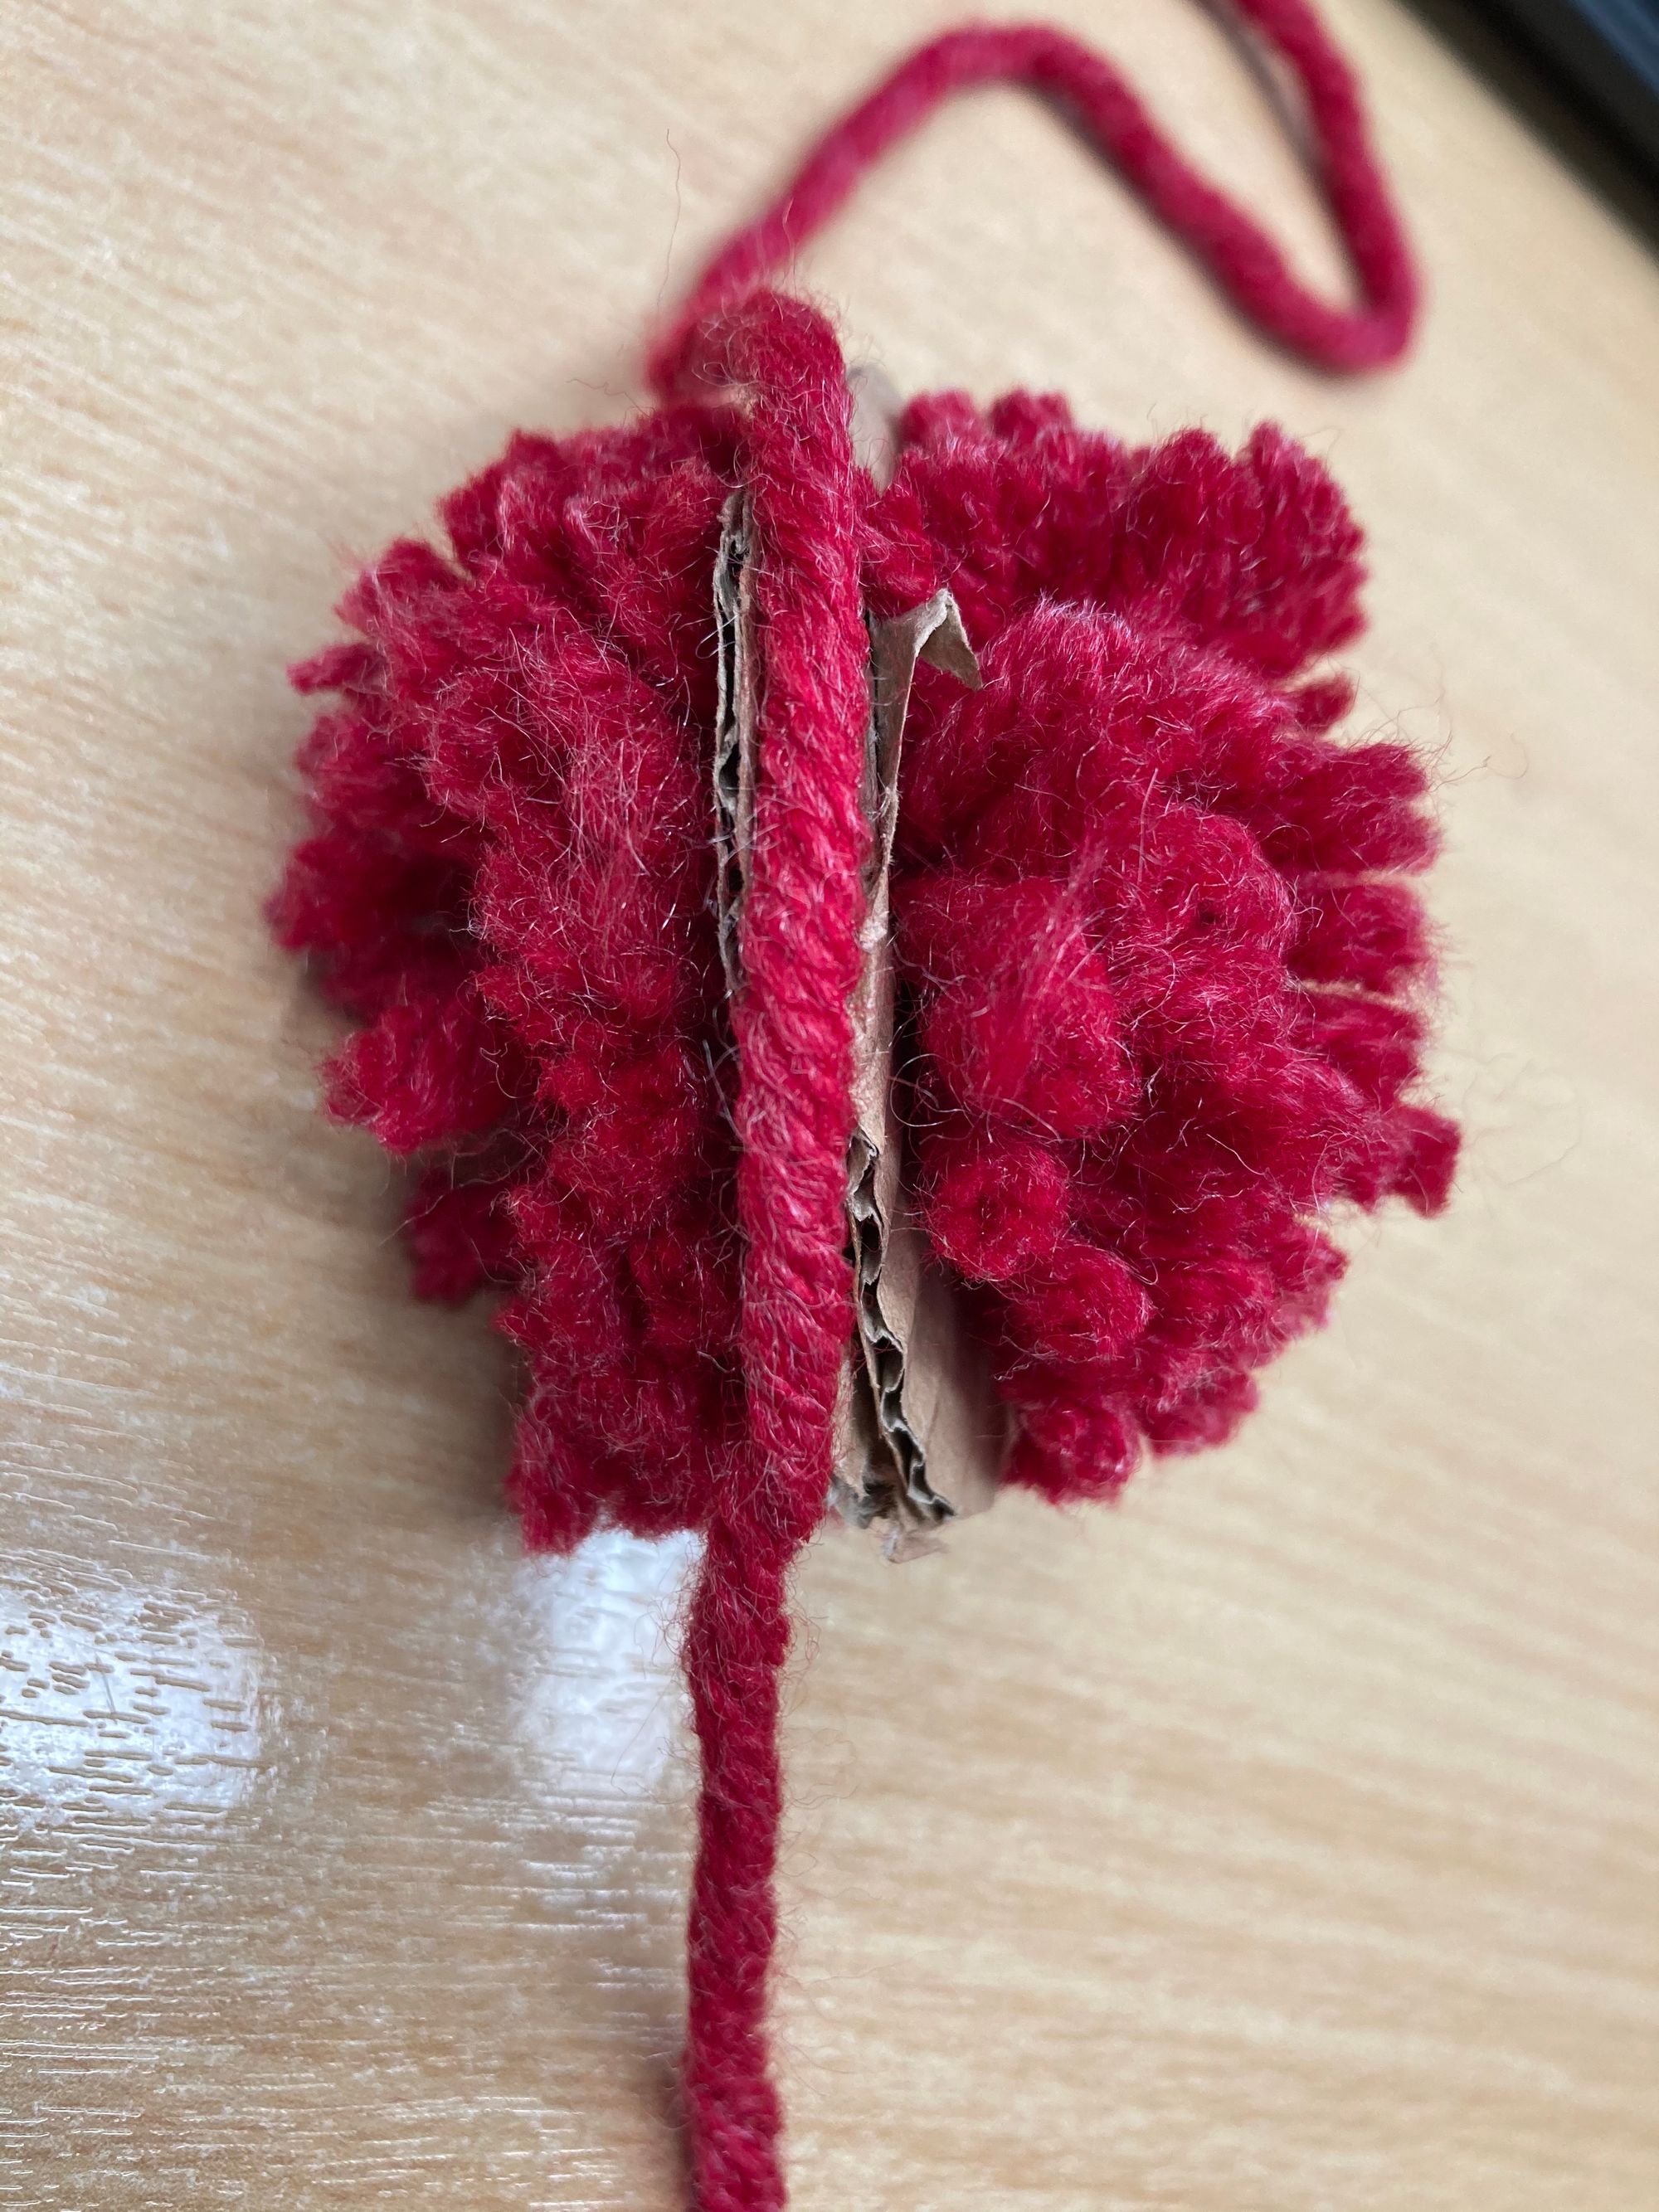
Thread a piece of yarn between the two cardboard pieces and tie a knot. Do this a couple of times to secure.
Snip off your cardboard to free your bobble!
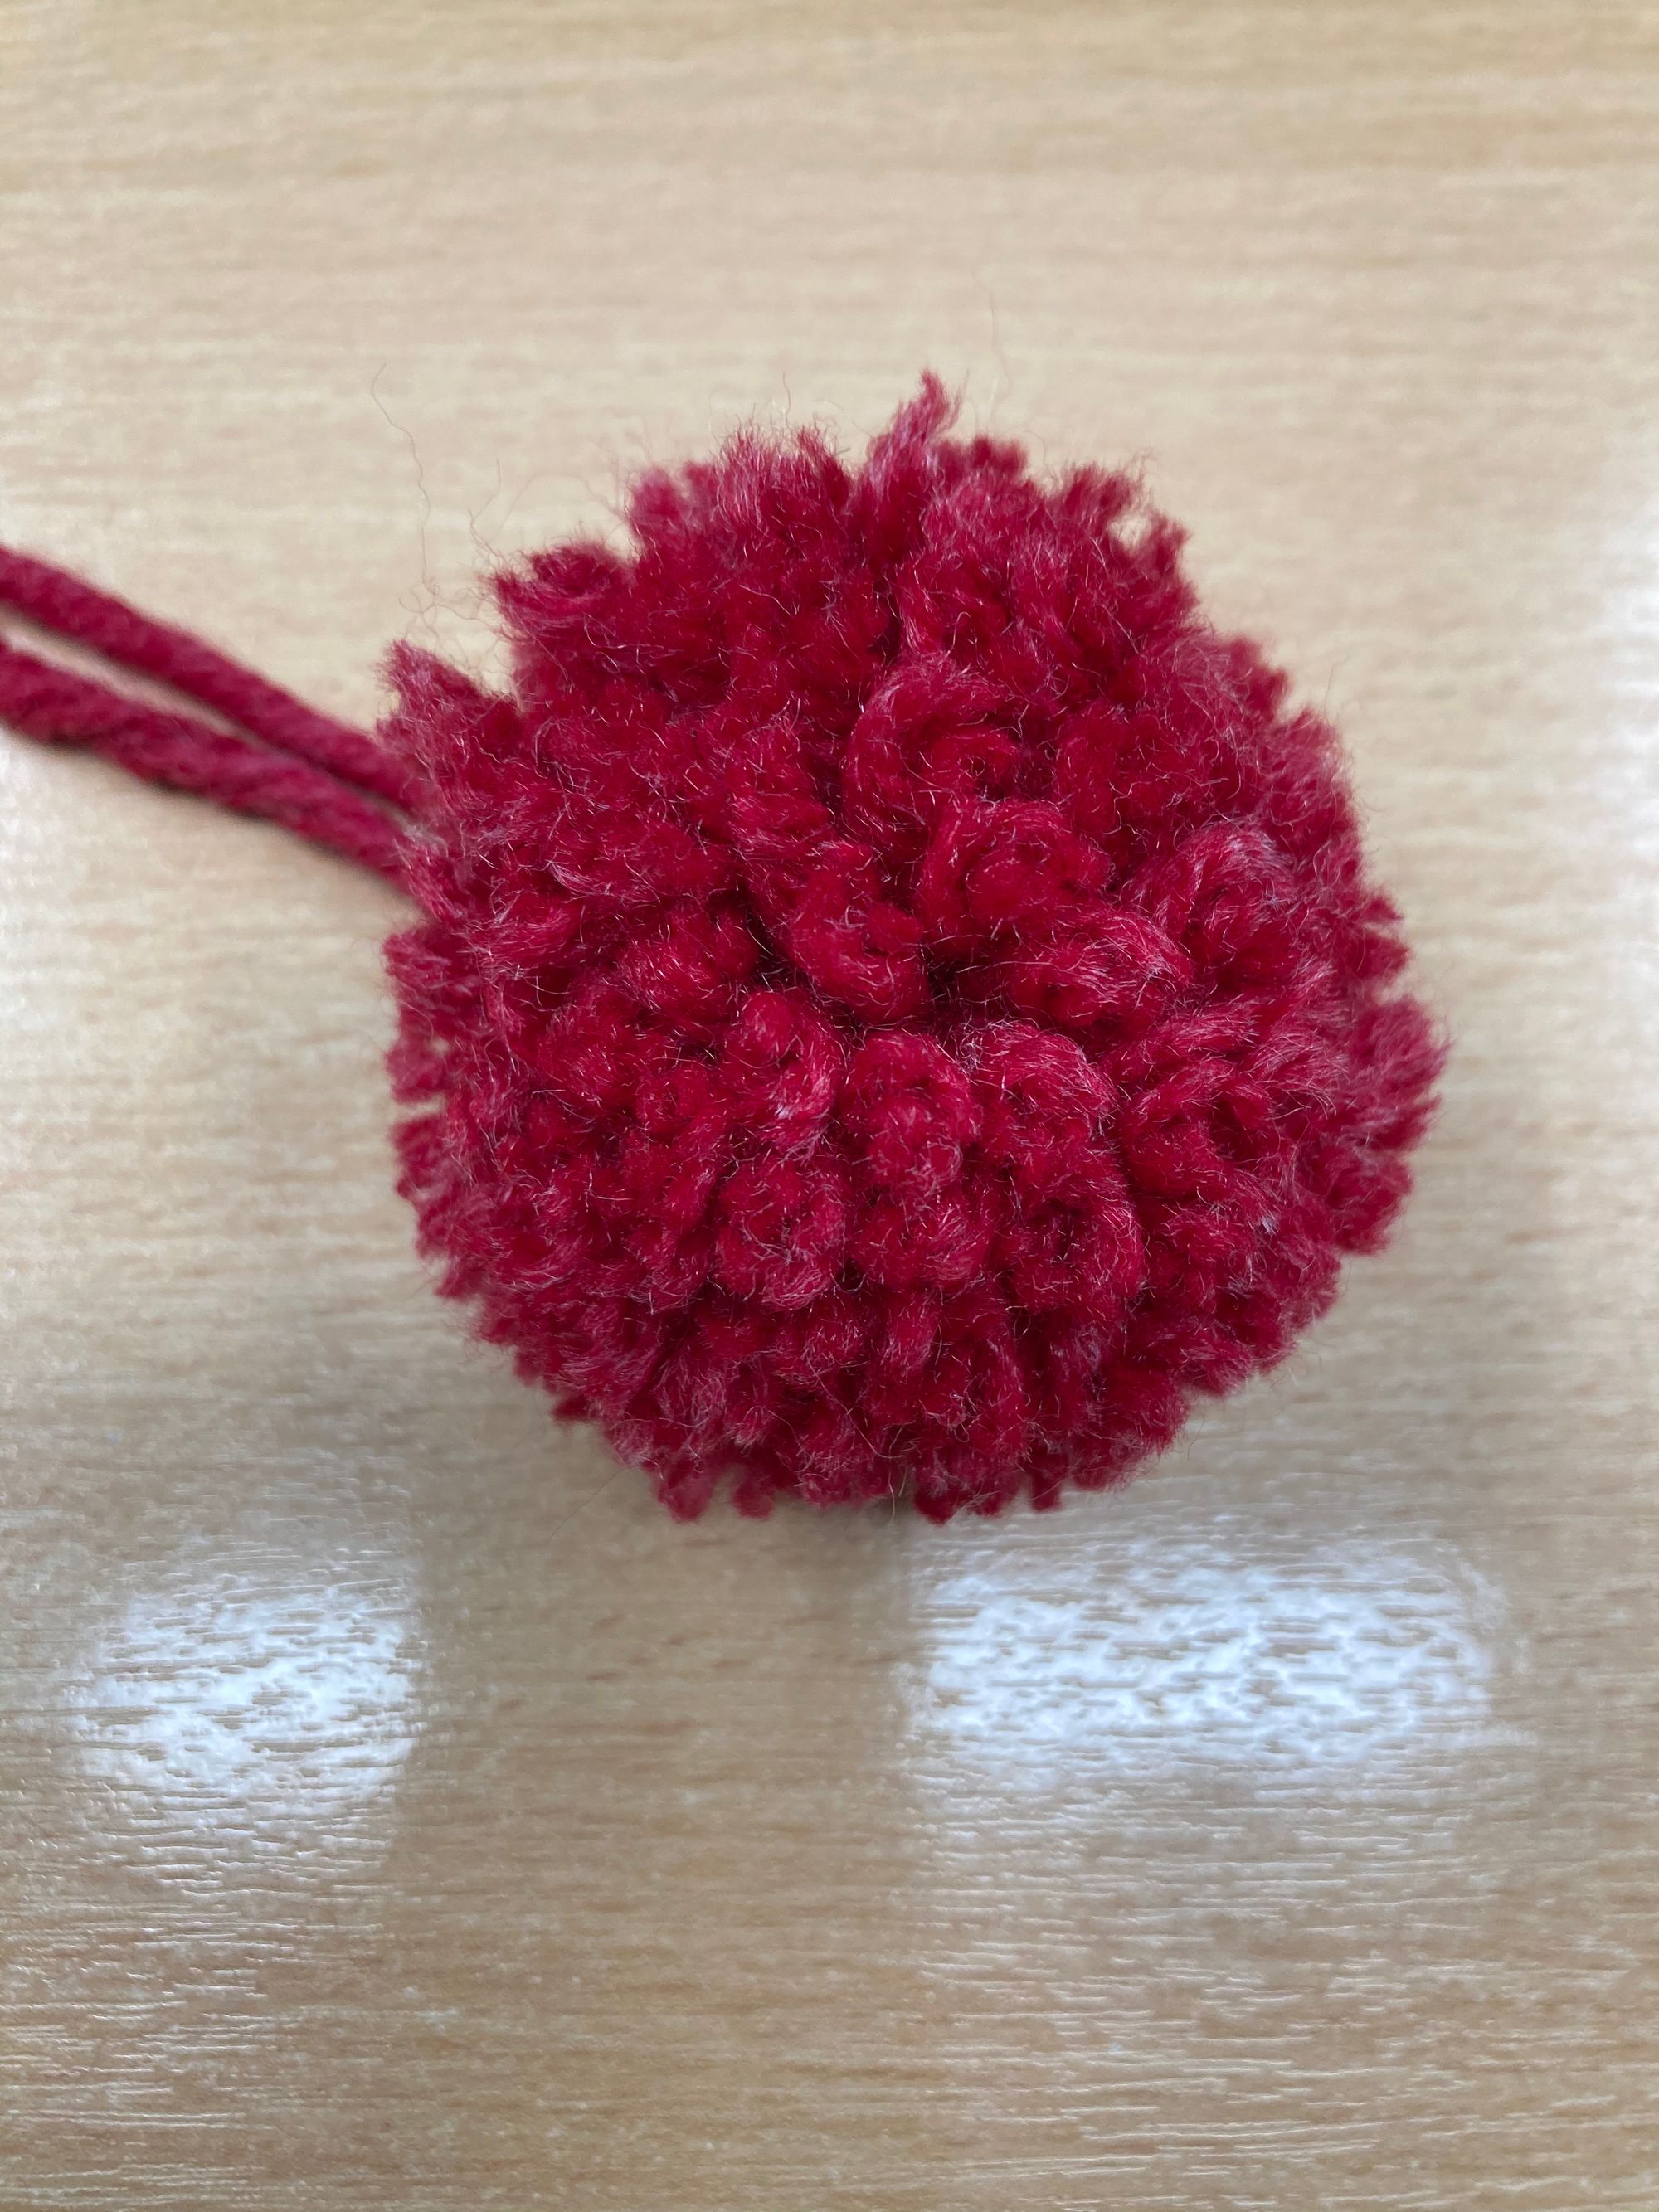
Fluff up the bobble and snip off any knots or straggly pieces, apart from the long piece you used to tie the knot with.
Thread the long pieces of yarn attached to your bobble through your darning needle, then thread the yarn through the tip of your hat and securely attach to the tail left inside.
Well done - your knitted bobble hat is complete!
Take a photo of your masterpiece and share with us on social media using the #ArtsventCalendar hashtag.
If you have enjoyed Culture on Call and you are able to make a donation, please click the link below. Any support you can give will help us keep communities connected to culture in these difficult times.